At first glance, adding a stroke to a layer—either using Edit>Stroke or with the Stroke layer style—might seem pretty basic (approaching boring), but with a little imagination, things can get considerably more interesting in the world of strokes. First we’ll see how using smart objects can add amazing options to your stroked creations and then we’ll learn how to create dashed lines using strokes with patterns.
STEP 1 Start with a Selection
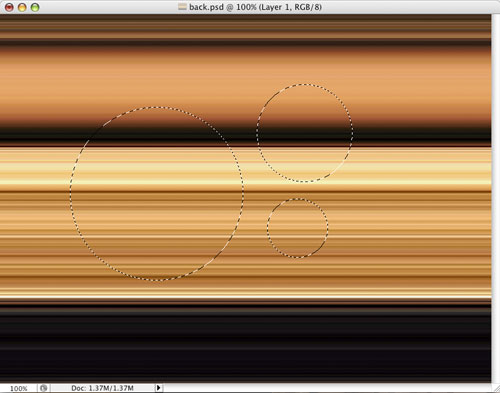
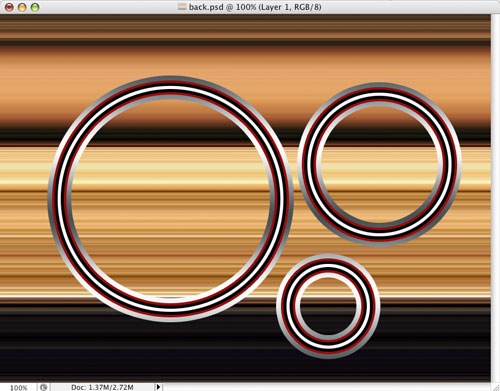
With a background document open, click on the Create a New Layer icon at the bottom of the Layers panel to add a new layer, and use the selection tool of your choice to add a selection. In this example, we added three circles using the Elliptical Marquee tool (hold down the Shift key to add more than one selection on the same layer). Later, we’ll see how you could also start with a custom shape.
STEP 2 Add a Basic Stroke
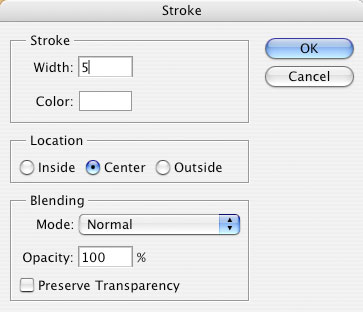
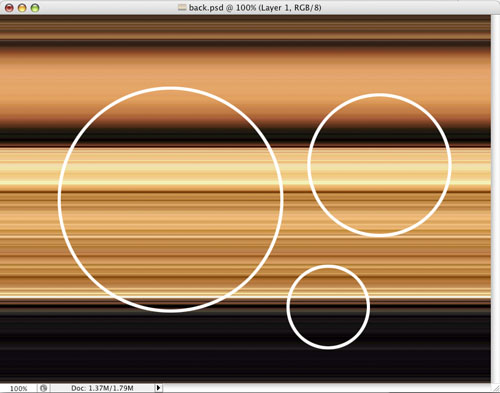
Although layer styles provide more flexibility, we’ll start with a basic stroke and build on that. From the Edit menu, choose Stroke. In the Stroke dialog, choose the Width and Color, and set the Location to Center. (If you started with a rectangular selection, you may want to use Inside as the position, although that will affect all the other steps). Click OK.
STEP 3 Add a Stroke Layer Style
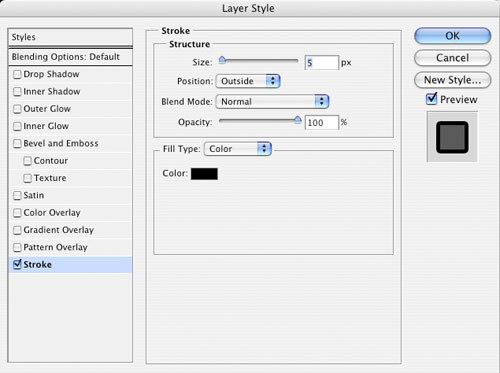
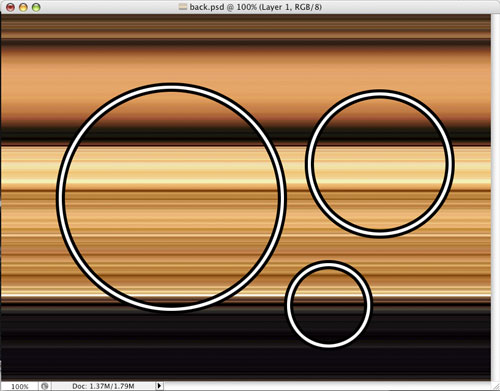
Click on the Add a Layer Style icon at the bottom of the Layers panel and choose Stroke from the pop-up menu. In the dialog, change the position to Outside and then experiment with the Width and Color to get the look you want. Here we created a black stroke around our original white stroke. Click OK. To create a different look, you could change the Fill opacity in the Layers panel to 0 to remove the original stroke color, leaving only the outside strokes.
STEP 4 Make a Smart Object; Add Another Stroke
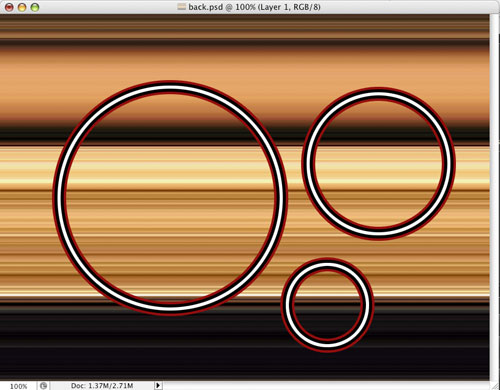
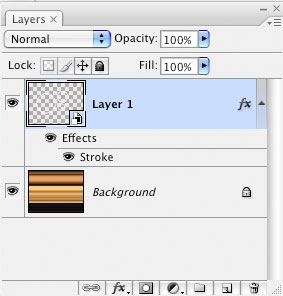
Control-click (PC: Right-click) on the stroke layer in the Layers panel and choose Convert to Smart Object. (When you do this, the Stroke layer style can only be edited by double-clicking on the smart object to get to the original information.) Converting the layer to a smart object also means that we can now add another Stroke layer style to the white and black strokes (which we did), effectively creating multiple strokes on the same layer.
STEP 5 Rinse and Repeat
In theory, you can repeat the same operation several times: Convert the smart object to a smart object and add a Stroke layer style. (I know it sounds strange, but you really can convert a smart object into a new smart object.) In practice, the strokes will start to look a little odd if you repeat this procedure too many times. Here’s an example of applying the same techniques to a type layer (making a selection from the type and then using the same steps outlined above).

STEP 6 Experiment with Gradient Strokes
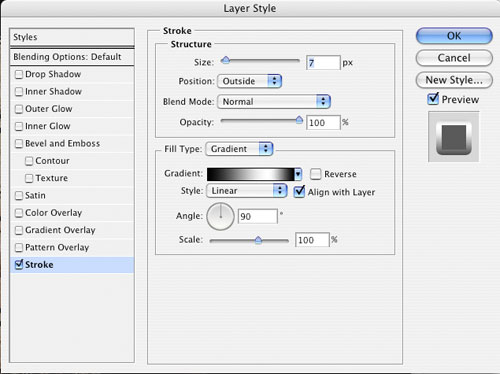
You can also get some interesting results if you use a gradient instead of a solid color for one or more of the Stroke layer styles. The procedure is the same; just choose Gradient from the Fill Type menu in the Layer Style dialog.
STEP 7 Edit the Smart Object for More Possibilities
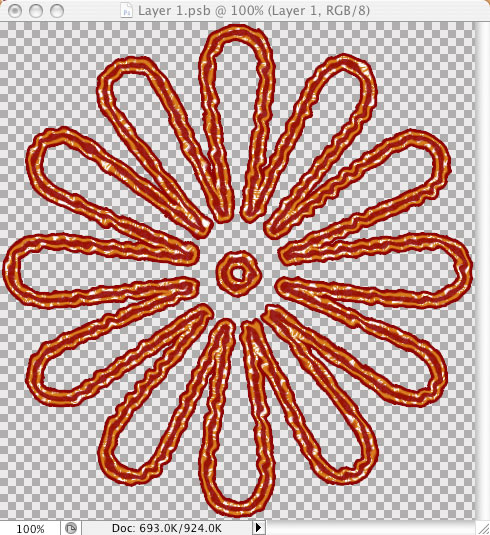
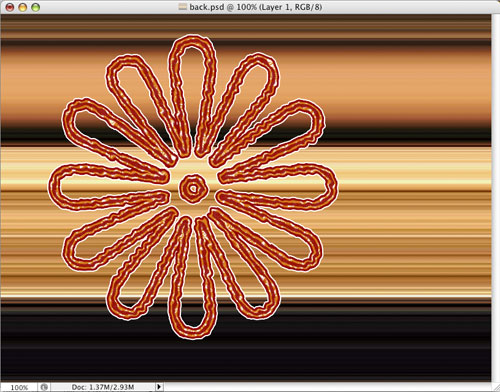
In this example, we started with the Custom Shape tool and created a path. After turning the path into a selection (Command-click [PC: Ctrl-click] on the Path thumbnail in the Paths panel), we followed the same steps to add multiple stokes through smart objects. By double-clicking on the smart object in the Layers panel, we can edit the “original” but, because we made several smart objects, we had to double-click several times to get back to the very first object. Then we applied a couple of filters from Filter>Brush Strokes and closed and saved each smart object until our main document updated.
Creating Dashed Lines
STEP 1 Create a New Pattern
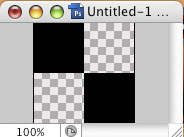
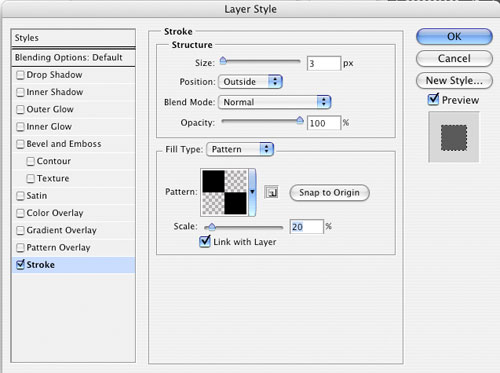
Start by creating a new document that’s 100×100 pixels, then add a new layer. Select the Rectangular Marquee tool (M) and in the Options Bar, set Style to Fixed Size, with a Width and Height of 50 pixels. Click in the top-left corner of your document to add a selection and fill it with black (press D then Option-Delete [PC: Alt-Backspace]). Repeat for the bottom-right corner and deselect (Command-D [PC: Ctrl-D]). Hide the Background layer by clicking on its Eye icon in the Layers panel, then from the Edit menu, choose Define Pattern and name your pattern.
STEP 2 Add a Stroke Layer Style to a Layer
In this example, we extracted a person from a white background and added the stroke to that layer. In the Stroke options, choose Pattern from the Fill Type menu and select the pattern we just created. Use the Scale option to get the kind of dashed line you want (Note: The pattern will display differently at different scales, so keep experimenting.)

©ISTOCKPHOTO/ANDRESR
STEP 3 Experiment, Experiment, Experiment
There are many possibilities using these two techniques: Experiment with the built-in patterns, combine a pattern with a smart object stroke—so many creative opportunities!


