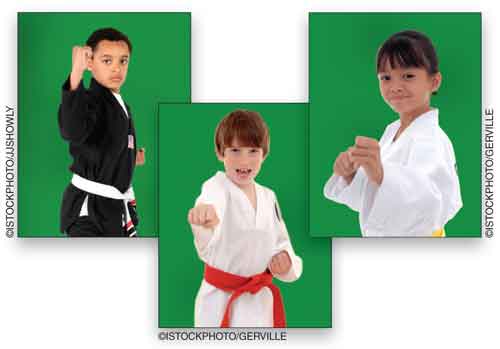
The theory behind shooting portraits on a green-screen background is a good one: Give yourself a solid color that’s easy to select. The problem has always been that it isn’t easy to automate extracting subjects from the background—until now. Here’s a method to create a Photoshop action to extract your subjects and place them in a new background.
1 PREPARATION IS EVERYTHING
Your chances of success in a project like this will depend on the work you do up front. You need good, consistent lighting of the green screen, some distance between your subjects and the background to avoid shadows, and all the portraits should be framed in a similar way. Also, keep your graphic elements in a specific folder. For our example we’re going to use a series of “karate kids.”

2 CREATE A LAYERED BACKGROUND DOCUMENT
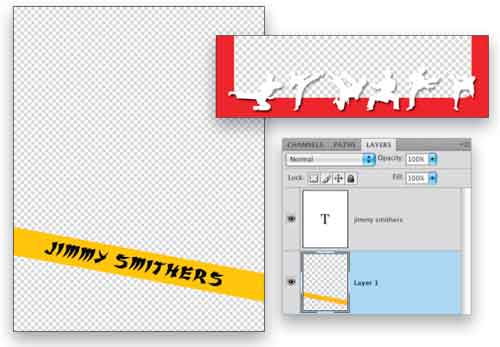
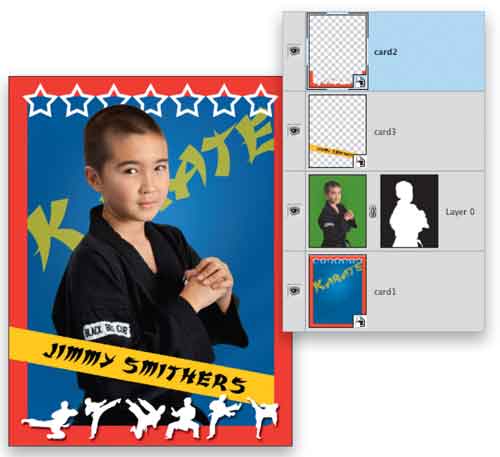
We’re going to automate the steps of putting these kids onto trading cards, so first we have to create the graphic elements for the card. Create a new file (File>New) for your trading card that matches the size and resolution of your green-screen images. Add each element on a separate layer to your card document so you can edit the results later, such as changing the name for each child, etc. Start by adding all the elements you want, even graphics that eventually will appear in front of the photo (overlays).

3 CREATE SEPARATE DOCUMENTS FOR OVERLAYS
We need to create separate documents for the overlays. Click on the Eye icons in the Layers panel to hide every layer except the overlays. We’ll start with our red border and the white graphics: Make a selection of the bottom third, Edit>Copy Merged, File>New, click OK, Edit>Paste, and Save this as a layered document. Then do the same thing for the other overlays. In some cases, such as the name banner, you can select both layers (the text layer and banner layer) by Shift-clicking them in the Layers panel, duplicate them (Layer>Duplicate Layers), and select New in the Document drop-down menu in the Duplicate Layer dialog and then Save the new file.
4 START RECORDING THE ACTION
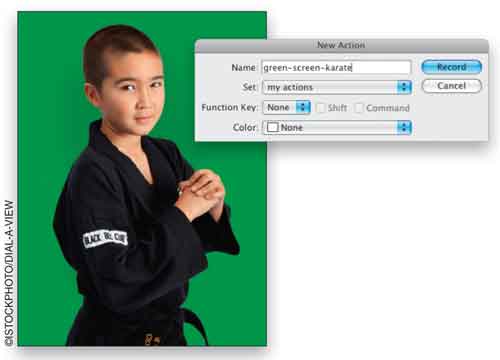
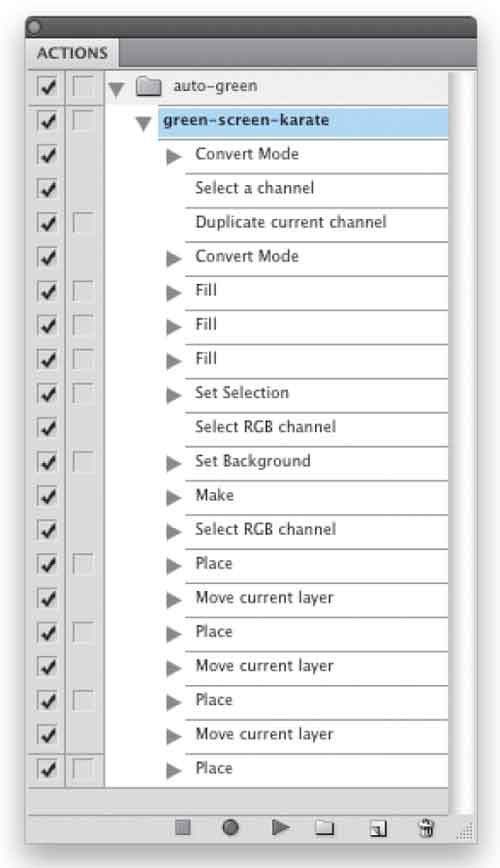
Open one of the green screen documents. In the Actions panel (Window>Actions) click on the Create New Action icon at the bottom of the panel and in the dialog, name the action, and if you wish, assign a keyboard shortcut. Click the Record button to start recording the action. (You’ll keep recording until Step 9.)
5 LAB MODE; DUPLICATE a CHANNEL
First change the image to LAB mode by going to Image>Mode>Lab Color. Then click on the Channels panel (Window>Channels) and duplicate the a channel by clicking on it and dragging it onto the Create New Channel icon. (This new channel should be called “a copy.”)
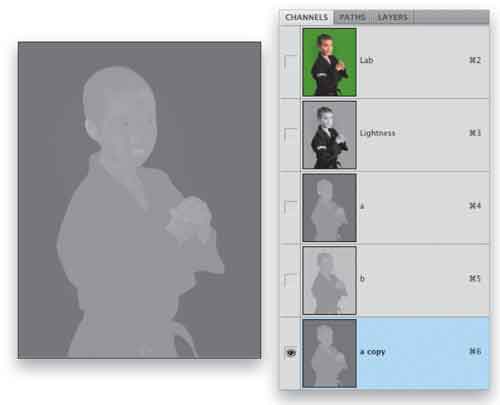
6 RGB MODE; FILL THREE TIMES IN OVERLAY
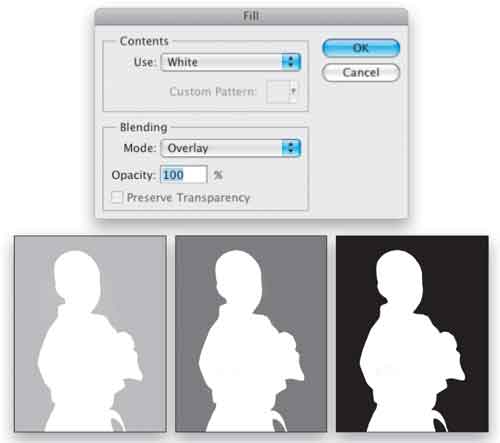
Use the Image>Mode menu to change back to RGB Color. The “a copy” channel should still be active. From the Edit menu, choose Fill, then in the dialog, choose White from the Use menu, Overlay as the Blending Mode, and click OK. Now use Edit>Fill again, but this time change the Use menu to Black (the Blending Mode should still be set to Overlay). And one more time, use Edit>Fill with Black in Overlay mode. This should create a very good mask (if it needs tweaking, don’t adjust it at this time).
7 UNLOCK BACKGROUND; MAKE LAYER MASK
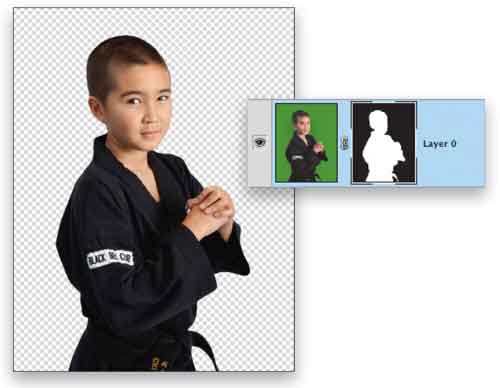
Press-and-hold Command (PC: Ctrl) and click on the “a copy” channel to load it as a selection. Now, click on the Layers panel tab, hold down Option (PC: Alt), and double-click on the Background layer to unlock it. Click on the Add Layer Mask icon at the bottom of the Layers panel to add a layer mask to Layer 0 (the former Background layer).
8 PLACE CARD BACKGROUND AND REPOSITION
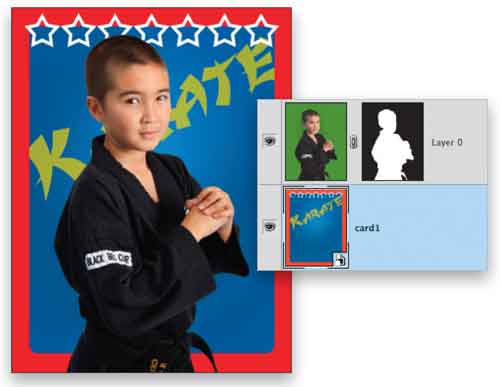
Click on the layer thumbnail to make it active, then from the File menu choose Place. In the Place dialog, navigate to your main card background document and click Place. Press Return (PC: Enter) to place the card background on its own layer as a smart object (more on smart objects later). Then in the Layers panel, drag the card layer below the photo layer.
9 PLACE OVERLAYS, REPOSITION, AND SAVE
Use File>Place to import the overlay graphics (one at a time). In each case, press Enter, reposition the graphic in the document, and then click-and-drag to change the order of the layers in the Layers panel. Choose File>Save As and save it as a PSD. Stop recording the action by clicking on the black square to the left of the red recording icon at the bottom of the Actions panel.
10 TEST YOUR ACTION
Before running a batch action on many images, try your new action on one or two photos. Open a green-screen photo, click on your green-screen action in the Actions panel, and click the Play Selection icon (or press the F-key, if you assigned one to your action).
11 RUN A BATCH ACTION
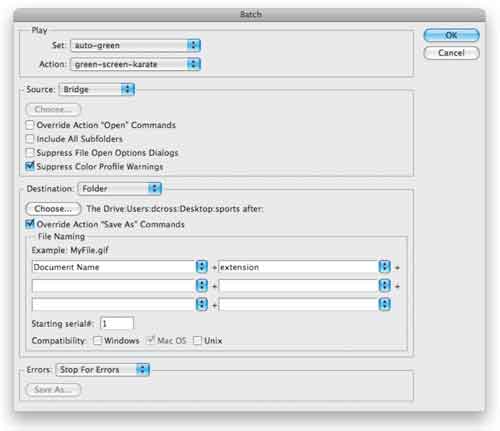
You can run a Batch action either from Adobe Bridge (where you can see and choose your images) or File>Automate>Batch (where you choose a folder). In the Batch dialog, choose your Action and the Source for the files (Bridge or Folder). Then, click the Choose button under Destination and select a folder for the results of your Batch (we created a new folder called “After”). Check the Override Action “Save As” Commands box to save the results as PSDs, but in your destination folder. Click OK to run the batch.
12 EDIT THE BANNER NAMES
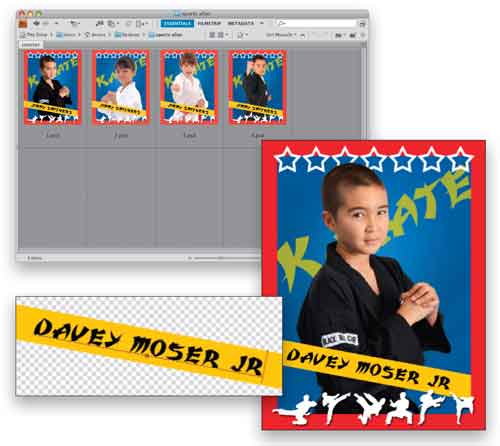
You’ll end up with a folder full of PSD versions of the cards, one for each player. To edit their names, open the document and double–click on the Smart Object icon on the overlay layer containing the banner. This opens the document with the original text. Just edit the text, Close, and Save, and it will update in the document for that player.
13 EDIT OTHER ELEMENTS, IF NECESSARY
When you Place documents into a Photoshop document, they appear as smart objects, which means that although they appear as one layer, you can still access all the individual layers within that smart object by double-clicking on the Smart Object icon. So you can make changes on any element just like we did for the name in the previous step. When you’re done, just Close and Save the document, and again it will update in the document for that player.

14 TWEAK THE RESULTS
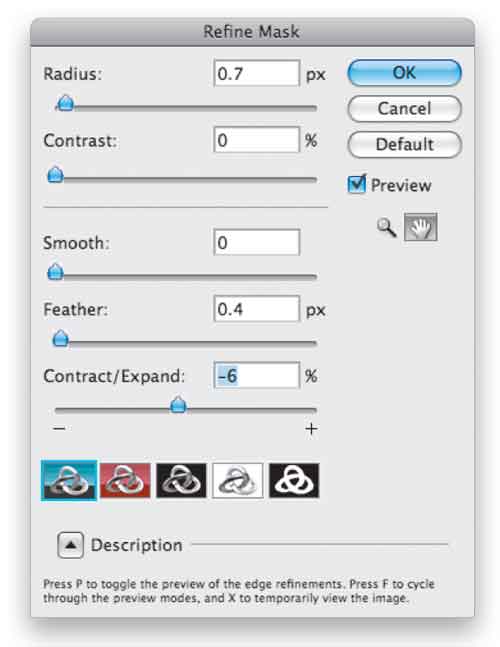
In an ideal world this green-screen action would work perfectly but there will always be some exceptions; so be prepared to edit some documents by tweaking the layer mask. You may need to paint on the mask to get the result you want, or if you see a slight fringe of green, use the Masks panel and the Refine Mask dialog (click the Mask Edge button in the Masks panel). Still, it’s much much faster than manually extracting each player!
