
Using a Gray Card for Setting White Balance in Adobe Photoshop Camera Raw
In this article, we’ll show you how to set your white balance accurately using a gray card. A gray card is just what it sounds like, a card that’s 18% gray that we use to help us set a really accurate white balance.
These cards are so handy that I include a perforated tear-out gray card in both my Adobe Photoshop Book for Digital Photographers and Adobe Photoshop Lightroom 5 Book for Digital Photographers books, so if you have either of those books, go tear out your gray card. If you don’t have either of those books, you can pick up a gray card from just about any local photo store or online.
USING A GRAY CARD
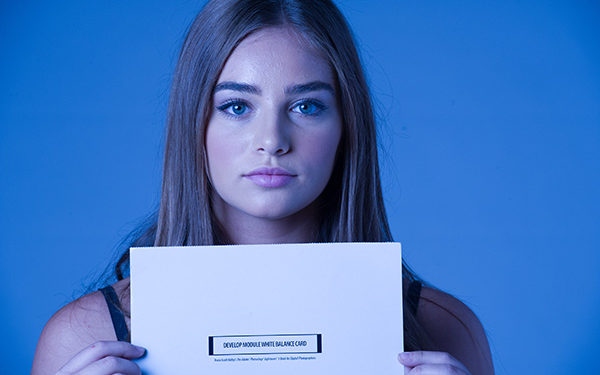
Once you get your lighting set, you’ll need to take one photo with the gray card clearly visible in the scene. In this case, we’re doing a portrait shoot (these shots were actually from a live session I did at NAPP’s Photoshop World Conference). Hand your subject the gray card and ask her to hold it so it’s in clear view (I usually have her hold it up near her face, as shown here). The card she’s holding here is the tear-our card from my Lightroom book. Once she’s holding the card, take one shot. That’s all it takes.

OPEN THE IMAGES IN ADOBE CAMERA RAW
Select all the images, including the gray card shot, and open those in Adobe Camera Raw. If you’re using Bridge, you can select them all, press Command-R (PC: Ctrl-R), and you’ll see all the images appear in a filmstrip on the left side of the Camera Raw window, as shown here.

USING THE WHITE BALANCE TOOL
Get the White Balance tool (I) from the Toolbar (it looks like an eyedropper half-filled with gray), and click it once directly on the gray card. Bam! That’s it! Your white balance is set.

Now, I need to mention something that I think is really important about white balance. Setting the white balance like this for product shoots, clothing shoots, and stuff like that gives you a really accurate white balance. When it comes to images of people, however, there’s another consideration: when you have the accurate white balance, does your subject look good? I mention this because people generally look better with a warmer skin tone. In this particular case, our subject looks pretty good using this gray card method, but if you use this method and your subject looks a little bluish or cool, it’s not very flattering. Now you need to either drag the Temperature slider just a little toward the right to warm the color up just a smidge, or buy what’s called a “warm card,” which is a special gray card that’s slanted toward a warmer tone. It’s used primarily by (you guessed it) portrait and wedding photographers.
In short, once you set your white balance, evaluate the color and make a smart choice (if necessary) because if your subject doesn’t look good in the photo, you won’t be able to use “I used a gray card, so I know it’s right” as an excuse to your client.
APPLYING THIS WHITE BALANCE TO OTHER IMAGES
Press-and-hold the Command (PC: Ctrl) key and click on any images in the filmstrip on the left that you want to have this exact same white balance setting (the same one as the gray card image you just corrected), then click the Synchronize button at the top of the filmstrip. This brings up the Synchronize dialog with the default Settings set in the Synchronize pop-up menu at the top. This lets you synchronize all the changes you’ve made to the image with the gray card with the other images you just selected. There’s only one problem: you don’t want all your changes applied to those other photos. For example, I increased the Exposure of that image with her holding the gray card so it matched the other images, and you don’t want those other photos to be brighter; you just want to synchronize the white balance. So, from the Synchronize pop-up menu, choose White Balance and it deselects all the other ACR edits and just leaves White Balance checked.


ONE CLICK AND YOU’RE DONE
Now, just click the OK button and it instantly applies that gray card white balance setting to all your other selected images.

THERE MIGHT BE AN EVEN QUICKER WAY
If you know right up front that you want to change the white balance for all the images in your shoot to match the one where your subject is holding the gray card, then your workflow is slightly different (and much faster). Let’s start over. Press-and-hold the Option (PC: Alt) key and click the Reset button (it’s where the Cancel button used to be). Now, we’re back where we started when we first opened the images in Camera Raw.

First, click the Select All button near the top of the filmstrip. This selects all of your open images, whether it’s 20 or 2,000. Now, click on the photo with the gray card it in, then click the White Balance eyedropper on the gray card itself, and voilà ! All the images are immediately changed to that white balance. It couldn’t be easier or faster because you bypass Synchronize altogether, since you’re applying the changes to every photo and not just selected ones.

This article is courtesy of Photoshop User magazine, the official publication of KelbyOne, which provides quality online education for creative people. For more information, visit KelbyOne.com.
