
Portraits: Impact Lighting Tutorial | KelbyOne Blog

Portrait Lighting Tutorial: Impact Lighting
It’s amazing how you can change the mood in a photograph by using soft light, hard light, or in this case, a combination of both. For this photo shoot, I’ve chosen to use constant lights—Westcott Spiderlite TD6 with daylight-balanced fluorescent bulbs—because the bulbs are frosted, and when all six bulbs are turned on, it has a glow of light.
When using a shallow softbox mounted on the TD6, I’ve developed a certain technique: By pulling the diffusion material halfway down, I can expose the frosted bulbs on the top portion of the softbox, allowing greater impact out of the light source. This technique works because the bulbs are frosted and produce a glow of light when used with no modification. In this case, the softbox is used only to direct the light, and the diffuser only to graduate the light.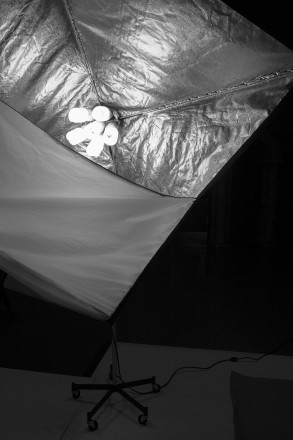
Step One
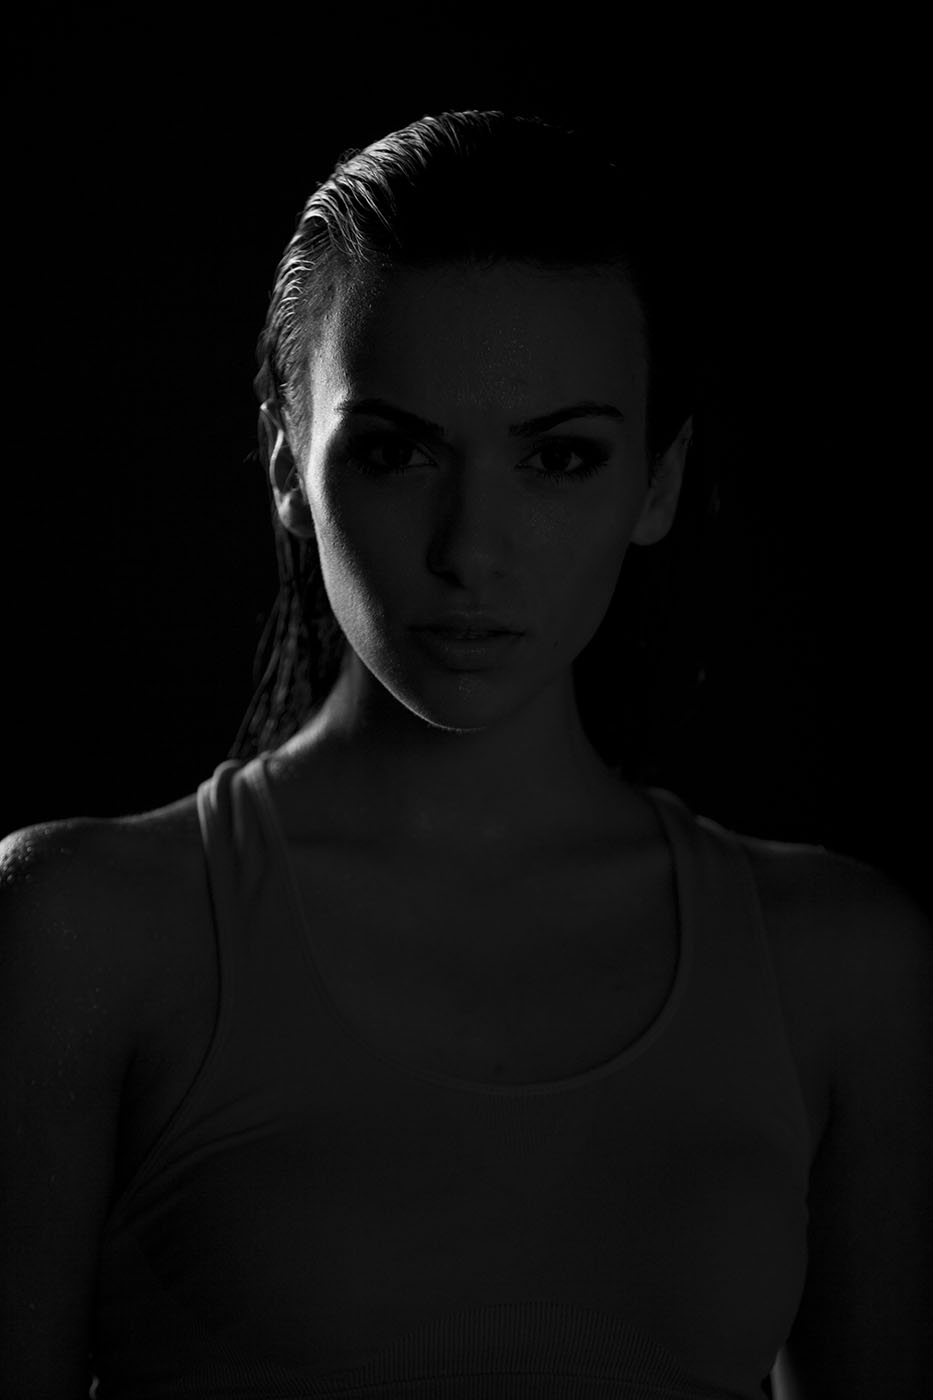
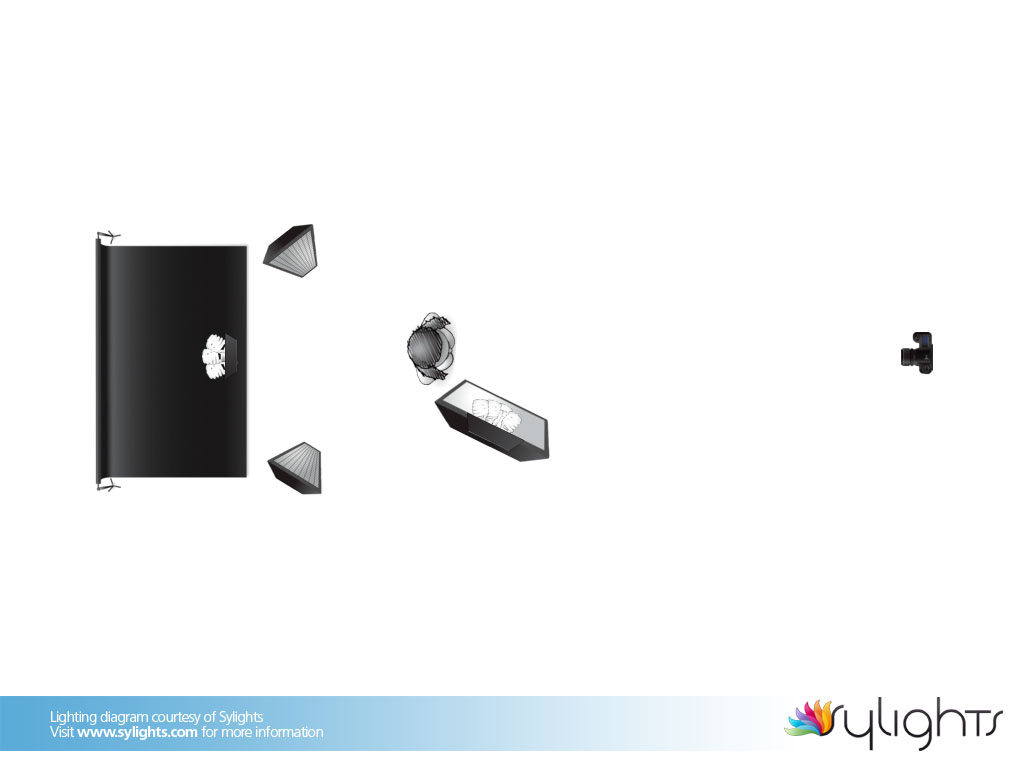
I mounted a stripbank with a 40° grid on a Spiderlite TD6 with six 50-W, daylight-balanced fluorescent bulbs inside, then I placed the light far enough behind the subject to accent the side of Laura’s face without spilling any light onto her nose. The grid is added to help direct the light and to keep it from spreading.
Step Two
Next, I placed another stripbank on the opposite side to help create rim light and outline the subject. Again, the grid is used to keep from spreading light onto the background or the camera.
Step Three
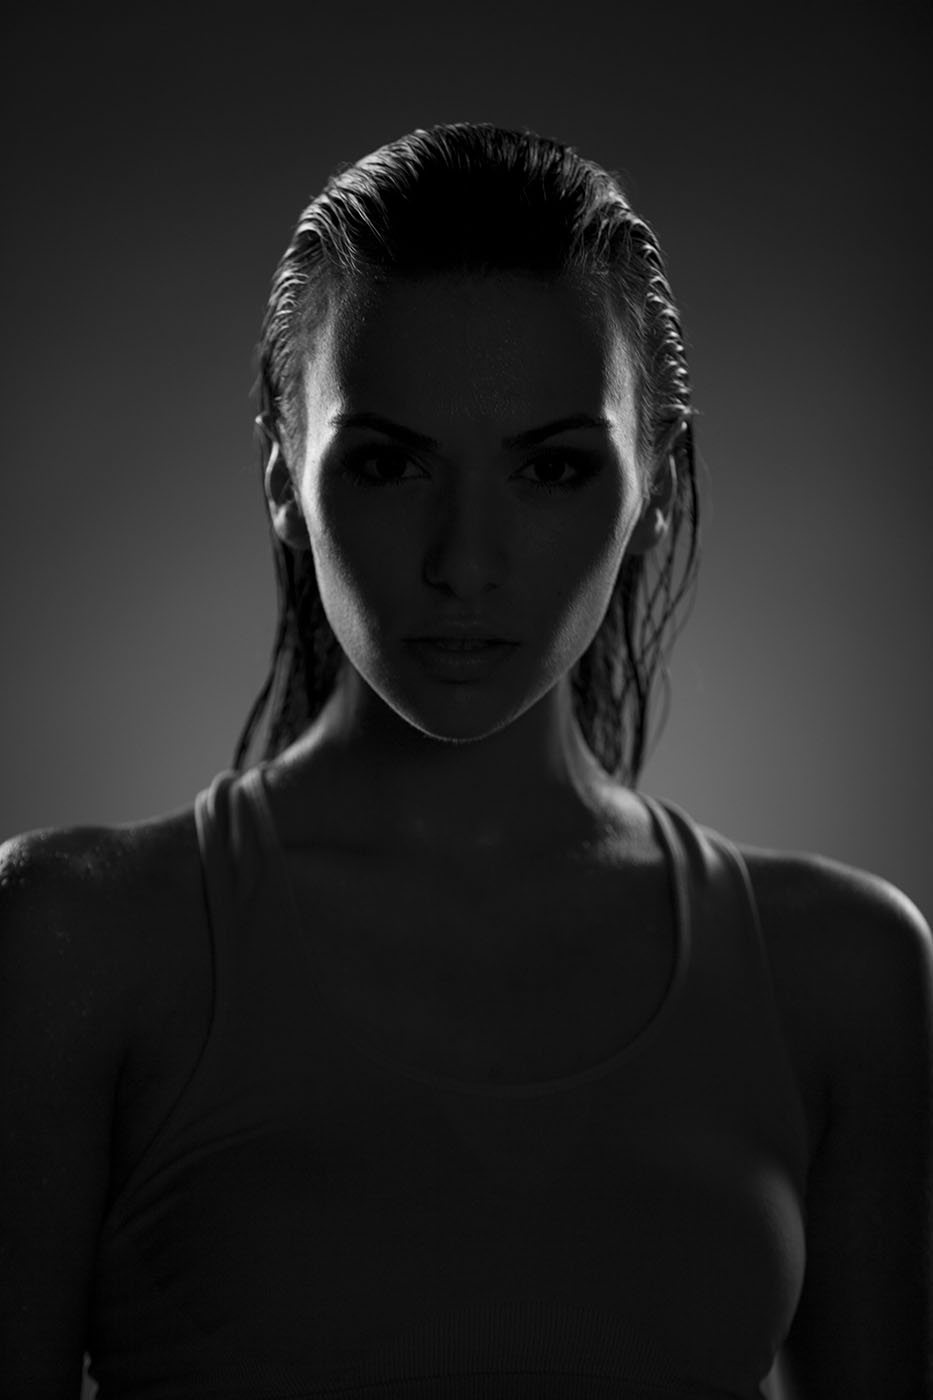
Then I added a Spiderlite TD3 with three 32-W, daylight fluorescent bulbs with a half shell reflector behind the subject. This will be used to light the background.
Step Four
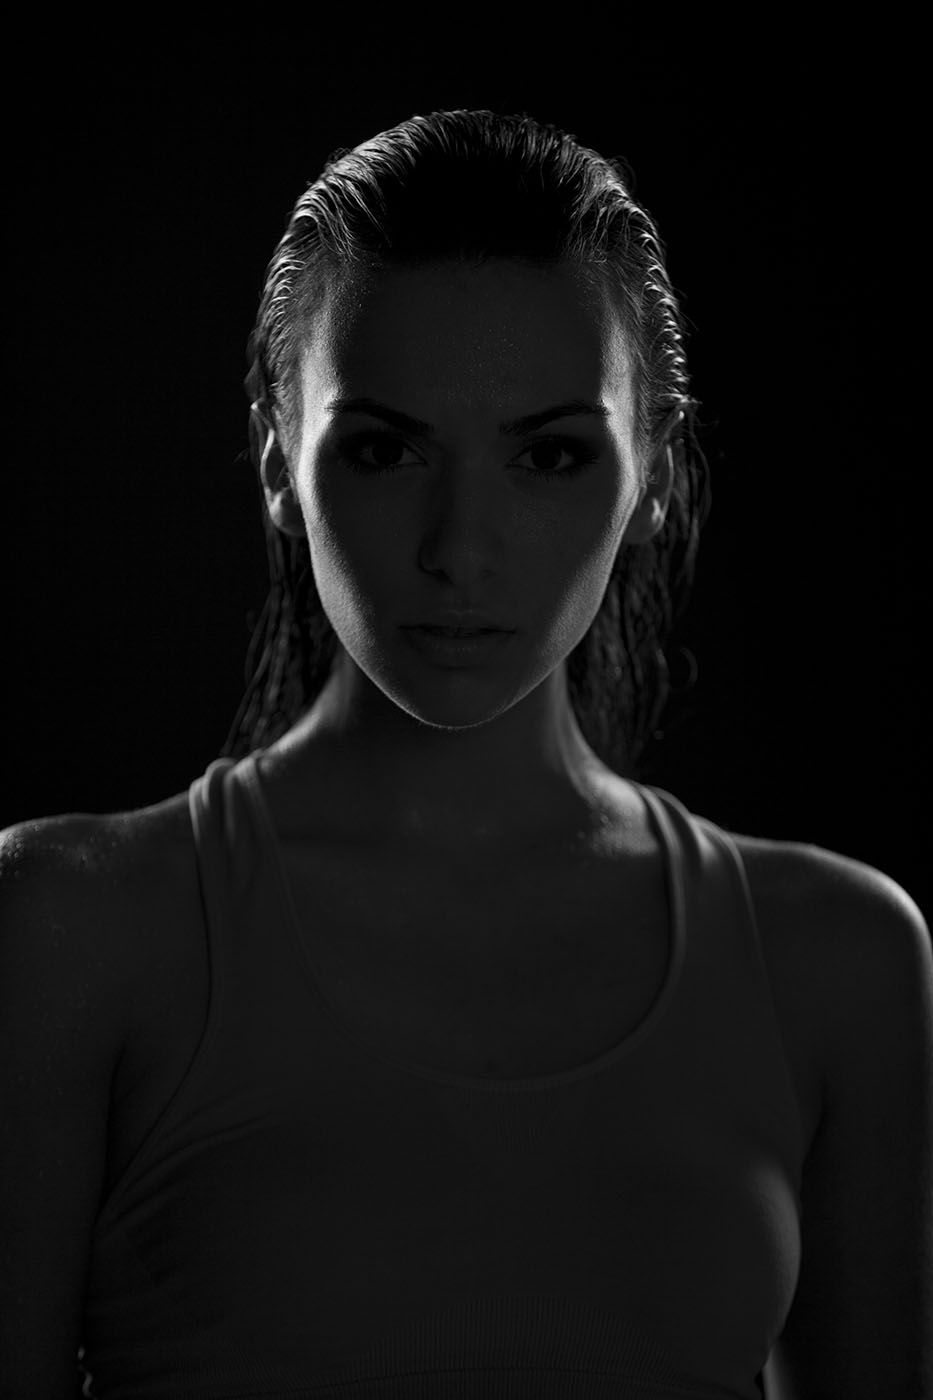
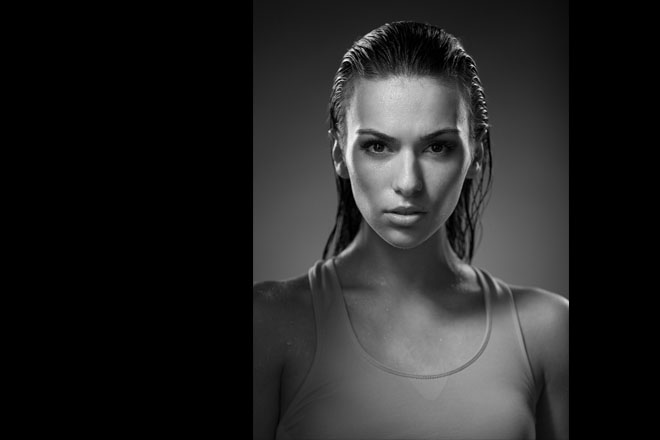
Now, I’ve mounted a 54×72″ shallow softbox on the TD6 with the diffuser fully on the front. Notice how this type of soft lighting lacks in impact when compared to the final image.

Step Five
For this image, the diffusion on the front of the softbox is pulled down halfway, which exposes the frosted bulbs, leaving the bottom portion of the diffuser to graduate the light on the body. I rotated and turned the softbox to feather it, and placed the center of the light source at her face. This will achieve fast fall-off without dodging, burning, or multiple layering.
Note: The same results could be achieved by using a spotlight aimed at the face and a softer light behind it, lighting the rest of the body. Then, using scrims and flags, you could create the fall-off light; however, the TD6 does it all at one time by using the techniques discussed here.
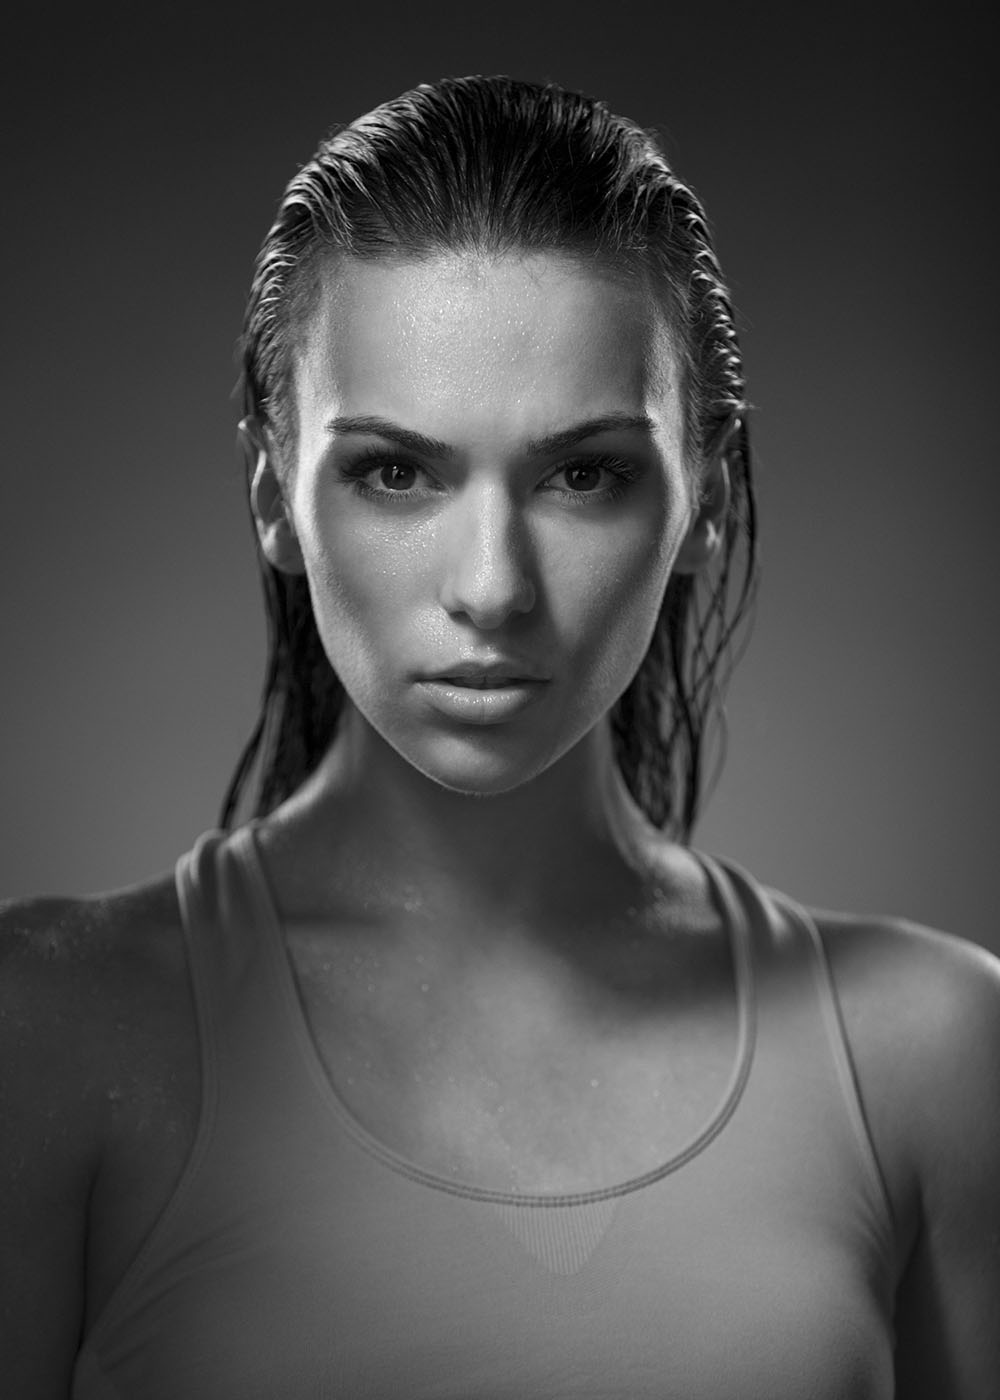
Lastly, I’ve chosen to produce this photograph in black and white so you can see the highlights and shadows better.
What is next in your reading list? Try a tutorial by Scott Kelby for more reading on a dramatic light setup or check out this tutorial on how we designed a recent cover using Geometric Effects.
