
Excerpt from The Adobe Photoshop CC Book for Digital Photographers (2014 Release)
This is just about the hottest Photoshop portrait technique out there right now, and you see it popping up everywhere, from covers of magazines to CD covers, from print ads to Hollywood movie posters, and from editorial images to billboards. It seems right now everybody wants this effect (and you're about to be able to deliver it in roughly 60 seconds flat using the simplified method shown here!).
Step One:
Open the photo you want to apply this trendy desaturated portrait effect to. Duplicate the Background layer by pressÂing Command-J (PC: Ctrl-J). Then duplicate this layer using the same shortcut (so you have three layers in all, which all look the same, as shown here).

CREDIT—SCOTT KELBY

Step Two:
In the Layers panel, click on the middle layer (Layer 1) to make it the active layer, then press Command-Shift-U (PC: Ctrl-Shift-U) to Desaturate and remove all the color from that layer. Now, lower the Opacity of this layer to 80%, so just a little color shows through. Of course, there's still a color photo on the top of the layer stack, so you won't see anything change onscreen (you'll still see your color photo), but if you look in the Layers panel, you'll see the thumbnail for the center layer is in black and white (as seen here).

Step Three:
In the Layers panel, click on the top layer in the stack (Layer 1 copy), then switch its layer blend mode from Normal to Soft Light (as shown here), which brings the effect into play. Now, Soft Light brings a very nice, subtle version of the effect, but if you want something a bit edgier with even more contrast, try using Overlay mode instead. If the Overlay version is a bit too intense, try lowering the Opacity of the layer a bit until it looks good to you, but honestly, I usually just go with Soft Light myself.


Step Four:
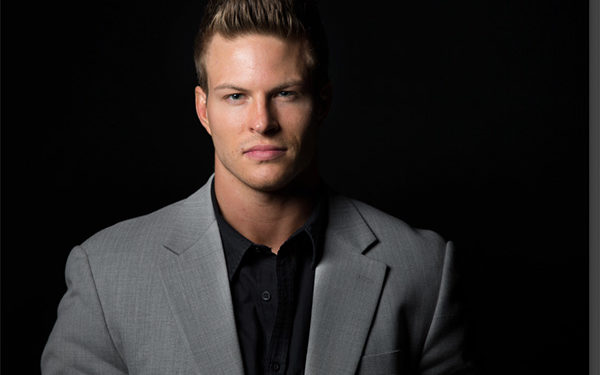
Our last step is to limit the effect to just our subject's skin (of course, you can leave it over the entire image if it looks good, but normally I just use this as a skin effect. So, if it looks good to you as-is, you can skip this step). To limit it to just the skin, press Command-Option-Shift-E (PC: Ctrl-Alt-Shift-E) to create a merged layer on top of the layer stack (a merged layer is a new layer that looks like you flattened the image). You don't need the two layers below it any longer, so you can hide them from view by clicking on the Eye icon to the left of each layer's thumbnail (like I did here), or you can just delete them altogether. Now, press-and-hold the Option (PC: Alt) key and click on the Add Layer Mask icon at the bottom of the Layers panel to hide our desaturated layer behind a black mask. Press D to set your Foreground color to white, get the Brush tool (B), choose a medium-sized, soft-edged brush from the Brush Picker in the Options Bar, and just paint over his face, hair, and neck (or any visible skin) to complete the effect. If you think the effect is too intense, just lower the Opacity of this layer until it looks right to you. That's it!


Learn how to do more from The Adobe Photoshop CC Book for Digital Photographers (2014 Release) here: http://kel.by/skccbook

