
The High-Contrast Portrait Looks
Lightroom’s Clarity slider increases midtone contrast, and does a pretty nice job of enhancing texture and giving your subjects a gritty look, but if you really want to take it to the next level, jump over to Photoshop and apply this high-contrast, mutli-layer tonal contrast effect. This is a simplified version of a technique I learned from German retoucher Calvin Hollywood, who shared his technique during a stint as my special guest blogger on my blog (http://scottkelby.com).
Step One:
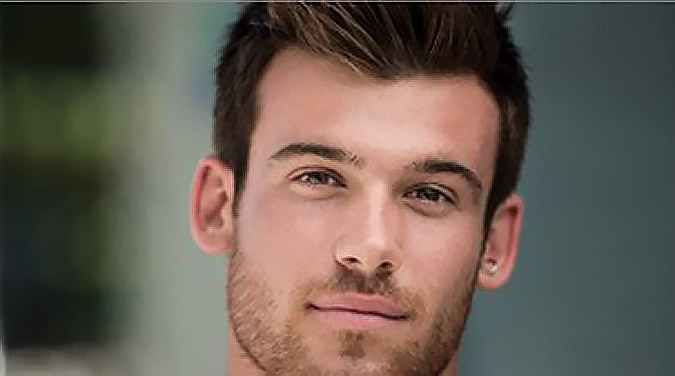
Open the image you want to apply a high-contrast look to in Photoshop. This effect seems to look best on shots that have a lot of contrasty lighting (I usually put two lights behind my subject, one on either side, to create a bright rim light on either side of their face, and then I fill in the shadows with a beauty dish), but it also looks good on this shot taken with natural light in the shade of a tree, so it's worth trying even if you don't have contrasty lighting.

Step Two:
Make a copy of your Background layer by pressing Command-J (PC: Ctrl-J). Now, go to the Layers panel and change the blend mode of this duplicate layer from Normal to Vivid Light (in the pop-up menu near the top left of the panel). I know it doesn't look pretty now, but it'll get better in a few more moves.

Step Three:
Now, press Command-I (PC: Ctrl-I) to Invert the layer. It should look pretty gray at this point (like the image you see here).

Step Four:
Next, go under the Filter menu, under Blur, and choose Surface Blur. When the dialog appears, enter 40 for the Radius and 40 for the Threshold, and click OK (it can take a while for this particular filter to do its thing, so be patient. If you're running this on a 16-bit version of your photo, this wouldn't be a bad time to grab a cup of coffee. Maybe a sandwich, too).

Step Five:
We need to change the layer's blend mode one more time, but we can't change this layer's blend mode from Vivid Light or it will mess up the effect. So, instead, we're going to create a new layer at the top of the layer stack that looks like a flattened version of the image. That way, we can change its blend mode to get the effect we need. This is called "creating a merged layer," and you get this merged layer by pressing Command-Option-Shift-E (PC: Ctrl-Alt-Shift-E). If you look at the Layers panel now, you'll see the Background layer (on the bottom, of course), then the Surface Blur layer, and then this new merged layer at the top of your layers stack in the Layers panel (as seen here).

Step Six:
Now that you have this new merged layer, you need to delete the middle layer (the one you ran the Surface Blur filter on), so click-and-drag it onto the Trash icon at the bottom of the Layers panel. We now have to deal with all the funky neon colors on this layer, and we do that by simply removing all the color. So, go under the Image menu, under Adjustments, and choose Desaturate to remove all the color (so now this layer is just gray).

Step Seven:
Okay, we're almost done. Change the blend mode of your merged layer (the one named Layer 2) to Overlay, and now you can see the tonal contrast effect applied to your image. Unfortunately, we're experiencing a side effect of applying it—the white glow you see around his hair and shoulder on the right. There are two ways to fix this: (1) Click on the Add Layer Mask icon at the bottom of the Layers panel (the third icon from the left) to add a layer mask. Get the Brush tool (B), choose a small, soft-edged brush from the Brush Picker up in the Options Bar, set black as your Foreground color and paint over the edge of his hair and shoulder, and it returns them to normal (you're hiding the effect in that area by masking it away). Or, (2) Option-click (PC: Alt-click) on the Add Layer Mask icon. That hides your tonal effect layer behind a black mask. Switch your Foreground color to white and paint in the effect over your subject's skin, but avoid the edge of his hair and shoulder. That's it.

This is an excerpt from Scott Kelby’s book, Photoshop for Lightroom Users.

