
The Digital Camera: Basic Photography Tips for Photoshop Users
“I know more about Photoshop than I do about photography.”
Hey, that’s not me talking! That’s a comment I heard from several attendees at my presentations at the recent Photoshop World in Miami (be there or be square). With that in mind, I thought I’d share some photographs I took on a 2006 adventure to Bhutan—known to travelers as “The Land of the Thunder Dragon.” (Bhutan, the most mountainous country I’ve ever visited, sits on the right shoulder of India and is bordered by Tibet to the north.) Each photograph is accompanied by a photo technique that I took into consideration before pressing the shutter release button.
Sure, it’s fun to work and play with our images in Photoshop; however, I can’t stress enough the importance of getting the best possible in-camera image. So, here are a few basic photography tips to keep in mind when you’re looking through your camera’s viewfinder. Note that these photographs are all RAW files taken with my Canon EOS-1D Mark II (telephoto shots taken with my 70–200mm IS lens) and Canon EOS-1Ds Mark II (wide-angle shots taken with my 17–40mm lens). Also, I used basic image enhancements in Adobe Camera Raw and in Photoshop to process my RAW files.
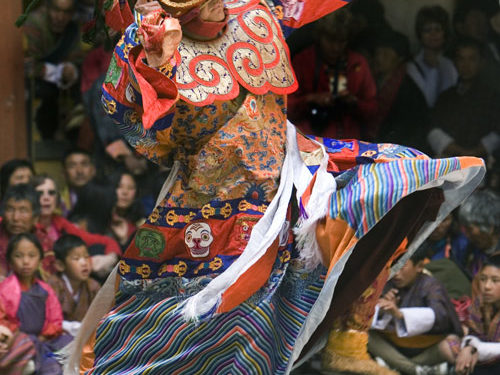
Create a sense of depth:
We see the world in three dimensions: height, width, and depth. Our cameras record only two: height and width. As photographers, it’s our job to try to create a sense of depth in our pictures. One method is to use a foreground object when composing a wide-angle scene. For the main image at the beginning of this article, I used a dancer at the annual festival at Dzongdrakah as my foreground object. Other methods for creating a sense of depth are to photograph a scene at an angle (I did that here, too), and to include shadows in a scene, such as those we get in the early morning and late in the day when shooting outdoors on sunny days.
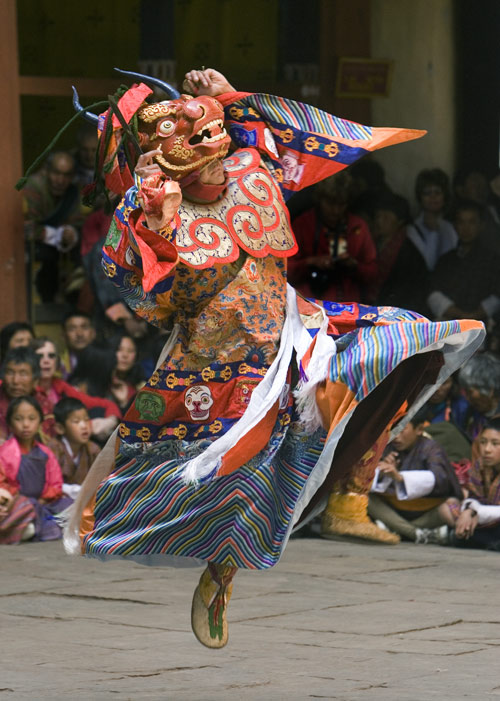
Stop or blur action:
Forget about setting your camera on P (Program) when photographing moving subjects: Tv (Time Value or shutter priority) or Manual are the ways to go. Pick a fast shutter speed (at least 1/500 second) to stop action, as I did here when photographing a dancer at the annual festival in Paro. To blur action, experiment with slow shutter speeds, perhaps starting at 1/30 second. Also, for best results when photographing action, use your camera’s focus tracking AF mode, which tracks a moving subject right up until the moment of exposure.
Go for total focus: We see scenes in total focus. When it comes to lenses, the longer the lens, the less we get in focus in front of and behind the subject on which we focus. To get entire scenes, such as this festival scene, in focus, follow this technique: use a wide-angle lens (I used the 17mm setting on my 17–40mm zoom), a small f-stop (I used f:11), and set your focus 1/3 of the way into the scene (in this case slightly behind the main dancer in the foreground). You can set that focus point using the focus lock on your camera.

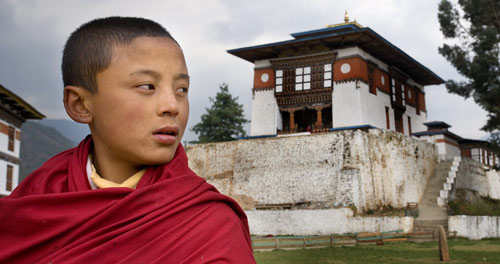
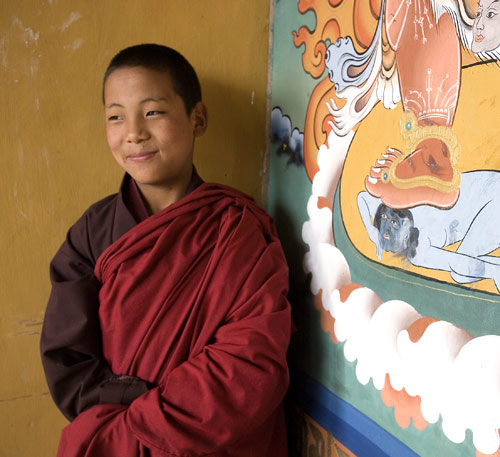
Dead center is deadly: If you check out all the images in this article, you’ll see that none of the main subjects are in the center of the frame (for the portraits, the heads are off-center). When composing a picture, try to imagine a tic-tac-toe grid over the frame and place the main subject where the lines intersect, as I did for this portrait of a young monk at a dzong (fortress/temple). (You’ll also hear this referred to as the rule of thirds.) This image looks like a wide-screen image, which was my goal when I took the picture. Simple cropping like this can dramatically change the impact of a picture.
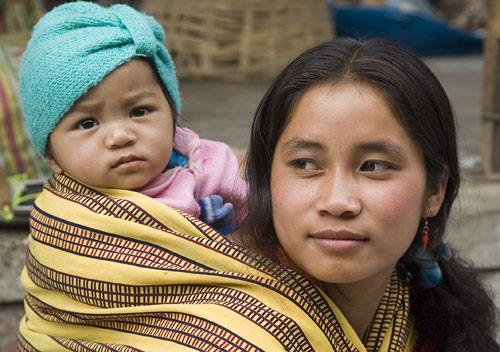
See eye-to-eye: When it comes to people pictures, it’s important to shoot at the subject’s eye level. (Some fashion photographer’s might not agree. They often shoot women from a lower angle to create a feeling of superiority.) For this image of a mother and her daughter at a market, I crouched down so I could see eye-to-eye.
Make a picture:
There’s a big difference between taking a picture and making a picture. Sure, I take pictures, but as a travel photographer, I often make pictures, asking the subject to move here or there in a scene. I made this picture of a young monk by a beautiful painting by simply asking him to walk into the frame and look out into the courtyard. I love the quality of light in this natural “studio.”
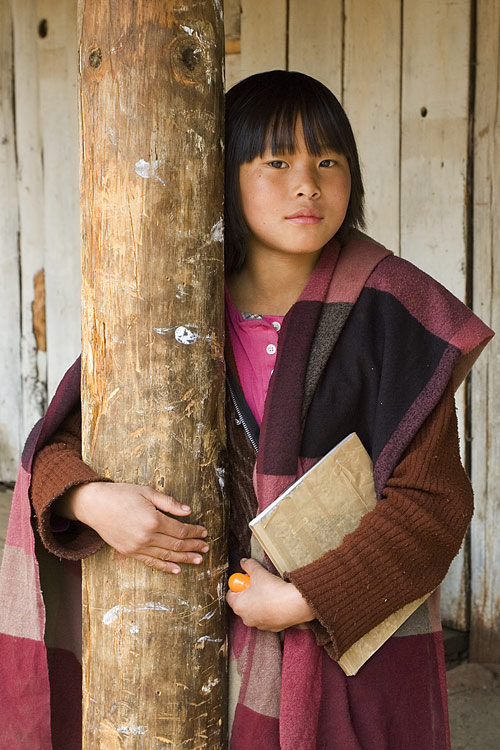
The camera looks both ways: Perhaps the most important people photography tip I can offer is this: The camera looks both ways; in picturing the subject, we’re also picturing a part of ourselves. In other words, the feelings, emotions, and the energy we project is reflected in our subject. When I was photographing this young girl in a remote village, I projected the feeling of sincerity and respect—and happiness that I was photographing her.
While on the subject of people photography, it’s best to shoot on an overcast day, when there’s no direct sunlight to cast unflattering shadows on a subject’s face. In Bhutan, I was very, very lucky. It was overcast every day!
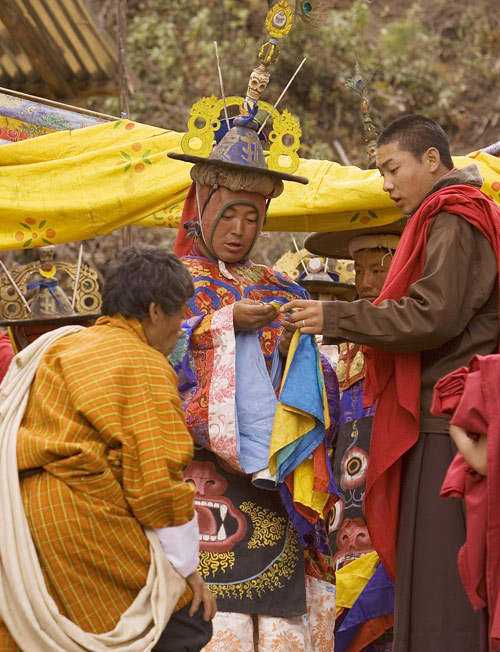
Go behind the scene: Sure it’s fun to shoot on “center stage,” whether we’re at a festival in Bhutan or at a soccer game in our neighborhood. When I’m at an event or location, I try to “tell the whole story.” I go behind the scene to capture important parts of the story, as I did here, showing the dancers preparing to perform at the annual festival at Dzongdrakah.
Be aware!
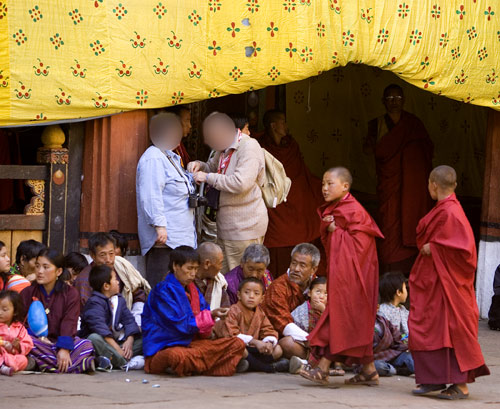
When we’re photographing, we need to be aware of what’s going on all around us. That includes being aware of our role in the scene. At the sacred Paro festival, these tourists were totally numb—the only ones standing at the entrance to the festival area—making it very difficult for photographers to capture the dancers as they looked hundreds of years ago. Worse still, they distracted the dancers and local participants from the sacred event. (I used the Gaussian Blur filter to protect their identities.)
Have fun:
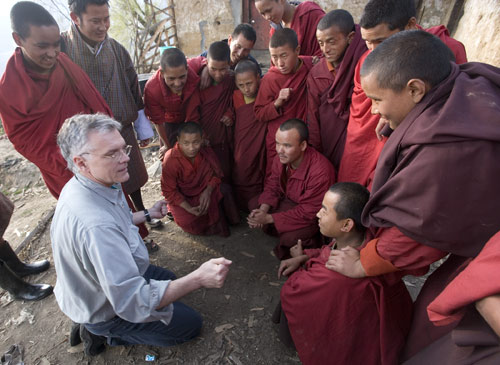
Sure we can think about shooting RAW files (a must in my book), setting the lowest possible ISO for the cleanest possible image, choosing the best f-stop and shutter speed combination for the optimum results, and using the right lens for the situation, but we also need to have fun when we’re out shooting. For me, fun is a big part of my photography. Here I’m doing a simple coin trick for some monks I met in a dzong. Check out their faces: Every monk is intently focused on me. Now that’s real magic. By the way, I often do magic tricks when traveling to get people to like or accept me before a photo session.
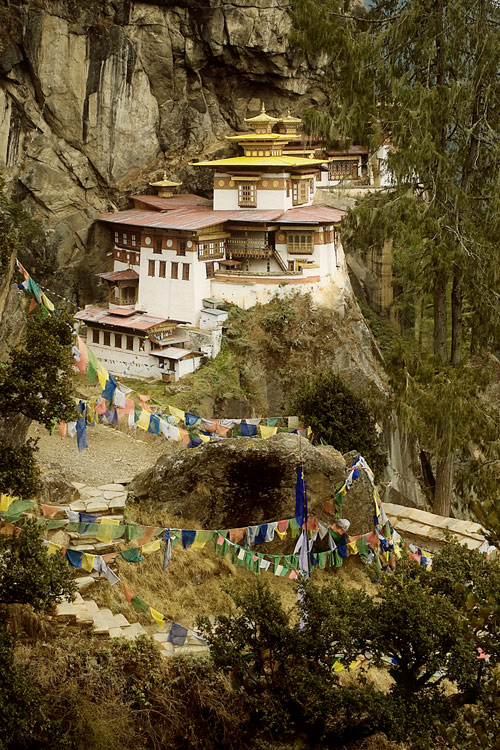
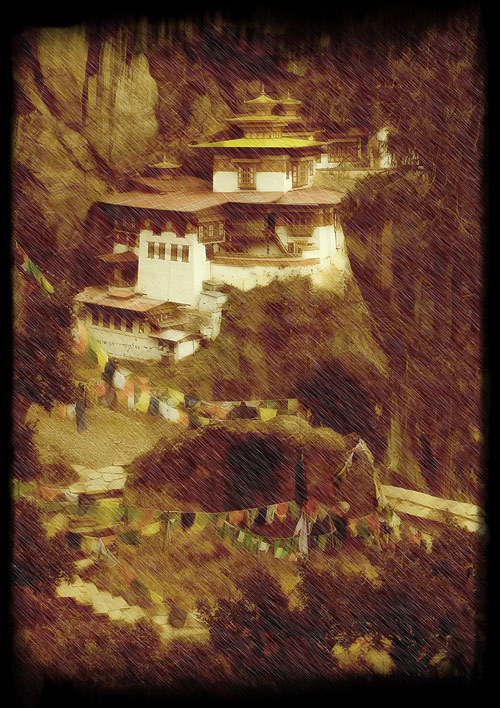
I couldn’t resist sharing a before-and-after Photoshop image with you. I like the color image of Tiger’s Nest temple (at 10,000 feet it’s quite a hike). But I also like the Photoshop-enhanced image. I first applied the Aged Photo action and then the Light Rain action. (To access these actions, go to Window>Actions, click the flyout menu at the top of the Actions palette, and choose Load Actions from the menu. In the dialog that appears select Image Effects.atn and click Load. These actions now appear in your Actions palette.)
To add to the old-time feeling of the picture, I used the Emulsion frame from onOne Software’s PhotoFrame 2 to create a different version of the scene (www.ononesoftware.com).
Okay, I gotta go! I actually want to play around more with my Bhutan images in Photoshop.
