
Setting Your White Point and Black Point
CREDIT: SCOTT KELBY
One way to get the most out of your image editing is to expand the tonal range of your photo by setting your white point and black point (this is something Photoshop users have done for many years using Photoshop's Levels control). We do this using the Whites and Blacks sliders. We increase the whites as far as we can without clipping the highlights, and increase the blacks as far as we can without clipping the deepest shadows too much (although, I personally don't mind a little shadow clipping), which expands the tonal range big time.
Step One:
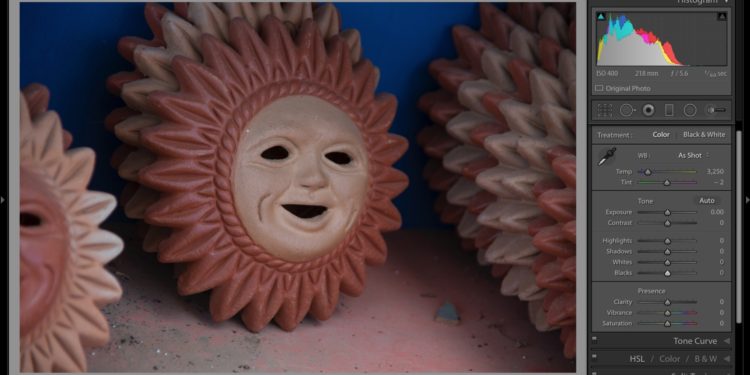
Here's the original image and you can see it looks pretty flat. When you see a flat-looking shot like this, it's a perfect candidate for expanding its tonal range
by setting the white and black points (right in the Basic panel, below HighÂlights and Shadows).

Step Two:
Start by dragging the Whites slider to the right until you see the "White Triangle of Death" (errrr, I mean the white triangle-shaped clipping warning) up in the top-right corner of the Histogram panel (at the top of the right side Panels area) and back it off a bit until the triangle turns solid black again. That's as far as you want to take it. Any farther and you can damage (clip) the highlights. You can do the same thing with the Blacks slider, but to add more blacks (and expand the range), drag to the left until you see the shadow clipping warning (in the top-left corner of the Histogram panel) turn white. I think some things should actually be solid black in a photo, so if I clip the shadows a bit but the photo looks better to me, I go with it. Just sayin'. Anyway, I'm clipping the shadows a bit here and it still looks good to me.

Step Three:
You can get an onscreen preview of any clipping by pressing-and-holding the Option (PC: Alt) key before you drag either the Whites or Blacks sliders. When you do this with the Whites slider, the image turns black (as seen here). As you drag to the right, any areas that start to clip in individual channels (not as critical) start to appear in that color. So, if you're just clipping the Red channel, you'll see areas appear in red (as seen here) or if they're yellow or blue, you're just clipping those channels. I pretty much let that go for the most part, but if I see areas start to appear in white (all three channels are clipping. Ack!), I know I've gone too far and I back it off to the left a little. If you press-and-hold the Option key with the Blacks slider, it's the opposite. The image turns solid white and as you drag the Blacks slider to the left, any parts that become solid black start to appear in either the color of the channel that's clipping, or in black if all the channels are clipping.

Step Four:
Okay, now that I've gone over the manual way to set your white and black points, and how to use the Option (PC: Alt) key to keep you from clipping either the highlights or shadows, here's what I actually do in my own workflow: I let Lightroom automatically set them for me. That's right, it can automatically set both for you, and it's pretty good at pushing the sliders as far out as they can go without clipping (it does, though, sometimes clip the shadows a bit, but, again, you know how I feel about that). Here's how you have it set them automatically (this is so simple): Just press-and-hold the Shift key, then double-click on the Whites slider knob and it sets your white point; double-click on the Blacks slider knob and it sets your black point. Yes, it's that easy, and that's what I use in my own workflow. By the way, if you Shift-double-click on either one and it doesn't move, then it's already set as far as it should go.

By Scott Kelby
Excerpt from The Adobe Photoshop Lightroom CC Book for Digital Photographers
Learn how to do more from The Adobe Photoshop Lightroom CC Book here: http://kel.by/lrccbook

