
Light & Shading Effects

Highlights and shadows can be added to art in a number of ways. The method you choose will be determined by the needs of the image and the level of time and sophistication the project calls for. In this article, we’ll look at two common techniques: tint gradients and highlight/shadow objects.
Tint Gradients
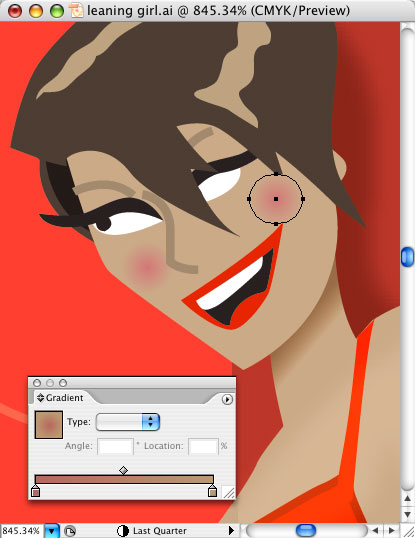
A tint gradient is one that goes between two related colors. Usually it will be a color and a darker or lighter version of that same color. This is used to create simple shading and lighting effects. For example, when working on a portrait, you may wish to create a shadow under the chin of your subject. This can be done by starting with the flesh color of the neck and then creating a darker tint gradient. The dark end of the gradient is set up under the chin, creating the falling shadow. Conversely, to add blush to a cheek, you could use a radial gradient from a shadow version of the color
To set up a tint gradient, take the following steps:
1
Choose a color to begin with. In this example, it’s the basic flesh tone.
2
Making sure you don’t have anything selected, drag the starting color directly into the color ramp in the Gradient palette. A gradient slider will be created in the ramp.
3
Drag the gradient slider you have just created to the right or left in the ramp. Hold down the Option (PC: Alt) key as you drag. This creates a duplicate slider.
4
Delete all of the other sliders in the ramp by dragging them off the ramp. Only the two new sliders should remain, creating a one-color gradient.
5
Select one of the sliders to tint. To tint a process color, shift-drag one of the sliders in the Color palette. All of the sliders will move together, creating a lighter or darker version of the color. When making shadows, you may also add a little black to the color build as well.
6
Save the gradient as a swatch by clicking the New Swatch button in the Swatches palette. The gradient may be linear or radial, depending upon how it is to be used.

Here the base color of the face and neck is used as one of the steps in the shading gradients. In the neck, we blend from the face color to a darkened tint of the same color. In the cheeks, we just added magenta and blended to the surrounding face color.
Highlight & Shadow Objects
Blend modes are often used to create highlight and shadow colors automatically. The color of the top object and the colors of the items below are combined to produce the lighting effect. The colors are updated automatically as items are modified. This is often used in conjunction with masks and effects. Let’s set up a shadow or highlight using blending modes:
1
Select the item that will receive the highlight or shadow. Note the color of the object’s fill. If the fill is a gradient, pattern or style, try to get a sense of the overall color. You’ll use this color when creating the lighting effect objects. If the colors the lighting effect cover are too varied, consider using a representative color or gray.
2
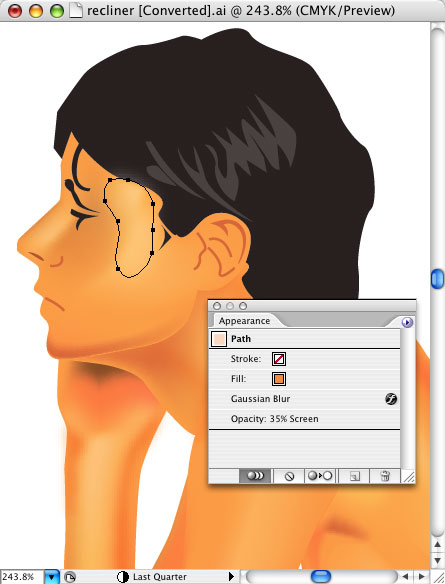
Create an object that outlines the highlight or shadow area. Set the fill to the color of the object beneath it. Many users click with the Eyedropper tool on the lower object to sample the lower object’s fill. Do not apply a stroke to this object.
3
Set the lighting object’s blending mode to Multiply to create a shadow version of the color. Set it to Screen to create a highlight. In some cases, Soft Light or Hard Light will produce good results as well.
4
If the lighting impact of the objects is too great, lower the Opacity of the blend. In the event that colors are incorrect, consider adjusting the colors of the top object.

5
To smooth out the effect, consider applying Effect: Blur: Gaussian Blur to the lighting objects.
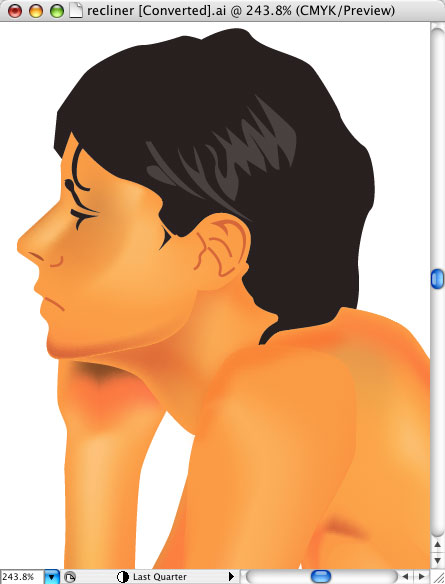
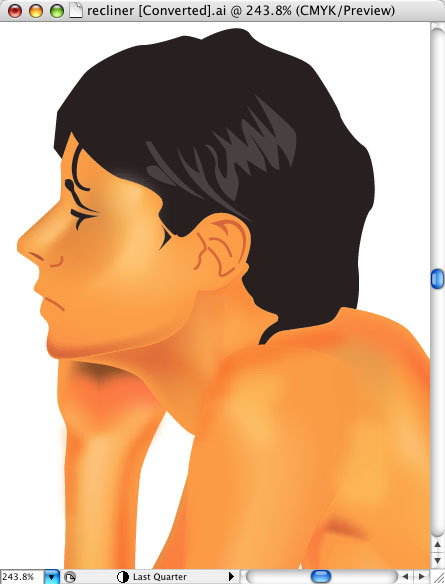
Here, basic tones were set up using a gradient mesh. But to avoid spending time creating a super complex mesh, some highlights and shadows are added manually. The highlight fill is the same color as the cheek, but setting it to Screen makes it lighter. Giving it a blur smoothes the effect into the background. Conversely, the shadow object is also the same color as the skin but is set to Multiply.
