Logo Mania: Create Raster-Looking Logos in Adobe Illustrator
This article is a follow-up lesson to Corey Barker’s article in Adobe Illustrator Techniques’ newsletter. Corey demonstrates how to create a glare and text effects for his “Trucks” logo.
1
I begin with the original shape of the shield and simply scale it down to where it’s just inside the gradient area and fill with white and now stroke color.
2
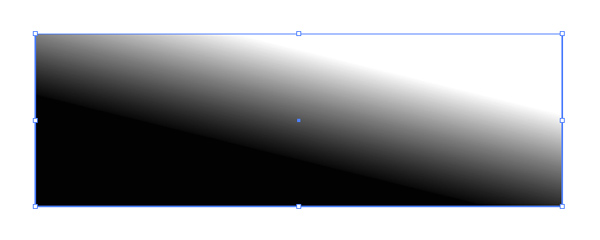
Next draw a new rectangular shape that is just bigger than the white shield object. Then with the gradient tool, apply a white to black gradient as seen here.
3
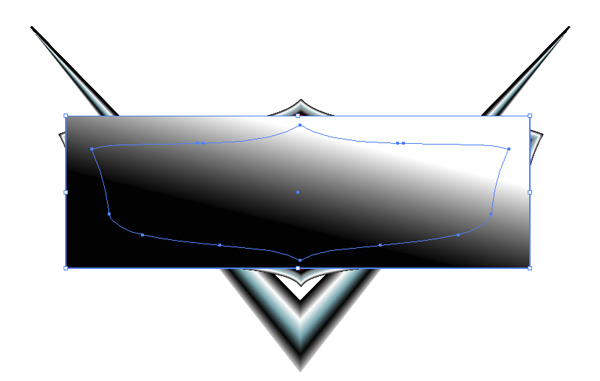
Now place the gradient over top of the white object and select them both.
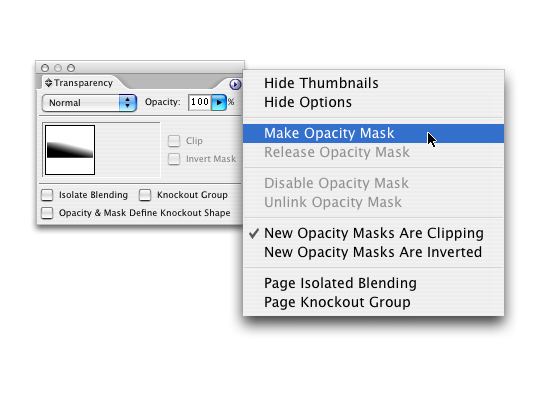
4
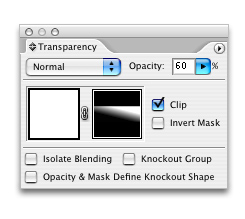
Bring up your transparency palette by going under the Window menu then down to Transparency. Here in this palette go to the sub menu and select Make Opacity Mask. This will apply a mask to your object and only reveal parts covered by the white and gray areas of the gradient and anything under the black area will be invisible. .

5
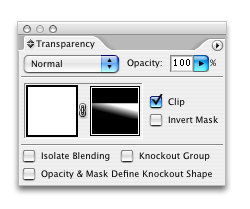
Now in the same Transparency palette lower the overall opacity to about 60%.