
This tutorial will show you how to start off with a static Adobe PDF form, convert it to an interactive form so it can be filled out with Adobe Acrobat or Adobe Reader, and distribute it via the new Acrobat.com service.
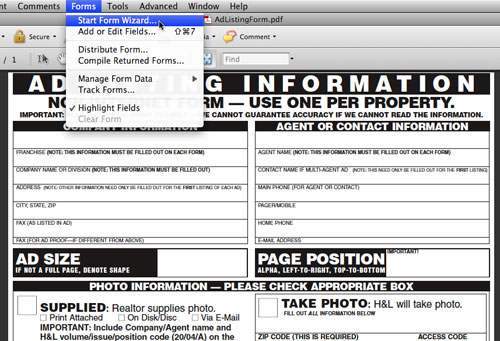
STEP 1 Open Form in Acrobat
Open up the existing PDF form and start the Form Wizard (Forms>Start Form Wizard). This is an improvement of the former Run Form Recognition option in Acrobat 8. In the Create or Edit Form dialog that opens, choose to either start with an existing PDF or scan a paper form in. Next, locate your PDF or choose to use your current document.
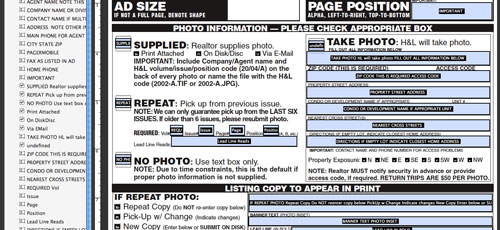
STEP 2 Review Form
Review form fields. To fix any fields that didn’t convert correctly, go to Forms>Add or Edit Fields. (Much of this will depend on the design of original form. Make a note of conversion errors and use that info when designing new forms or updating old forms.)
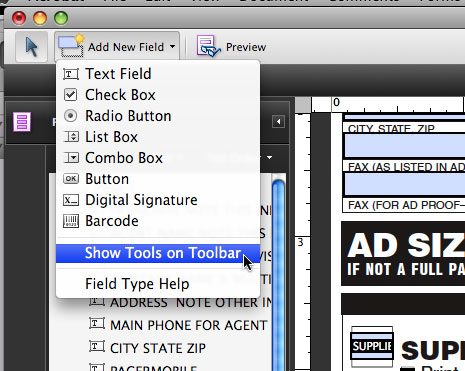
STEP 3 Add or Edit Fields
Add or Edit Fields will add the form tools to the document window. If you want to see all the tools at once, select Show Tools on Toolbar. You make edits the same as prior versions.
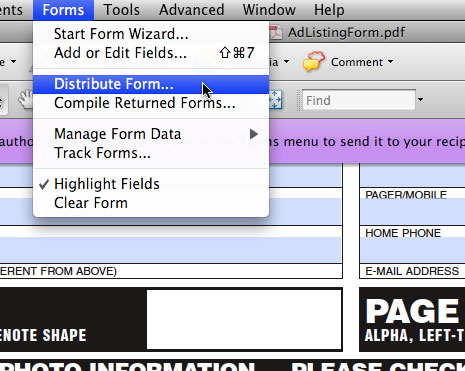
STEP 4 Distribute Form
When the form is ready, select Forms>Distribute Form.
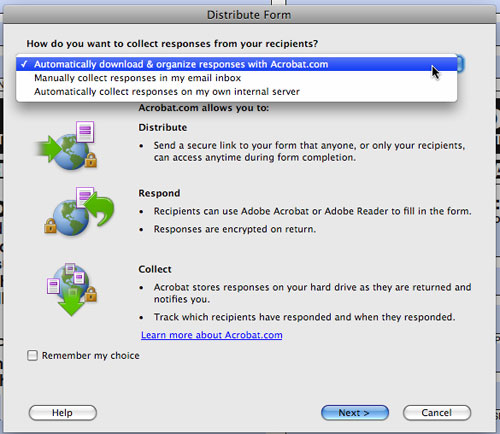
STEP 5 Choose Your Distribution Method
Choose your desired method of distribution: Acrobat.com, email, or server. For this example, we will be using Acrobat.com; the other methods are similar to the methods in Acrobat 8. If you don’t have an Adobe account yet, click on the Learn More About Acrobat.com link to set one up.
STEP 6 Email Form
Enter in your email address(es) or click the To button to open your default address book. Edit the message if desired. At the bottom, you can set the access level to anyone or just the recipients of your email. Then click the Send button.

STEP 7 Open Email
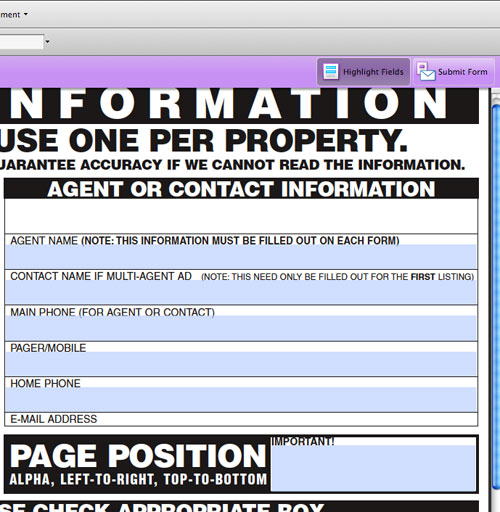
The recipients of the form just need to double-click the email attachment to open it up. When they’re finished filling it out, they can click the Submit Form button.
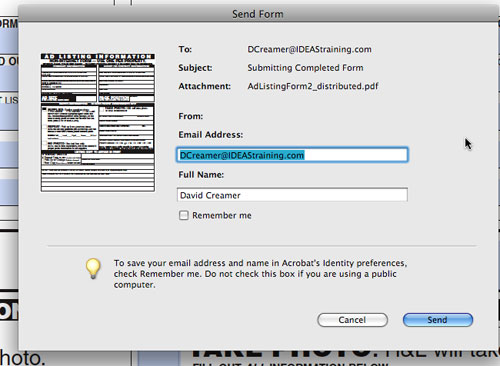
STEP 8 Send Form Info
The recipient double checks the Send Form info and clicks Send.
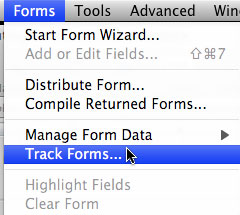
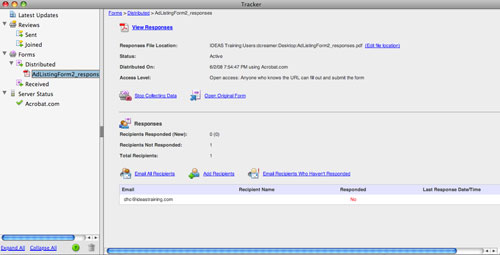
STEP 9 Open Tracker Dialog
Back at your computer, you can open the Tracker dialog box.
STEP 10 Monitor Tracking
The Tracker will show you any open comment reviews and distributed forms. Click on the form in question. (You can have multiple forms distributed at any time.) The Tracker will show how many responses you have received, allow you to stop collecting data, and either email all recipients or just those who haven’t responded.
STEP 11 View Responses
When you click on the View Responses link at the top, you’ll get a welcome screen. Click the Get Started button at the bottom of the window to get to your results. A spreadsheet opens that contains all of the data submitted for that form. You can view individual returns, filter the results by field content, export to CSV or XML, or archive the responses.

As you can see, the process is very simple overall. After you set up an Acrobat.com account (which can be used for other Acrobat features too), you simply distribute the form. If security is your top priority, you may decide not to use Acrobat.com. But for many users, it’s a very nice addition to the Acrobat family.
