Recently, I attended a seminar taught by wedding photographer David Ziser. While I learned a lot of good photography tips, one thing that caught my attention was an app David showed for laying out wedding albums. Typically, a wedding photographer has to narrow down his shoot to about 100 photos and then lay them out in a book that will be printed for clients to either purchase or buy prints from. So how would I do this in InDesign?
1 CREATE A NEW DOCUMENT
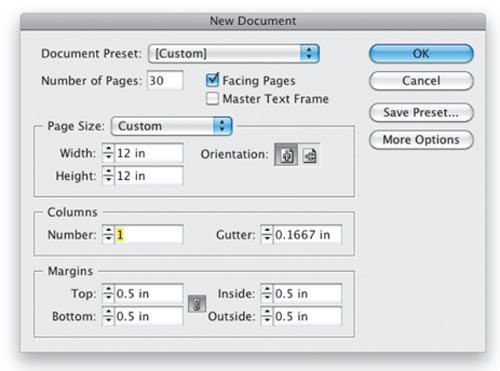
Choose File>New>Document. The size and number of pages will depend greatly on what your photo lab supports. In this example, let’s set up a 30-page album in spreads with page sizes of 12×12″ with a .25″ bleed (click the More Options button to access the Bleed and Slug options). Again, contact your lab and find out what size the pages need to be for the albums they print.
2 BRING UP THE PAGES PANEL
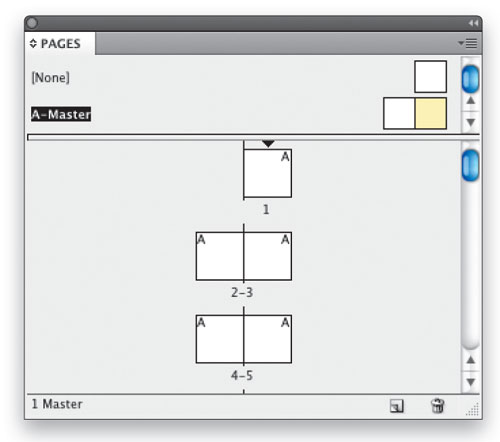
The next thing we’ll want to do is set up our master pages, so bring up the Pages panel (Window>Pages). Double-click one of the A-Master page thumbnails in the panel to make it the active page. Press Option-Command-0 (PC: Alt-Ctrl-0) to invoke the Fit Spread in Window command so you can see both master pages.
3 DEFINE YOUR FIRST MASTER PAGE SPREAD
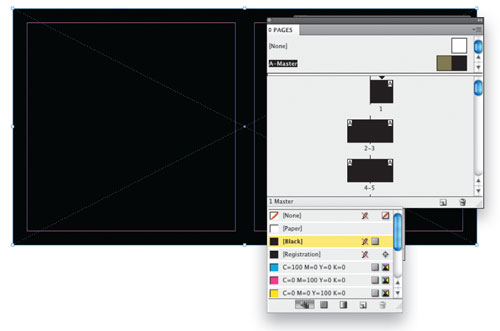
Typically, you’ll want something behind your images on each page. It could be as simple as a solid color, such as black, or an image. It’s probably best to create a default color behind all the images. Using the Rectangle Frame tool (F), drag out a new frame across the entire spread. In the Swatches panel (Window>Swatches), click on the Fill icon at the top left and click on the Black swatch (or another color if you prefer) to fill the frame with black.
4 ADD YOUR FRAMES FOR IMAGES
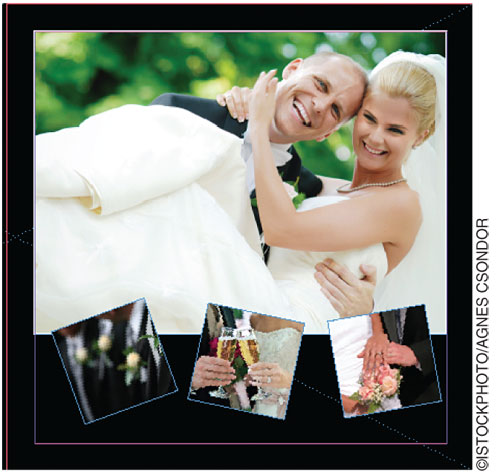
At this point, you’re ready to start building your pages. Switch to page 1 by double-clicking on its thumbnail in the Pages panel. This page will be your cover. Using the Rectangle Frame tool, drag out a frame for the main image (we covered about two-thirds of the page). You can also place a smaller frame on the page that you can later duplicate for supporting images if you like. Use the Rotate tool (R) to rotate the smaller frame about 15°.

5 SET YOUR FRAME FITTING OPTIONS
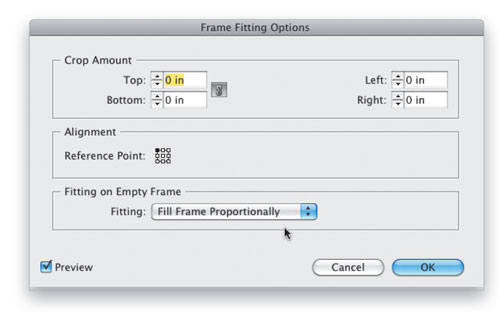
We want to make the placement of images as easy as possible once the structure is built. The Frame Fitting Options in InDesign CS4 can be used to scale the images that we place so they automatically fit the frame. Select your first large frame with the Selection tool (V), then choose Object>Fitting>Frame Fitting Options. In the Fitting drop-down menu at the bottom of the dialog, change the frame to Fill Frame Proportionally, and click OK. Do the same thing for the smaller frame, too.
6 STROKE YOUR FRAMES
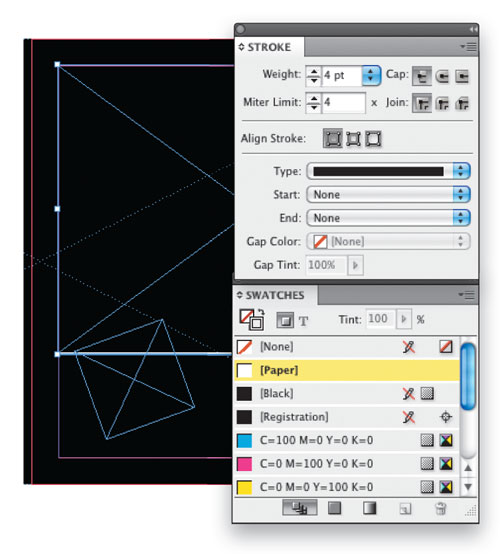
To give your album photos a little more depth and to make them stand out from the background, let’s add a stroke. Select your large frame and give it a white stroke of 4 pts. You can add the stroke either from the Control panel or the Stroke panel (Window>Stroke). To make the stroke white, click on the Stroke icon at the top left of the Swatches panel and click on the Paper swatch.
7 DUPLICATE AND FREE TRANSFORM YOUR FRAMES
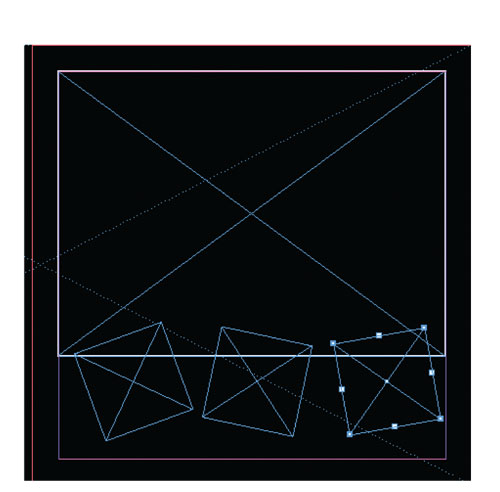
The frames you’ve created can be used over and over again throughout your document. Because they already have the Frame Fitting Options applied to them, all you need to do is duplicate them as needed. Let’s start by making two duplicates of the smaller frame. Using the Selection tool, simply hold down your Option key (PC: Alt key) and drag it to the right. This will make a copy of it. Make one more copy and then use your Free Transform tool (E) to slightly rotate each frame.
8 USE DIFFERENT SHAPES FOR FRAMES
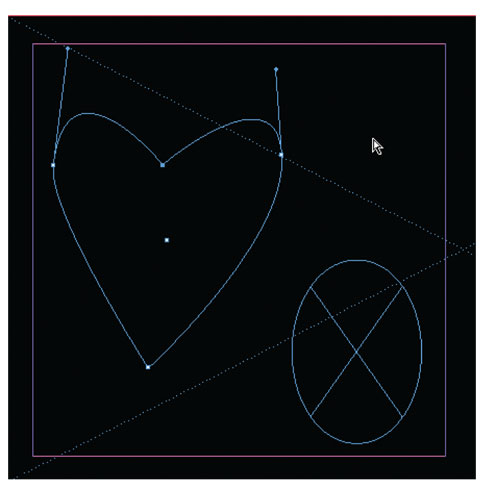
Using rectangular frames on every page can quickly become very boring. Take advantage of the fact that InDesign can use any vector shape as a frame. Try using either the Ellipse Frame tool (nested under the Rectangle Frame tool) to break things up a bit, or if you feel a little more confident, create custom frames with the Pen tool (P). Also note that you can copy over vector shapes from Illustrator as frames, too. Don’t forget to apply your Frame Fitting Options to these frames, as well.
9 LET’S SEE WHAT WE’VE GOT SO FAR
We could keep building our pages, but you’re probably getting anxious to see what things are going to look like. Let’s drop in some images so you’ll feel better. First, click the Go to Bridge button in the Application Bar to launch Bridge, and navigate to the folder of images that you want to use. Select a few images and choose File>Place>In InDesign. Once you return to InDesign, just drop the images into the frames you want them to go into. Tip: Use the Arrow keys to cycle through the thumbnail images in your loaded cursor to select an image to place in a frame.
10 NOW ADD SOME TEXT
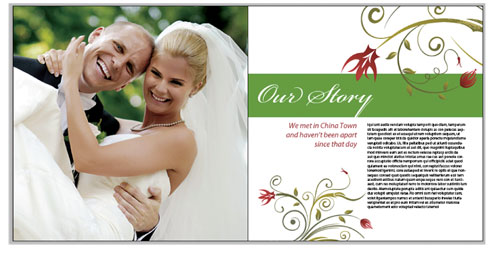
Pretty pictures are great, but we need some text to make it personal. Try using a script font, such as Bickham Script Pro, for the larger text and then a simpler sans-serif font, such as Myriad Pro, for any paragraph/body text. Using the Type tool (T), drag out your frames where you want text to go, then key in your text. If you want to see what your layout looks like without the distracting guides, simply switch to the Selection tool and hit the letter W on your keyboard to enter Preview mode. Hitting W again will switch you back to Normal mode.
11 EXPORT YOUR PAGES AS JPEG
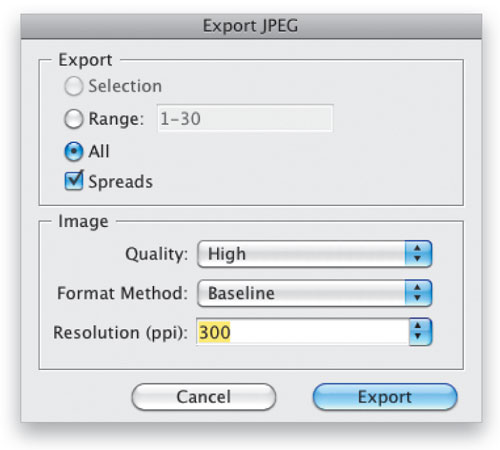
Unfortunately, most labs that print these wonderful books are still only accepting the layouts as single-page JPEGs. So this means that you’ll have to take your wonderful layout and convert the whole thing to a series of images. Luckily, InDesign lets you Export to JPEG format. Just choose File>Export, select JPEG in the Format drop-down menu in the Export dialog, and click Save. In the Export JPEG dialog that appears, specify the resolution that your lab recommends, and click the Export button.
12 ADD COLOR PROFILES FROM THE LAB
Many labs provide color profiles for you to use so that the printed results will match more closely to what you see onscreen. Although InDesign supports color management and profiles, you may want to open your exported JPEGs in Photoshop and assign the color profile provided by your lab so that you’re sure they’re correct. Once you have the JPEG open in Photoshop, choose Edit>Assign Profile and select the profile provided by your lab in the Profile drop-down menu. Then save the file.

13 EXPORT A PDF
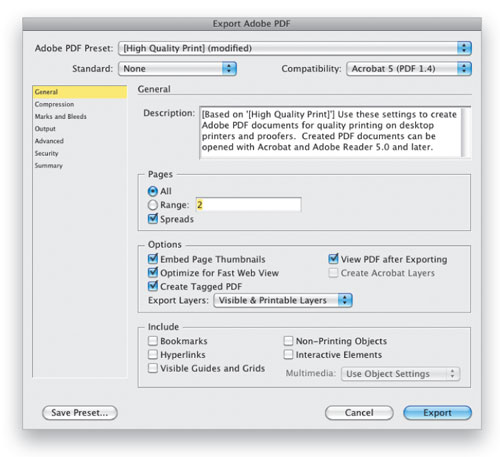
You may also want a PDF for client review or for those labs that can print from PDFs (we love those labs). Go back to your original InDesign file, choose File>Export, this time select Adobe PDF as the format, and click Save. In the Export Adobe PDF dialog that appears, choose either High Quality Print for sending to the lab or Smallest File Size for sending as a proof to the client. You can even put the word “Proof” in big letters on each page in InDesign using layers if you’re concerned about security. In the Security category of the dialog, you can also specify that the PDF can’t be printed without a password.
14 SAVE AS A TEMPLATE
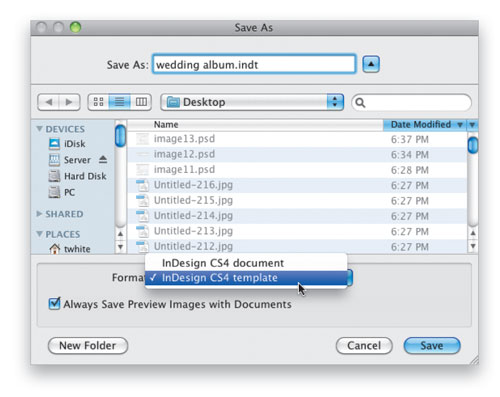
Now that you’ve done all this work, chances are you won’t want to do it again from scratch the next time you have an album to lay out, so let’s save it as a template. It’s probably best right now just to do a Save As with a different name so that you don’t mess up the original. Then delete the pictures from the frames using the Direct Selection tool (A), and delete the text using the Type tool. Once you’ve emptied the document, you can then use the Save As command again, but this time choose InDesign CS4 Template as the format.
