
Vanelli on Monday Motivation

Robert Vanelli is legendary within the photographic industry, and he is the absolute boss when it comes to networking. As a man of many talents, it’s true to say that what this man doesn’t ‘t know probably isn’t worth knowing. This week for a dose of Monday Motivation, it’s over to Vanelli as he takes us through an absolute revelation!
Gray is the New Green Screen for Portrait Photographers
Green Screen backgrounds are used on movie sets to remove the background and add special computer-generated imagery (CGI) effects. The idea is simple. Shoot on a single color backdrop (blue or green is often used) and make that color transparent—replacing it with other video clips, graphics or a still image. This is great for video, but it can be nightmare for photographers. The main reason: some color will “spill” onto the subject, especially around the edges. This can create a thin line around the person, or make areas like their hairline look odd. You may not notice it on an action scene, but it can be obvious on a still image. To fix this problem, shoot on a gray background, then use Photoshop’s powerful masking and layer blend modes to add a textured background. It sounds complicated, but here’s how to make it easy.
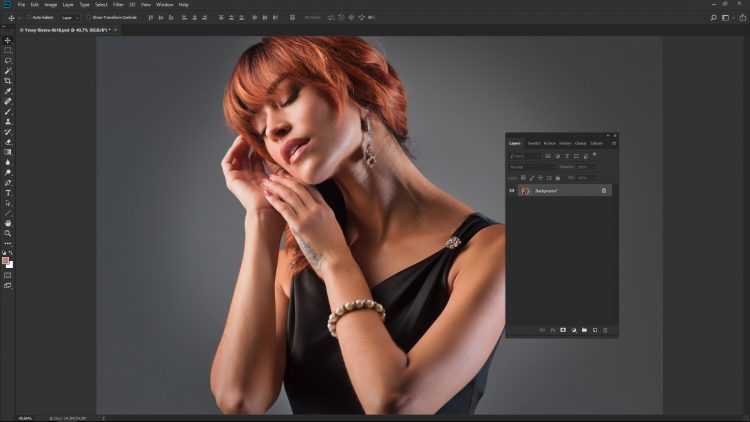
Start by preparing the Image
Use Lightroom, Photoshop or 3rd party plugins to remove blemishes, enhance the subject’s eyes, skin and overall exposure. To save time, I used Perfectly Clear, a Photoshop and Lightroom plugin made by Athentech.
Applying an overlay background
Instead of extracting the subject from the background, we are going to place a new background on top of the subject. This overlay technique is great for adding texture to a boring seamless background. It isn’t designed to place the subject in a new environment—such as a field of flowers or a train station.
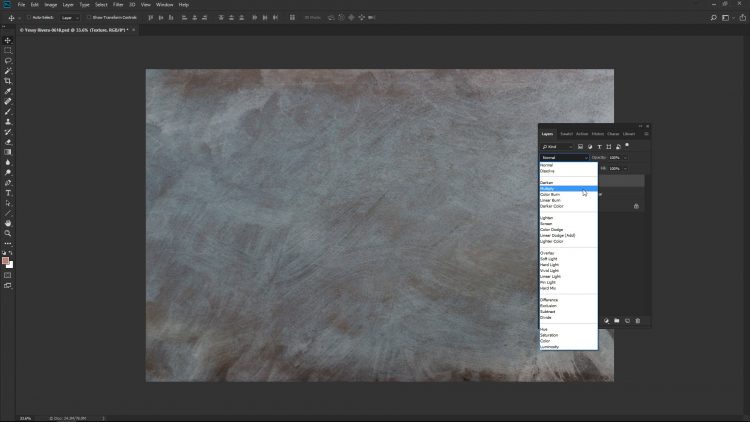
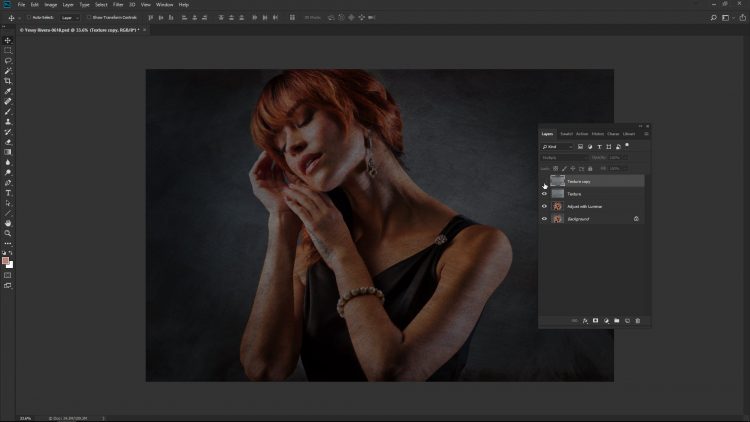
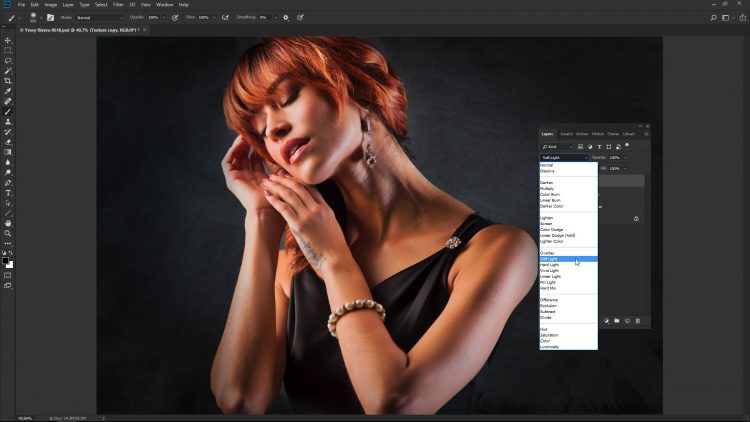
Step 1: Select a new background
Select a new background and place it on top of the subject. I used a Painterly texture by Fly Paper. You can purchase their collection or search for free textures and backgrounds. Another option is to take photos of your own textures and backgrounds. Change the layer blend mode to Multiply, then duplicate the new layer by using keyboard shortcut Ctrl+J [win] or Cmd+J [mac]. We are going to use this layer at the end to balance the color. For now, just hide the layer by clicking on the layer’s eyeball icon.
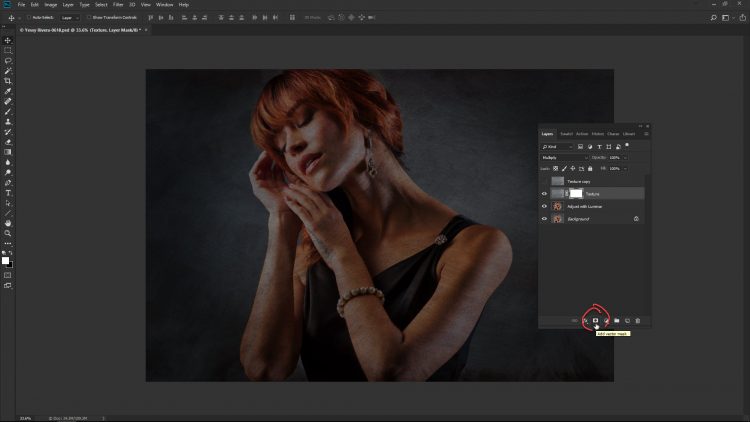
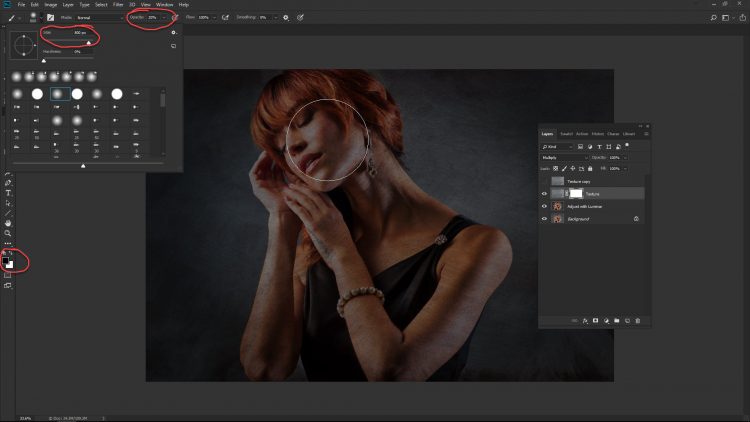
Step 2: Apply a layer mask
Click on the Add layer mask icon to add a layer mask to the new background. Using a large brush with the hardness set to zero—for maximum feather—set your foreground color to black and paint away the background at 25-percent opacity.Each new stroke will remove more of the background.

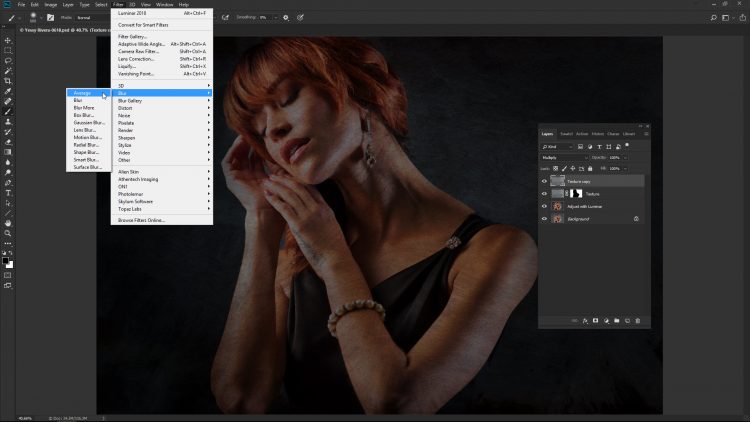
Step 3: Color match
Select the top layer and make it visible by clicking on the checkbox—the eyeball icon will appear. From the Filter menu, select Blur then choose Average. This will create a color that’s the average of all the colors in the background image by averaging the color value of neighboring pixels. To complete the effect, change the layer blend mode to Soft Light.
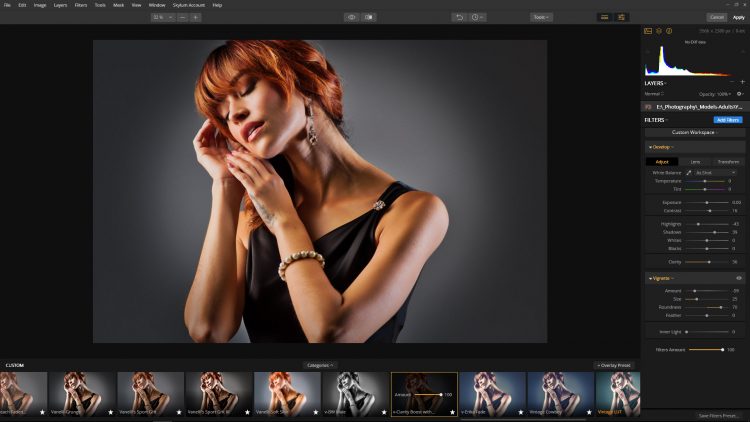
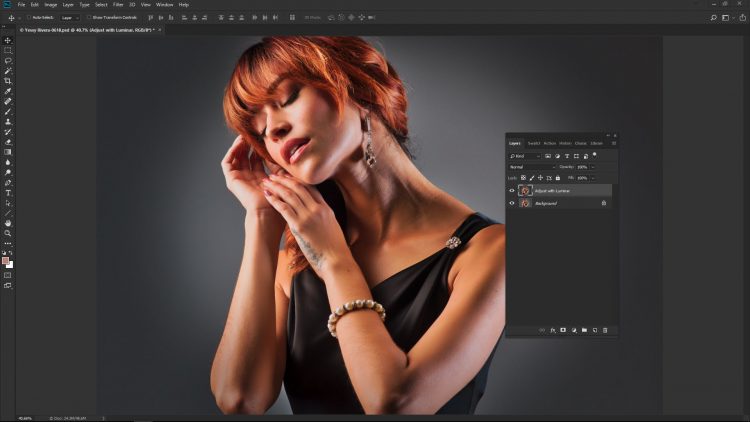
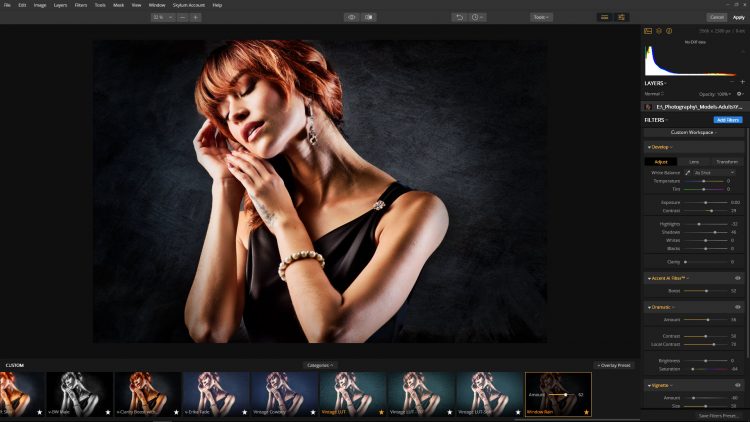
Explore different options
At this point, the image is looking very good. You can take it up a notch by exploring different options in Photoshop or your favorite 3rd party plugins. I used a preset I created in Skylum’s Luminar to give the image a different look. Create a duplicate layer and experiment.
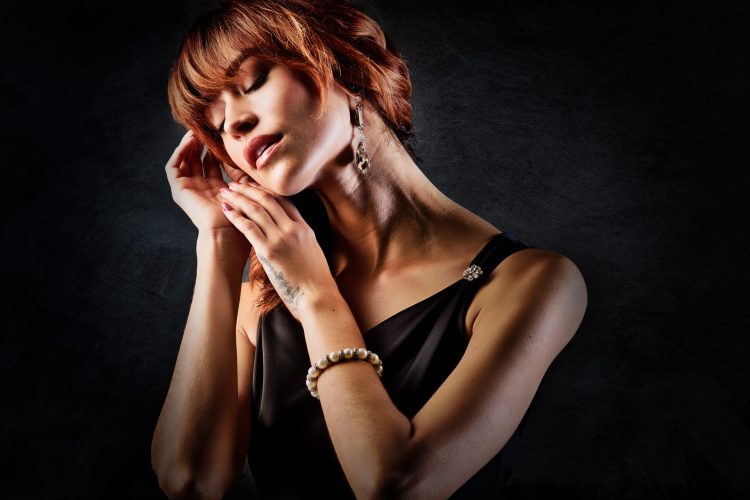
Before and after images


What if I want to extract the subject?
The best part of a gray background is it doesn’t have to be gray. It can be black, white or any shade of gray just by changing the way you light it. If you want to extract your subject and place them in a dark scene, make the background a darker gray by adding less light. This will help match the subject and the scene making it look realistic.
Vanelli (to his friends) is a key player in the industry and you can learn more about him right here.
