The Digital Camera: To Black-and-White and Beyond
All images ©RICK SAMMON
Options for leaving grayscale images in the dust
Beginning Photoshop users often create black-and-white images from their color files by converting them to grayscale (Image>Mode>Grayscale). This technique is quick and easy and can produce okay images, especially when Levels, Curves and/or Brightness/Contrast are also applied to the converted file.
Photoshop, however, offers several other methods for creating more dramatic black-and-white images with a greater tonal range. Let’s take a look at a few of these options, and then how to go beyond black-and-white images.
The Channel Mixer
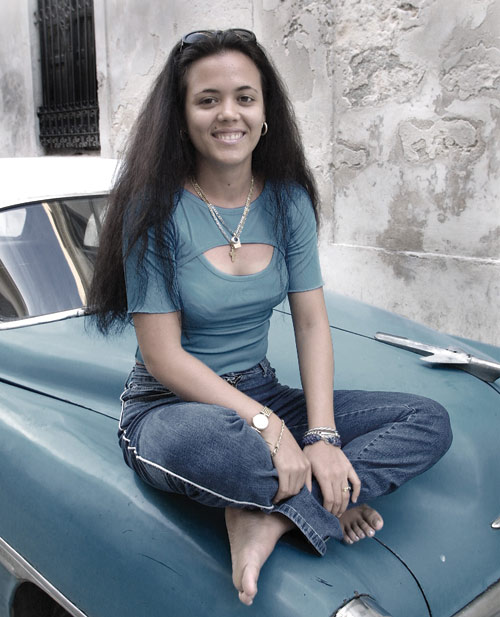
I photographed this woman in Old Havana, Cuba, in 2000 with my Canon D30 and Canon 16–35mm lens. I love the way the color of the blue Chevy and the woman’s clothes complement each other. (I first saw the woman on the opposite side of the street from where the car was parked. I asked her to sit on the hood of the Chevy for the photo session.)

Compare these two black-and-white versions of the photograph of the woman. One was converted to grayscale mode; one was created using Channel Mixer (Layer>New Adjustment Layer>Channel Mixer). Which one do you feel looks more dramatic? The one you picked is not the grayscale image.

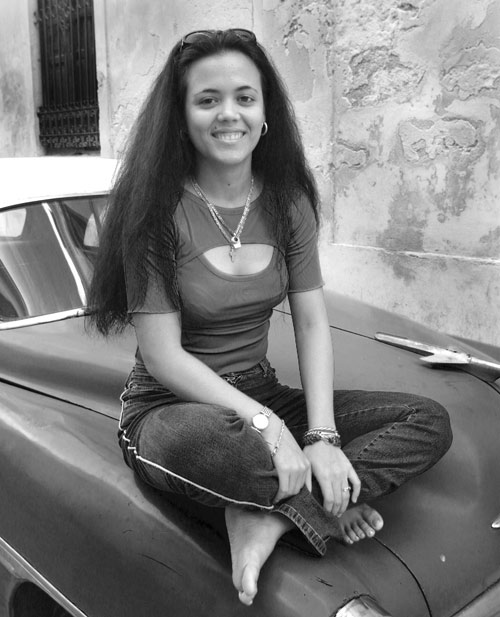
When we select Channel Mixer (as an Adjustment Layer, of course) and check the Monochrome box at the bottom of the dialog, we can control the Red, Green, and Blue Source Channels to fine-tune the image to our own creative vision. Here, the Channel Mixer settings are Red: +96%; Green: +14%; Blue: –10%.

Combine these settings, and you’ll get 100%. That was no accident. All three channels should not exceed 100%—because if you go over 100%, you’ll overexpose an image and if you go under 100%, you guessed it, you’ll underexpose an image. That said, who’s to say that you can’t tweak an image for a desired effect. (Note: At the bottom of the Channel Mixer dialog, you can also move the Constant slider to the left to darken the image and move it to the right to lighten the image. I never use the Constant slider.)
Play around with Channel Mixer once and you’ll never make a grayscale conversion again. For additional creativity, play around with Curves or Levels after using the Channel Mixer.
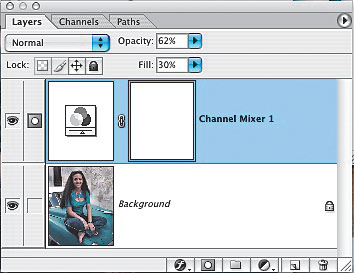
Speaking of playing around, if you apply the Channel Mixer as an Adjustment Layer, try fading the Opacity of that layer in the Layers palette. Here I reduced the Opacity to 62%. The once vibrant colors are now more subdued, and perhaps the picture looks a bit more creative.
Duotones
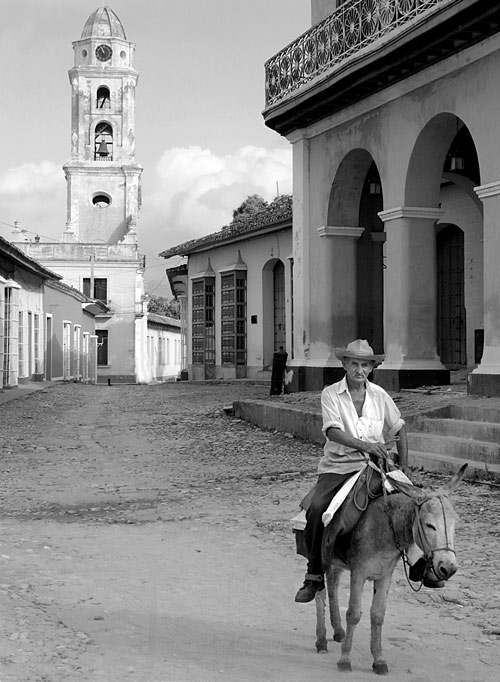
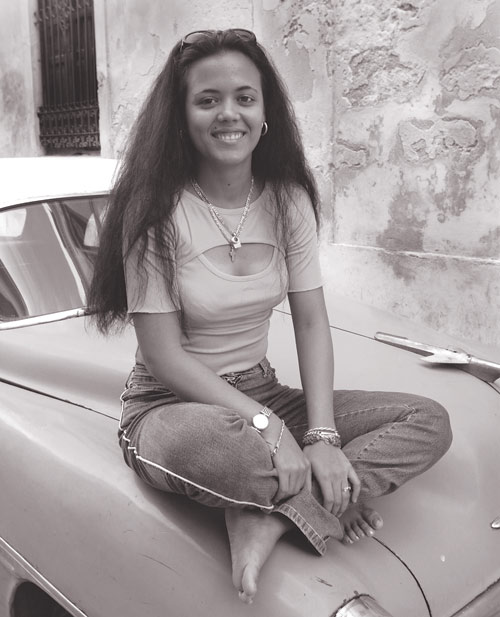
At first, this image may look like a black-and-white picture. Actually, it’s a duotone (Image>Mode>Grayscale then Image>Mode>Duotone). A true duotone is a black-and-white image to which another color is added. Duotone images are often used in magazines and books when a four-color page is not available, as well as for creating pictures with a different “look.” Duotones are also used for posters and in fine-art exhibits. Several of Ansel Adams’ posters are actually duotones.
Photoshop groups duotones along with tritones (three inks) and quadtones (that’s right, four inks!) in the Duotone Options dialog. The actual color of the ink is displayed, so it’s relatively easy to visualize how the color will affect the image. By default, Quadtone appears in the Type pop-up menu, so the first thing you need to do is change the Type to Duotone.
For the duotone image of my Cuban friend, I selected a duotone preset with a pre-built duotone curve as provided by Adobe. How did I do that? That’s easy. All we have to do is press the Load button in the Duotone Options dialog. After that, we get a Load dialog from which we can load additional colors. [Insert 9] Navigate to Adobe Photoshop CS/Presets/Duotones/Duotones/PANTONE(R) Duotones and select 478 brown (100%) bl 1. When you click load, Pantone 478 CVC will appear as Ink 2 in the Duotone Options dialog.
After applying that color, you can adjust the duotone curve to fine-tune the image. What’s really cool is that we can actually adjust the duotone curve simply by clicking on the small curve thumbnail to the left of the ink thumbnail. That brings up the Duotone Curve dialog, which is where we can make our adjustments.

Other options
Another way to create a customized black-and-white image in Photoshop is with the B/W Conversion filter in nik Color Efex Pro 2.0 (www.nikmultimedia.com). When you select this filter, you can quickly see the effect of different color filters on your picture. It’s just like putting a different color filter over a lens when shooting black-and-white film, only here you use a slider to simulate the filter’s effect. [Insert 11]
You can also adjust the brightness and contrast of the image. Of course, you can make additional adjustments in Photoshop by using the Fade command (Edit>Fade B/W Filter) to adjust the intensity of the effect, and also by using Curves or Levels.
Seeing in infrared
Compare the color image in this series to the other two images. One is a grayscale image. The much more dramatic image is an infrared image.
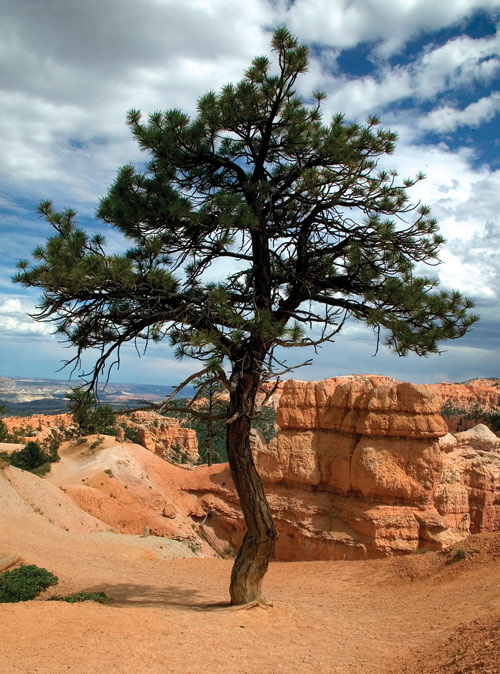
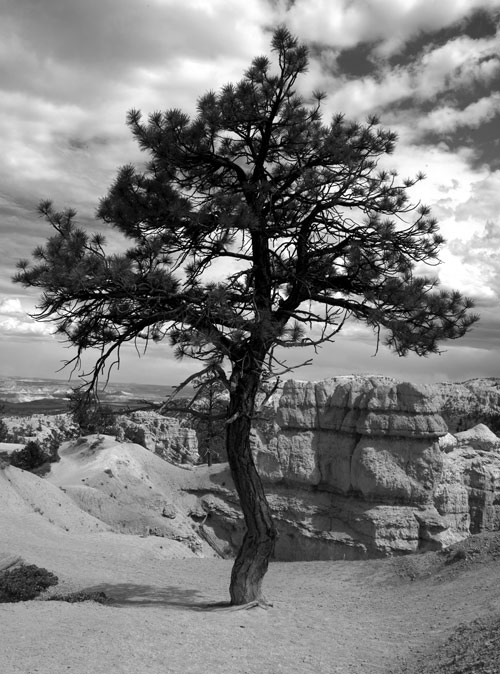
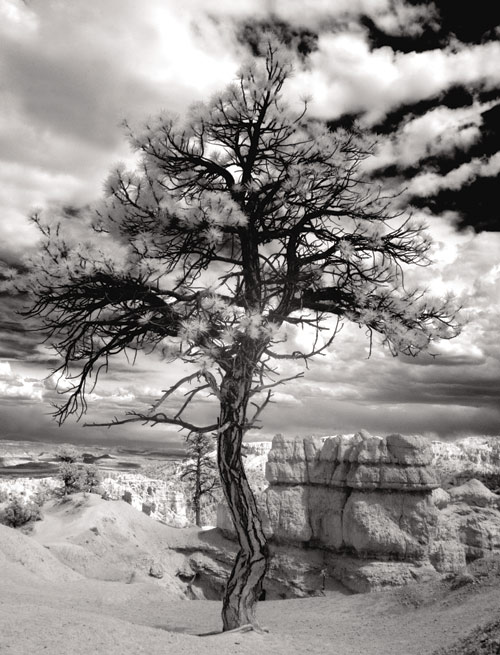
Several compact digital cameras offer an IR effect, and several Photoshop plug-ins offer an IR filter, including nik’s Color Efex Pro mentioned above. Personally, I believe the most realistic IR images are produced by IR-only cameras that have been converted by the IR Guy (www.irdigital.net).
The IR Guy converts the Canon D30, D60, 1D, and Digital Rebel, as well as the Nikon D100, to IR-only cameras. I took my converted D60 on a trip out west (this picture was taken in Bryce Canyon, Utah), and after viewing the pictures on my laptop each night, I actually started to “see” the landscapes in infrared.
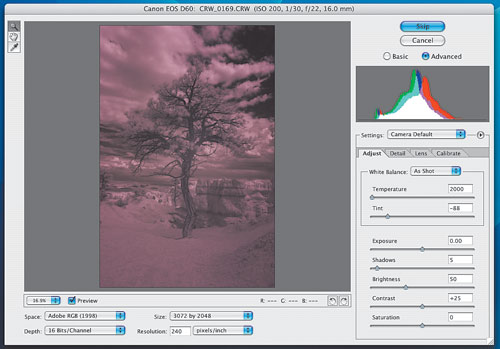
For IR to work, you must shoot in RAW and use 16-bit depth. Straight out of an IR-converted camera, the pictures have a purple tint. To get the IR effect, you need to desaturate the image and then adjust Levels to your liking.
The black-and-white appeal
Enough tech talk; let’s chat for a moment about why we like black-and-white photography. Perhaps a black-and-white picture looks more creative than a color picture. Perhaps by removing the color from the scene and therefore removing some of the reality of the scene, the pictures let us use our imagination. Perhaps because the picture can’t use color to draw us into the scene, the subject becomes more interesting.
Perhaps it just looks cool.
Whatever the reason, I think you’ll have fun exploring the creative options of black-and-white photography.

