
The Digital Camera: Seeing the Light
Seeing the Light Is the First Step to a Good Exposure

Adobe Photoshop and Adobe Camera Raw offer many adjustment features—including Exposure, Levels, Curves, Channel Mixer, and Shadow/Highlight—for fixing a poorly exposed image. But who wants to spend time rescuing photos while sitting at a computer when we can spend that time outdoors taking properly exposed pictures? I’d rather be outside, even though I thoroughly enjoy working and playing in Photoshop every day.
Learn to see the light
A good exposure begins with an important aspect of photography: learning how to see the light. If we learn how to see the light—the highlights and shadows in the scene, the contrast and color of a scene, the subject’s and the background’s brightness, and even the movement of light—we’ll become better photographers. After we see the light, we can make better exposure decisions. We’ll also know when we need to control the light by using a reflector, a diffuser, or a flash, or by moving the subject or changing our composition.
To digress slightly for a moment…have you ever heard the term “tone-deaf” to describe a person who can’t tell the difference between musical tones? In photography, we use the term “value-blind” to describe an image that has very little range between light and dark. Ansel Adams used this term. Just as a tone-deaf person cannot tell the difference between tones or musical notes, a value-blind viewer doesn’t see the difference in light values (brightness levels) in a scene. Fortunately, there’s hope for the value-blind photographer, because we can all learn how to see the light.
Eyes vs. camera
In a discussion about seeing the light, we need to begin with what we see with our eyes versus what our digital camera sees and records. Our eyes are amazing light-seeing devices. We can see a dynamic range of about 11 f-stops, which is why we can see shadow and highlight areas of a scene without the shadows being blocked up and the highlights being washed out.
A digital image sensor sees/records only about three to five f-stops, about the same as slide film. So, when shooting with a digital camera, we should expose the scene as though we’re using slide film—paying very careful attention to the highlights in a scene, and being very careful not to overexpose them. (We can go way beyond that range if we know what we’re doing in Photoshop and Camera Raw.)
Exposure compensation
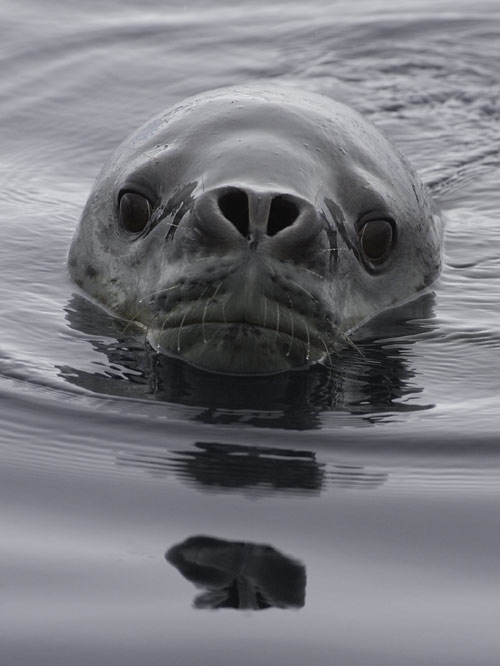
Here you see two subjects: a leopard seal that I photographed in Antarctica, and a polar bear that I photographed in the sub-Arctic. If you were to simply set your camera to an automatic exposure mode, the seal would be pictured lighter and the polar bear would be pictured darker. That’s because very dark and very light subjects can fool a camera’s exposure meter (which measures reflected light) into thinking the scene is darker or lighter than it really is, resulting in an incorrectly exposed picture.
The remedy in these situations is to use your camera’s +/– exposure compensation feature. With dark subjects, a –1 exposure compensation setting is recommended. With light subjects, a +1 setting is recommended. I know that sounds backward, but it’s true. Note: Exposure compensation is usually necessary when most of the frame is filled with a dark or light subject.

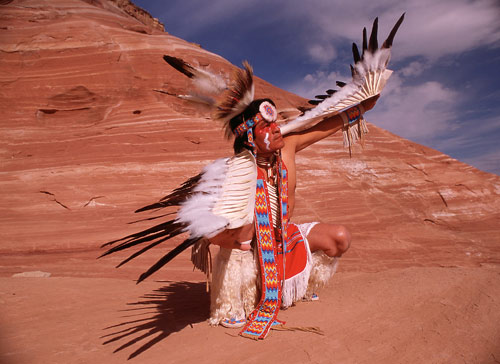
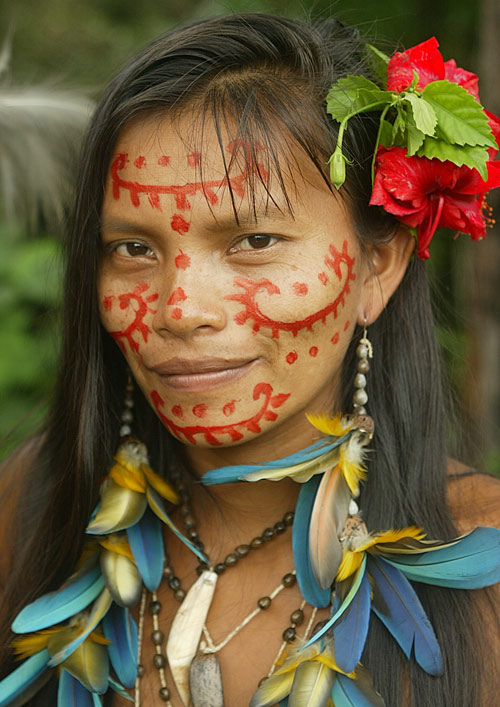
This photograph of a Tariano woman in Amazonas has no strong highlights or shadows, unlike the opening picture for this column of a Native American, which has strong and dramatic shadows. The light is soft, making for a relatively easy automatic exposure; that is, one using no exposure compensation. My Native American shot required a –1 exposure compensation so as not to wash out the white feathers in the scene.
The source of light
Now let’s take a look at the different types of lighting and how they affect a photograph.
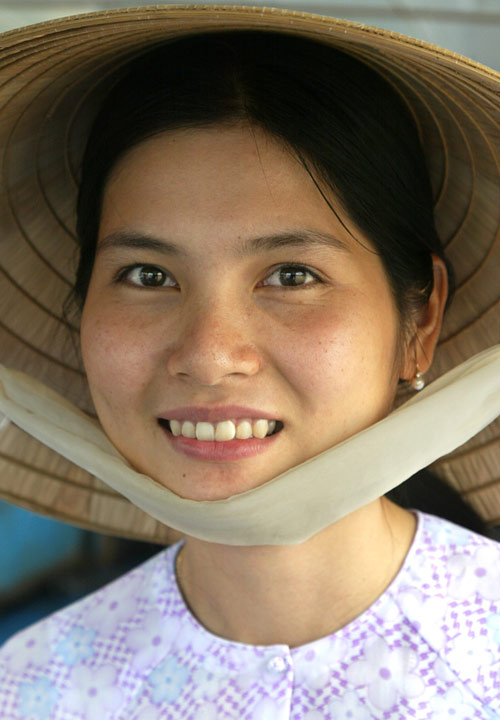
Front lighting is nice for portraits when you want the subject’s face evenly illuminated, as was the case when I photographed my guide in Viet Nam. This is another example of an easy automatic exposure.
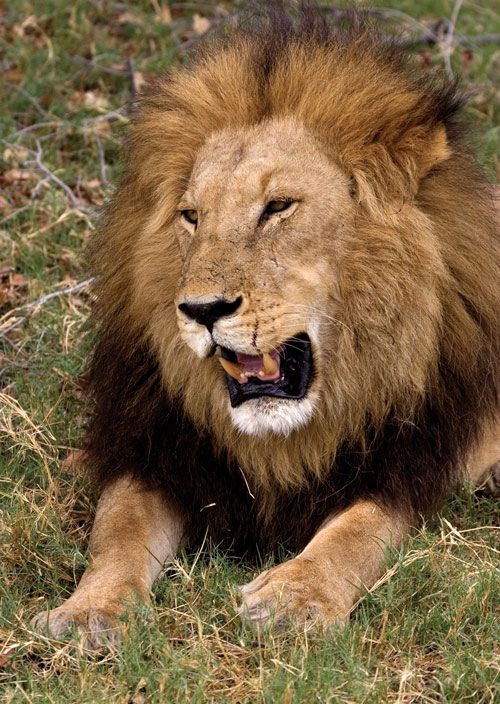
Overcast lighting is perfect for portraits of animals and people—because clouds eliminate harsh shadows. The soft light makes for somewhat soft images, like this portrait of a lion in Botswana. Yup! Auto exposure with no exposure compensation once again.
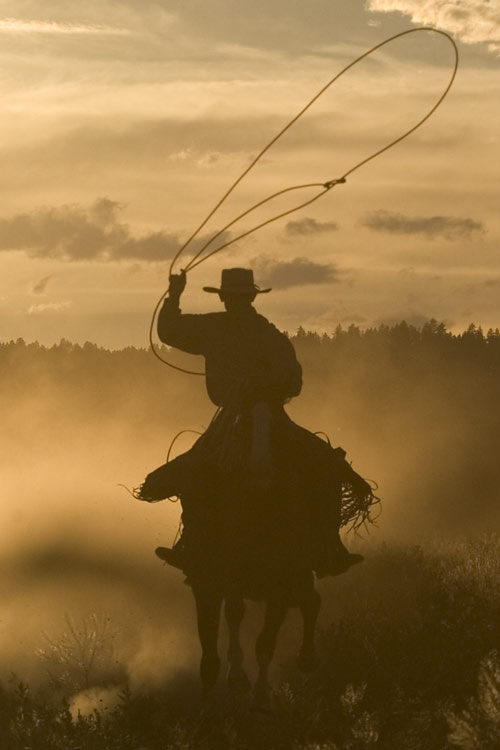
Backlighting creates dramatic silhouettes, as illustrated by this cowboy’s picture that I took on a ranch in Oregon. How cool is that! And speaking of backlighting, here’s a photography joke: Someone asks a pro, “What’s your day rate?” He replies, “$5,000, but it’s $7,500 if I have to shoot into the sun.” The point of the joke is that it’s harder to shoot into the sun than away from it (or most other lighting conditions). In situations such as this, you may want to underexpose an automatic exposure by one stop, as I did.
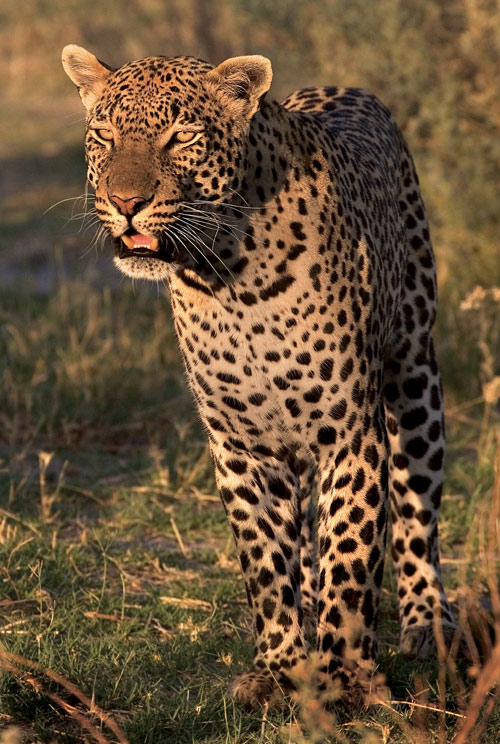
Soft side lighting makes for a more dramatic picture than those taken on overcast days. Pictures also appear sharper, due to the increased contrast range. In this leopard photograph, you can see every whisker on the animal’s face. I used a –1 exposure compensation for this automatic exposure.
Strong side lighting can be nice, but you need to be careful that the subject’s face is not hidden in a shadow. This type of harsh light can make any picture an “outtake,” and no amount of exposure compensation could save a shot like that.
Strong top lighting is the worst, and I mean the worst, for portraits. Avoid it at all costs—unless you can control the natural light. I photographed this man in Papua New Guinea to illustrate that point. This image is also an outtake that cannot be saved. However, a diffuser or a flash, which help us control the light, would have reduced the contrast range in the scene and saved the shot.

The color of light
In addition to seeing the brightness level of a subject and the direction of light, we need to see the color of light. Seeing the color of light can help us make exposure decisions. For example, pictures taken in the late afternoon and early morning have warm tones: deep shades of red, orange, and yellow. Pictures taken around midday look cool, having a blue tint. Seeing the color of light can also help us make white balance decisions, either in camera or in Photoshop or Camera Raw. Changing the white balance lets us change the color of light.
Look in the shadows
Shadows add a sense of drama, depth, and dimension to a photograph. Without them, pictures look flat. In this picture that I took on the Ponderosa Ranch in Oregon, the strong shadow area adds to the interest of the image.
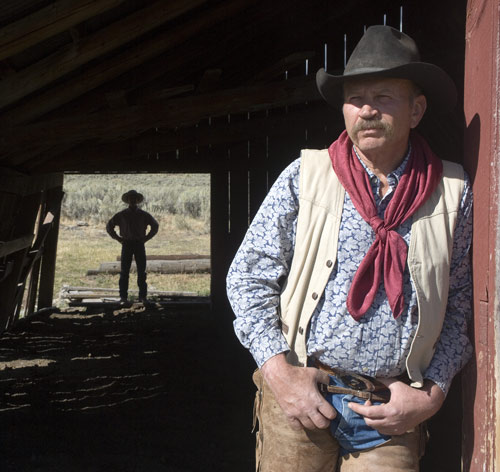
To record strong shadows without the highlights being washed out, you need to set your exposure for the highlights in the scene (the brightest area), which you can do with your camera’s exposure lock.
We’ll, that a quick look at seeing the light. See you—and the light—later!
