
Small Flash Tutorial: Light Painting

Light painting is a really neat technique that allows you to dodge in the light of an image and create some surreal-looking photographs with minimal gear. All you really need is a tripod, your camera, and anything that generates light. (You might even have seen this technique done with a simple flashlight.) Basically, you begin with your subject in the dark, then apply—or paint—the light where you want it to appear in the photo. This is a continuous movement, building up the light levels to a final exposure, rather than setting up a light and firing it once to achieve the desired exposure. In the following two scenarios, we’ll discuss the approach to each.
Step One
Pick your subject and place it in the dark because, for light painting to work, your subject can’t have a ton of existing light already shining on it.
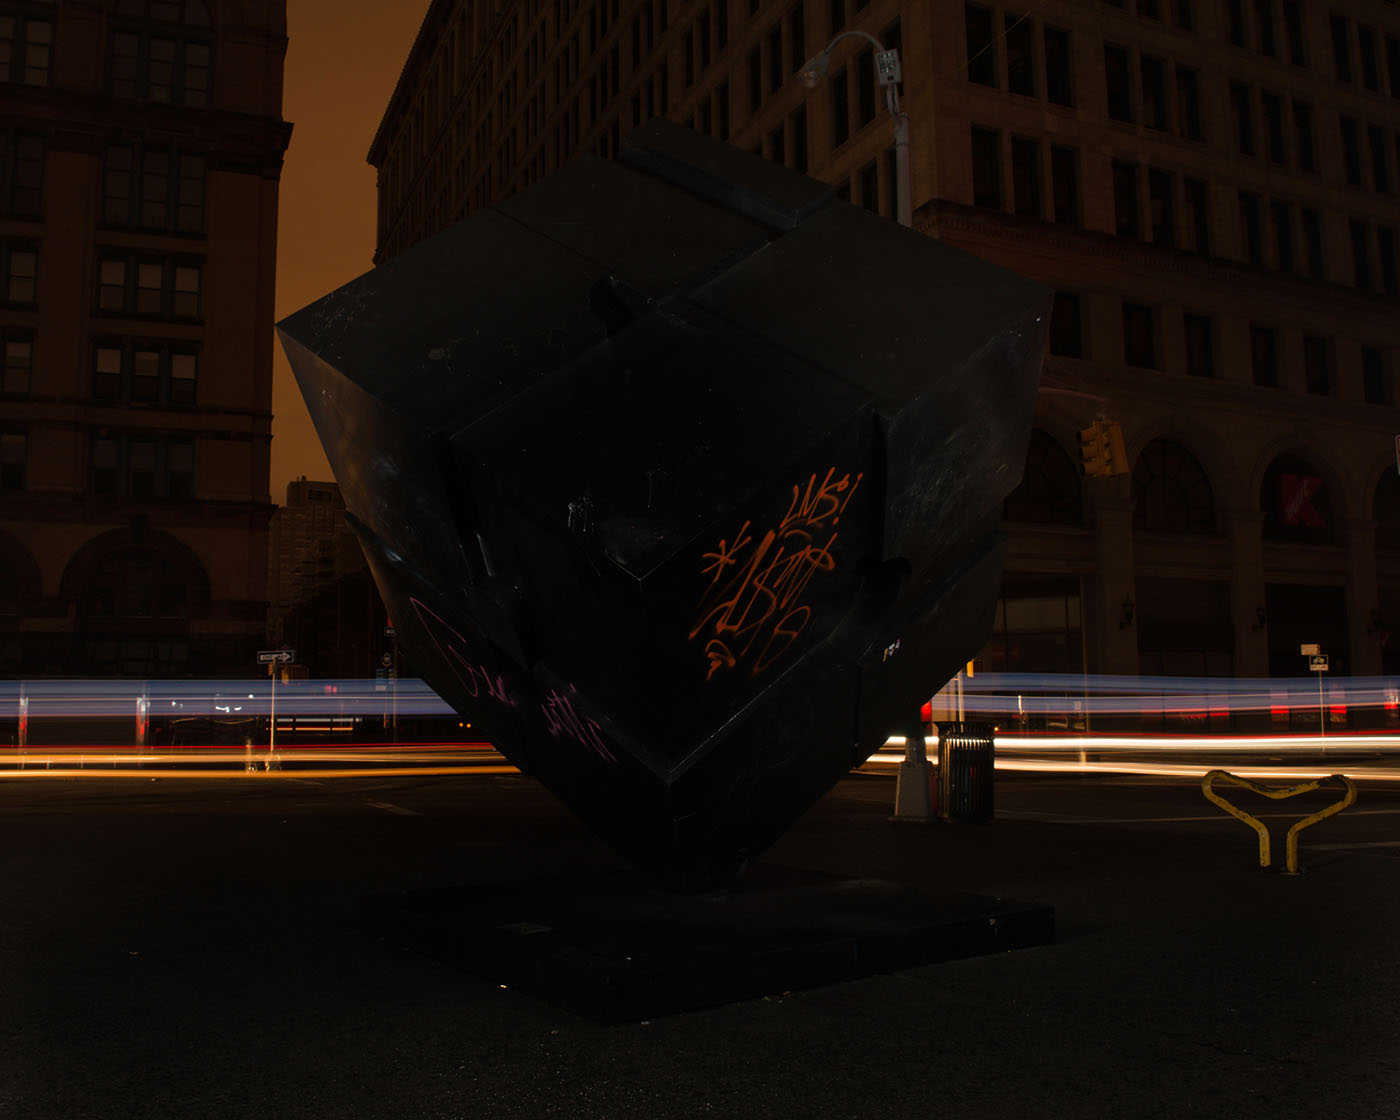
After Hurricane Sandy blew through New York City, the power was knocked out for the rest of the week, literally leaving half of the city in the dark, including the iconic bridges and statues all across town, and this created the perfect opportunity to light paint some otherwise impossible subjects. We started with a cube-art installation in Astoria.
To ensure a sharp photo, you should use a tripod. You’ll need a slow shutter speed to allow enough time to light paint your subject, then set the camera mode to Manual, and dial in a long exposure. (I used 10–30 seconds for our sample photos.) By using a smaller aperture, such as f/16–22, you minimize much of the stray ambient light.
Step Two
Now we get to the actual painting part. If you’re using a flashlight, you can simply trip the camera shutter and shine the beam on what you want to have illuminated in the frame. The longer the light stays in one place, the brighter that area appears in the resulting photo. This works just fine when photographing smaller objects or a single person, but what if you want to supersize it? You’ll need more power.
This is where a small flash comes in handy: It produces light more efficiently, but in quick bursts. Rather than putting the flash on a stand and firing it once, we’re going to handhold the flash and fire it repeatedly, effectively painting in the light as we would with a constant source like the flashlight. It’s simple too, and requires no wireless triggers or light stands, just your finger and the Test button on your small flash.
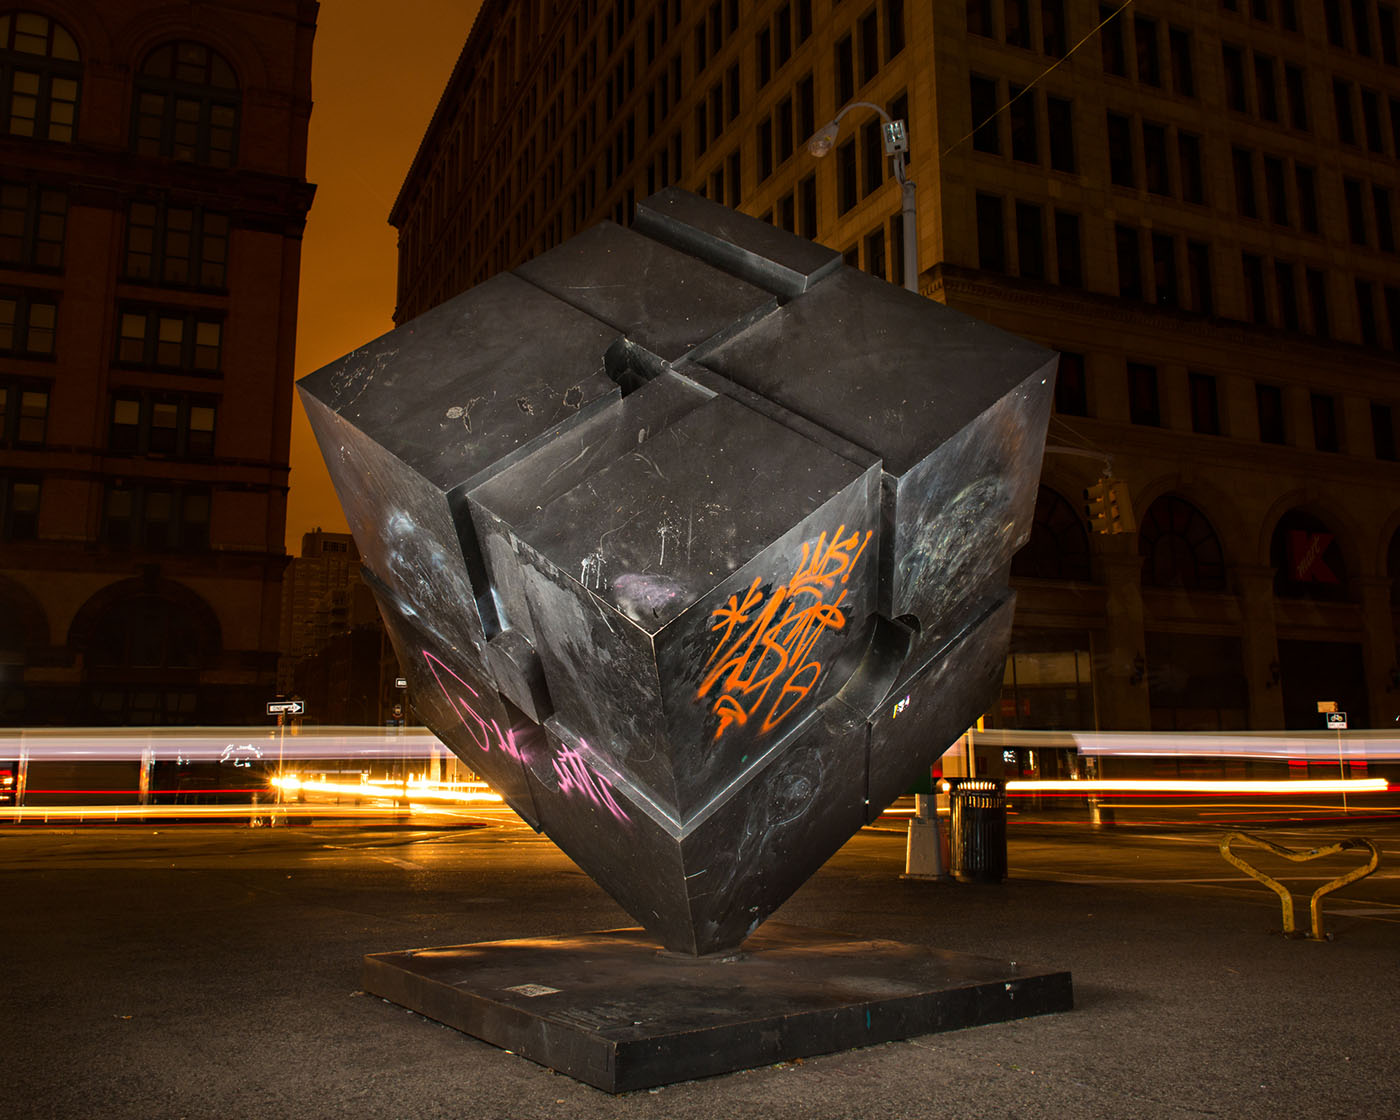
This photo was taken with a single flash, fired repeatedly while walking around the cube sculpture, and aiming it at the different surfaces. A single flash resulted in 360° of light coverage!
StepThree
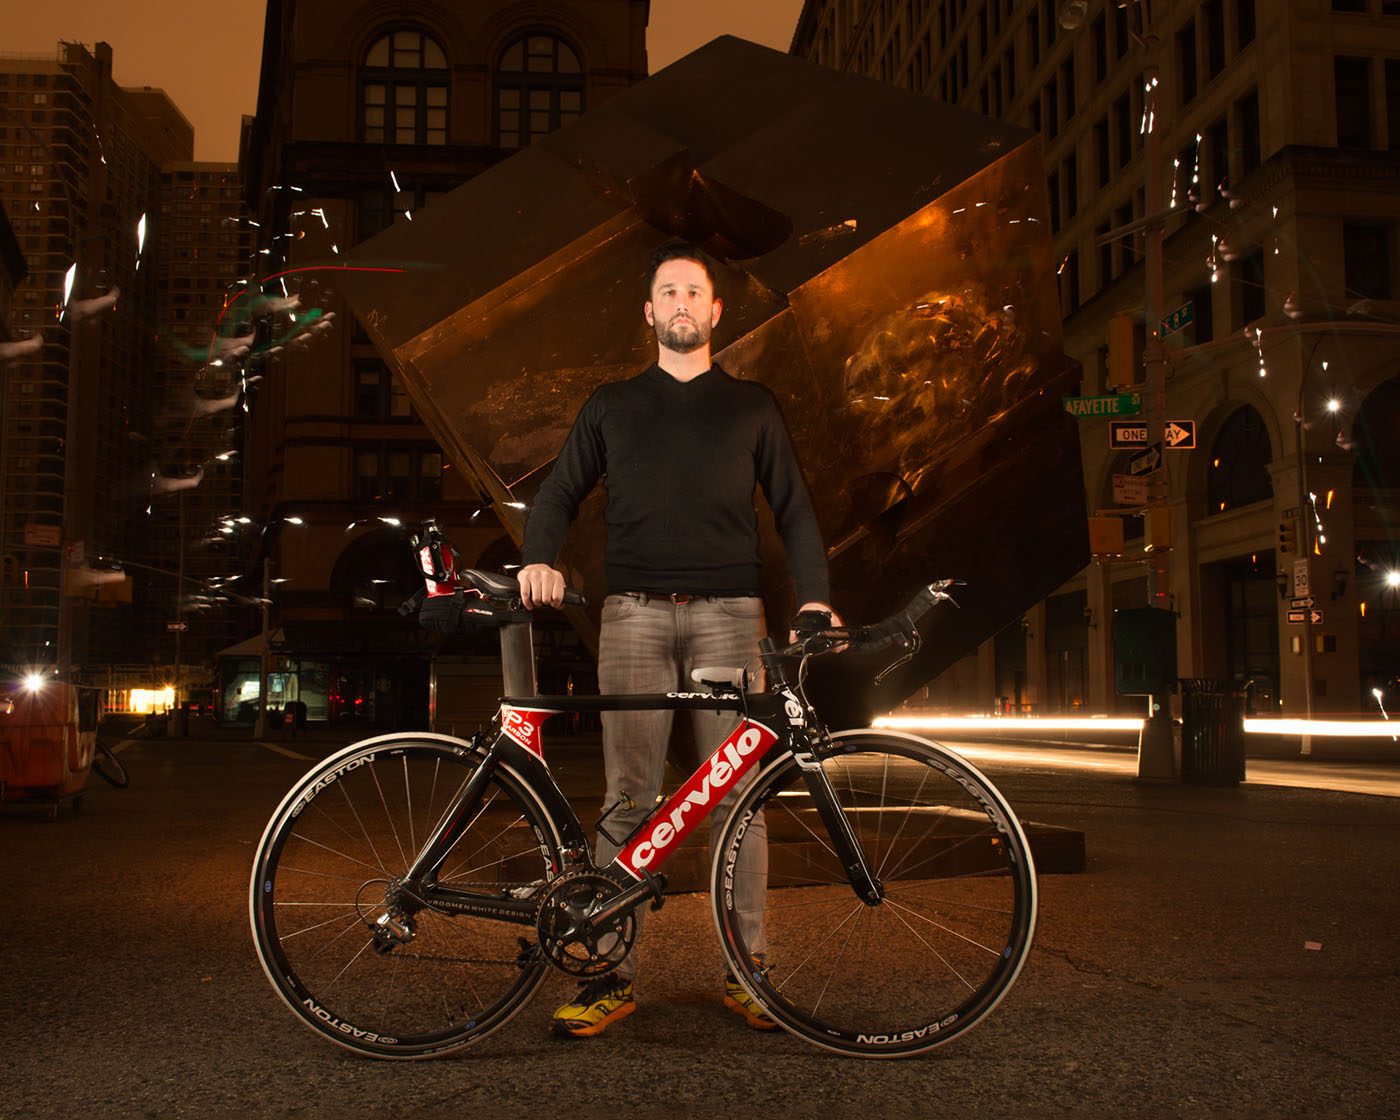
This technique works on people as well, producing some surreal-looking portraits. Where you’d normally need a ton of lights, you can get by with just one. For this photo, we applied the same technique we used for the cube, but this time to the bicyclist standing in front of the sculpture. When you use a small flash instead of a flashlight, you gain the ability to freeze your subject with each instantaneous pulse of light. For a little more control, I used a Rogue FlashBender to modify and direct the light more precisely. With a 10-second exposure, I had time to light the bicyclist with multiple pops of the flash on either side.

Step Four
The controlled side lighting served to isolate our subject, but you’ll see that we lost the sculpture in the background to the darkness. Time is one of the most important things when light painting, and you’ll require more of it to build a proper exposure on multiple subjects or larger surfaces. To bring back the sculpture, we slowed the shutter time to a full 30 seconds. This is the longest exposure I could set on the Nikon D800 without using the Bulb setting or a cable release (something I recommend investing in for extremely slow shutter speeds).
For the first 10 seconds, I fired the flash multiples times on each side of the bicyclist to light him and then, for the remaining 20 seconds, I lit the cube with a succession of rapid bursts, resulting in this final photo. Note: One bonus from such a long exposure is the horizontal light trails (in the background), which were created by the headlights of a passing car.
Step Five
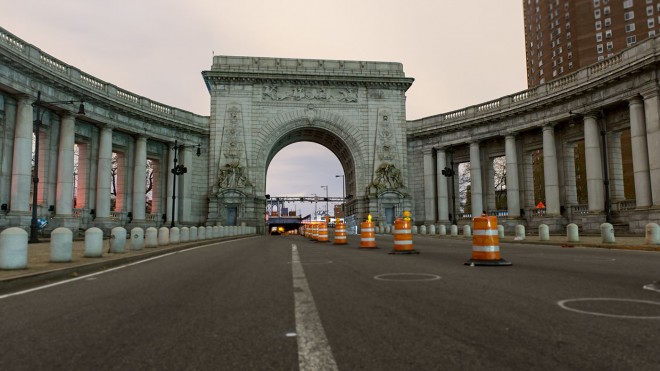
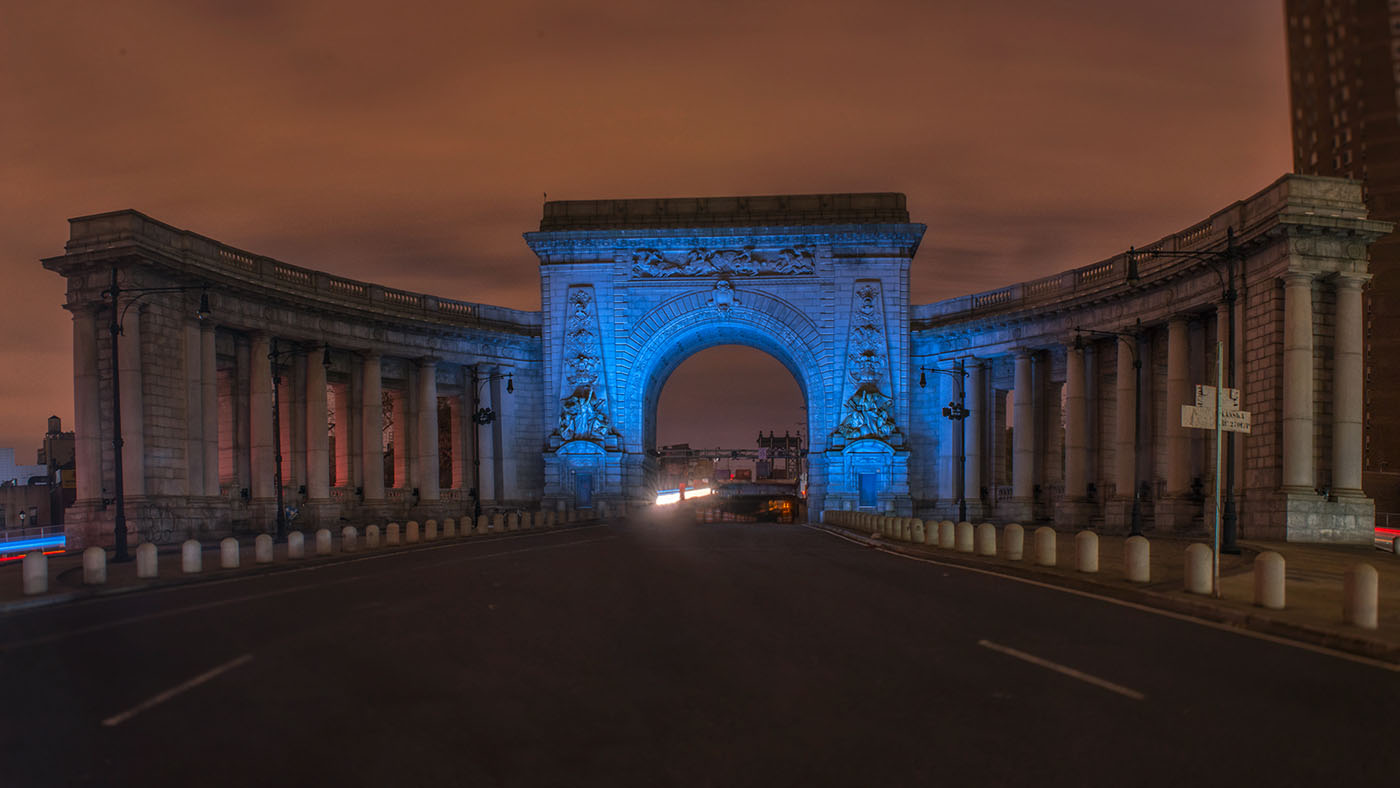
Looking at the last image, I’d say we accomplished a lot with just 30 seconds on the clock and a single flash; however, no adventure would be complete without pushing the limits a little. For this final image, we biked down to the entrance of the Manhattan Bridge. On any other night of the year, this beautiful arch would be fairly lit on its own and difficult to photograph with the amount of traffic coming off the bridge. But on this night, it was eerily dark and deserted—just begging to be flashed!
Here’s where the power of a small flash versus a flashlight really became apparent. It would have taken forever to light up a massive facade like this with anything short of a high-powered spotlight
(plus the accompanying generator, power cables, heavy-duty light stands, etc.), which none of us had on our bikes, but we did have a second flash.
Our first shot is simply a long exposure of a dark archway at 3 a.m.—boring! The second photo is of the same dark archway at 3 a.m., only this time it’s lit by a photographer and assistant running around like madmen for 30 seconds firing off their flashes as fast as humanly possible.
As with lighting in general, light painting is a great way to explore familiar subject matter and expose it in new ways. You can start with a flashlight; however, the motion-freezing power, extra output, and ability to shape your light makes a small flash the ideal “paintbrush.” So grab your tripod and go light it up!
For more on light painting, enjoy this feature from Dave Black. Or maybe some Lightroom tips are needed… if so, try this article on AutoSync.
