Repeating Flash Lighting Techniques
Repeating Flash
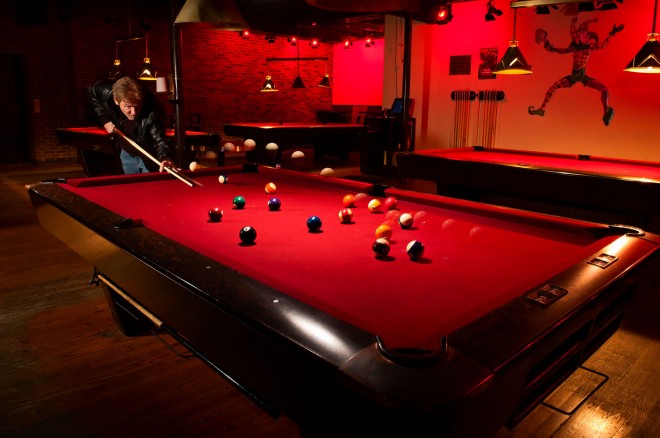
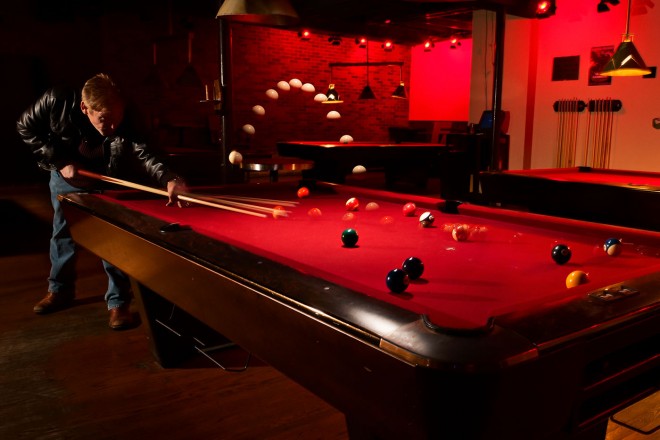
Have you ever seen a photograph of a gymnast frozen over and over again in midair, or of a dancer exposed multiple times while gliding across the stage? How about those unreal images of a trick pool shot where you can see the ball move in arcs across the table? Some people might say the effects have obviously been created in Photoshop, but most of these images were actually created with a single frame in camera. In this article, we’ll discuss the basics of the repeating flash setting on your small flash,
as well as walk you through a shoot where I put this unique setting to the test. The result is similar to a multiple-exposure image, only with zero compositing, all captured with one press of the shutter button.
Flash photography is a great way to freeze motion, but often the beauty is in the motion itself and something may be lost by only capturing part of it. Conventional thinking would lead us to crank up our camera’s motor drive and machine gun through 14 frames per second. Very few flashes on the market can keep up with those speeds though, and in the end you’re left with a ton of photos that need to be painstakingly stitched together in Photoshop. A stroboscopic approach, like we’re about to take, borders on a mini movie within a single frame when done correctly. (Warning: Simple math skills may apply.)
Setup
I recommend using a tripod for this technique because instead of using fast shutter speeds to freeze motion, we’ll use long exposures and fast bursts of light to stop our subject along its path within the exposure. Once you have your composition set, make sure to place and modify your light so that it adequately covers the area of your image where the motion will occur. In this case, I positioned my small flash above the pool table to mimic the direction of the existing overhead table lights. I then attached a round Westcott PocketBox modifier to evenly shape and light the middle of the pool table.
Settings
From here, we’ll begin working backward, setting our flash first, then our camera settings. After all, the small flash will be responsible for most of the light in the image, then we simply adjust the camera shutter to stay open long enough to accommodate it.
Going into the mode menu of your respective small flash, in this case a Nikon SB-800 Speedlight, locate the Repeating Flash RPT setting. This is a manual flash setting, so we’ll be responsible for plugging in all of the values on the flash and camera for complete control.
First thing is the flash power. It’s good to start low here because the flash will fire at this setting multiple times, building up an exposure rather than dumping the complete exposure in a single burst. Here’s where the math begins. We must now decide the frequency (Hz) and total number of times the flash will fire in each exposure. The combination of these two things gives us our shutter speed. Shutter Speed = Number of Flashes/Frequency (Hz).
Chasing the Variables
The math is never as much fun as good old trial and error, so away we go. For our subject, the billiard ball, I knew that it was traveling a small distance rather quickly so I wanted the flash to fire very rapidly to portray that. After shooting a couple of different variations, I settled on 20 flashes per second, or 20 Hz. Thankfully, there wasn’t a lot of variation in the ball’s hang time, so after a few more practice shots we estimated the actual arc of the ball to last a little more than half a second. I set the flash to fire 12 times total at an already-established rate of 20 flashes per second. Now that we have all this nailed down, we inevitably come back to the math of this technique, although now it’s not that scary: 12 ÷ 20 Hz = 0.6 seconds.
The Bigger Picture
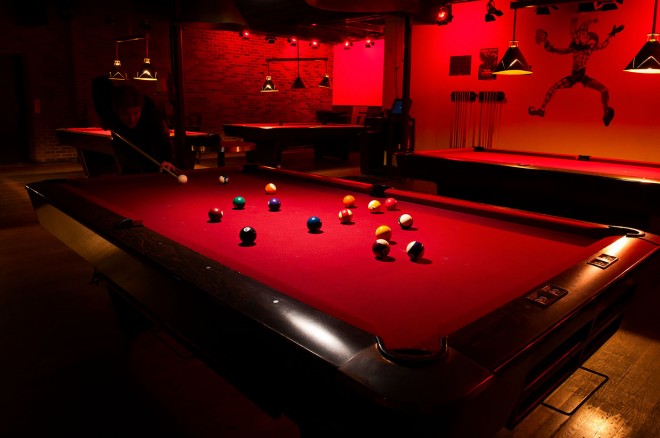
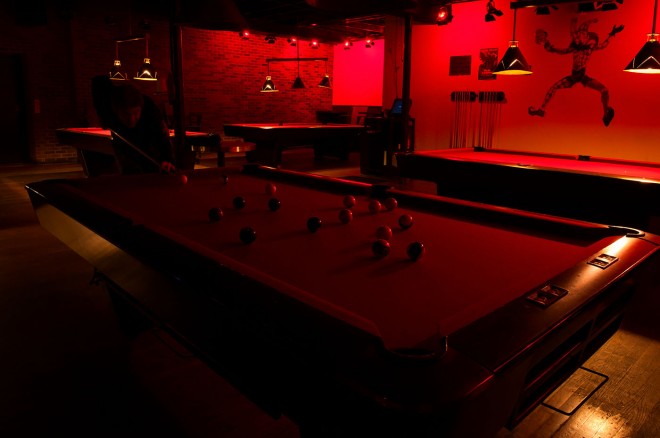
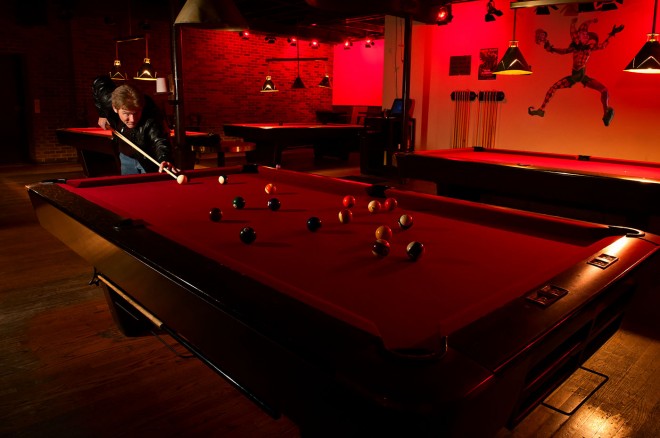
Once the flash legwork is done, we’re finished, right? Almost. Maybe if we were shooting in a vacuum or a completely dark studio, but that’d be too easy. Now the challenge is making the technical settings fit into the narrative of the overall image. To do this we have to work with our ambient light. The final image is actually multiple flash exposures of the ball in the air, as well as a long exposure for the existing light in the room. This image of just the ambient light worked out to an aperture of f/13 at a shutter speed of 1 second. Now we’re starting to set the scene. To explain where the ball is coming from, I added a second small flash just outside the frame to light the pool player. This flash was business as usual and manually set to fire one burst of light.
Result
The scene and settings are now complete. We just need to turn everything on and instruct the pool player that we’re ready to make the final image. No pressure! The result is deceptively natural-looking lighting with a surreal passage of time and motion frozen in the middle. Only we as photographers know just how many different exposures are hiding in this single frame. That’s when you know you did it right.

