Taking the Mystery out of Lighting
To most of us, lighting is a mystery. With so many strobes, modifiers, and techniques, it’s no wonder we scratch our heads and wonder where in the heck do we start. How do we take the mystery out of the whole process? For starters, I’m going to make a statement that may come as a bit of a surprise. Ultimately, when you break it down, lighting has little to do with a technical process. Wait, did I just say that? Let me explain.
If lighting were a technical process, then we would discover that the most technically proficient photographers on the planet would be producing the most amazing, jaw-dropping images. However, this is not the case. All the tools in the world do us little good if we don’t apply them to the single most important ingredient, the creative process.
Don’t get me wrong; I’m not advocating poor techniques. I work hard at honing my technical skills, but with every technique, I need to have a goal, or at least a direction to where I want to end up. This takes an artist, someone who has a vision. Yes, techniques help us get there, but we often get caught putting the cart before the horse.
The Creative Process
Without the creative aspect or the artistic process, we are, at best, left with chasing f-stops, shutter speeds, ratios, histograms, schematics, etc. As an artist, the most important thing we have going for us is our intuition. Your intuition is made up of your uniqueness, personality, life experience, and the things you like or dislike. This uniqueness drives you down a path that separates you from others. Your uniqueness is the single greatest asset you possess as an artist. Embrace your uniqueness and you’ll stand out from the crowd. In the end, this is what the world will notice.
The problem most of us have is that we don’t know where we want to end up. We’re afraid to commit to working from our uniqueness because this opens the door to criticism. Fear of rejection is the biggest obstacle that keeps us from succeeding in reaching our dreams and aspirations. True artists set aside the opinions of others and move forward creating images that they absolutely love, regardless of what others may think.
Choosing the Right Modifier
The best way to learn lighting is to take one light with a modifier, get a subject, and experiment. From there, move in the direction that fits you and your vision. The most accurate flash meter or detailed schematic in the world won’t truly tell you where to put your lights because every subject you put in front of your camera will be different, from the shape of the face to the color of the skin. Even how deep-set someone’s eyes are can drasti-cally change how I approach a subject.
The only way I’m going to know I have my lights right is by moving the lights around until it feels right. Of course, this all hinges on the fact that we’re able to preview the image on the back of our digital cameras. Without question, this is one of the greatest creative advancements in the history of photography.
When I first began the process of learning lighting, I was completely overwhelmed with the whole modifier thing. Why choose a softbox over an umbrella or a beauty dish over an octabank? And with all other options, such as different sizes and interior color choices (i.e., silver or white), where do you even start?
Let’s cut through all these options and get to the crux of lighting. I hate rules, but in my opinion, the greatest rule to understanding lighting is this: The larger the modifier or light source in relationship or distance to the subject, the softer or harsher the quality of light. A medium softbox at 3′ will produce a softer quality of light than a small softbox at 3′. A small softbox at 3′ will produce roughly the same quality of light as a medium softbox at say around 5–6′. The difference is the medium softbox at 5–6′ will cast a larger spread or angle of light than the small box at 3′. This could be good or bad, depending on what you want. Of course, it will take more power to produce the same f-stop from the medium box at the greater distance. This could be a consideration if you’re trying to overpower the sun outdoors.
Pick your modifier based on how soft or harsh you want the quality of light. If a medium box at 3′ isn’t soft enough for your vision as an artist, then go with a larger softbox. In the end, the quality of light is based on the size of the modifier and how close or far it is from the subject. The shape of the modifier has little to do with the quality of light. Whether you have a medium softbox or a medium octabank, if the number of square inches on the front diffusion is equal, the results are going to be the same.
I normally choose a rounded modifier, such as a beauty dish or an octabank, as my overhead light because it gives a more pleasing catch light in the eyes. However, a square or rectangular catch light can always be fixed in Photoshop if necessary, so don’t be afraid to mix your modifiers. In addition, whether you have a white or silver interior, the quality of light is dependent on size and distance, so don’t be swayed by manufacturers’ gimmicks.
To achieve even distribution of light edge to edge on the exterior diffusion surface, I always use an interior baffle in my boxes and octabanks. You can test your modifiers by exposing an image of the front surface and see if the light is being distributed evenly. If the light is blasting only in the center, it will produce a harsher quality of light than if it were equally distributed. This is especially important when using umbrellas. If you’re using a normal reflector on your flash head and the umbrella is too close to the center, then the light is not going to reach the outer edges of the umbrella, effectively giving you a smaller modifier.
Reflective Light
There’s one other very important variable to consider when choosing a modifier: the amount of reflective or light bounce reaching your subject. Unless your studio is painted completely black or you’re shooting outdoors on a dark street in the middle of the night, you’ll have some sort of reflective light influencing your subject. The more reflective light you have bouncing onto your subject, the softer the quality of light. If I take a 22″ beauty dish and place my subject against a white wall, the quality of light will be drastically different than if that subject is against a black or dark wall. This is why in my studio I have different size sheets of white and black foam core to use in reflecting or absorbing light. Mixing ambient or bounced light into your scene will drastically soften the overall feel.
With time and lots of experimenting, you’ll start to get a sense of what works for you. Nothing replaces just diving in and repeating the process over and over. Then one day you do a series of images, build a body of work that represents your vision as an artist, and then guess what—the world will take notice.
Mixing Up the Modifiers
To show how simple this whole process is, let’s look at the same lighting setup: two edge lights and one overhead light, but we’re mixing up the size of the modifiers. This three-light setup has become one of my main lighting approaches that I’ve been using over the last few years. To keep this illustration simple, I’ve selected a few images that all have the modifiers around the same distance from the subject. The only variable I’m changing is the size of the light source or modifier.
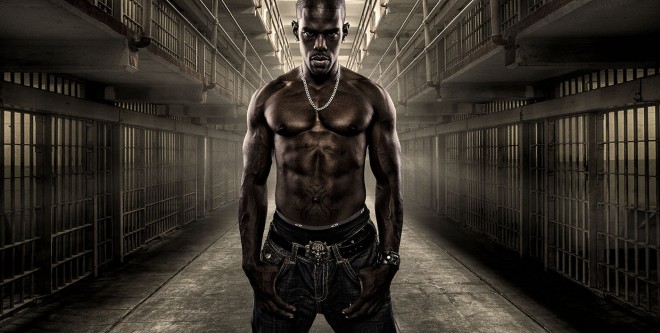
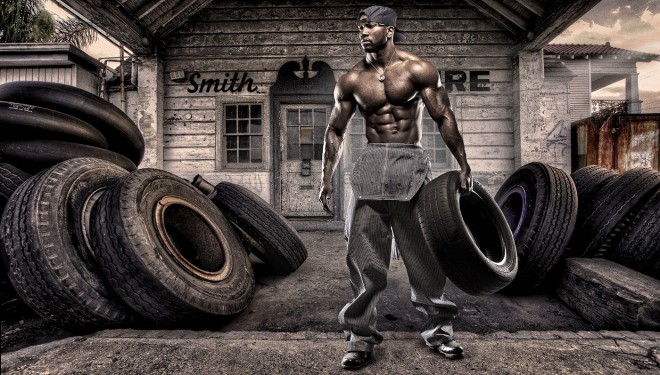
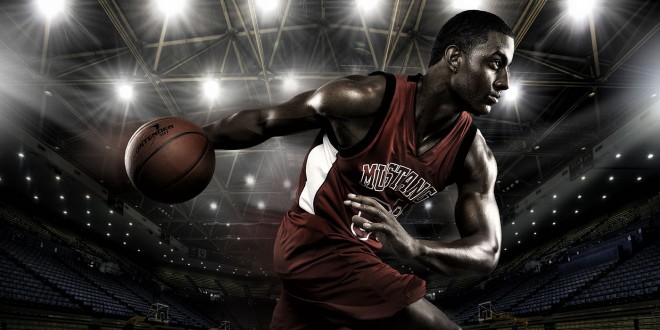
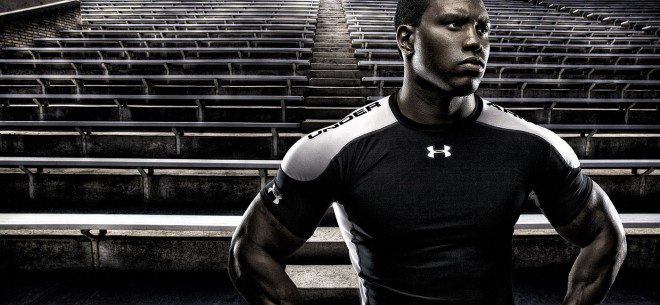
To achieve a strong, edgy, more contrasty look, I use two small 18×24″ softboxes as my edge lights and one 22″ beauty dish as my overhead modifier. This is a perfect approach for photographing sports and athletic subjects. In these first two examples, we have baseball player Kevin Guyette and fitness model Charles Flanagan. You can see that the edge lights are sharply cutting across the subjects’ faces, exaggerating their features.
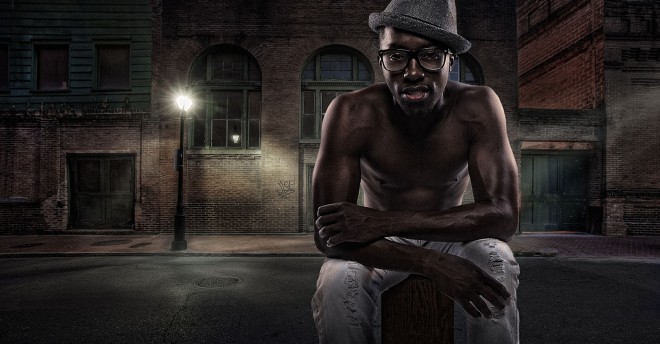
To achieve a softer look while still retaining the overall edgy feel, I use two large 36×54″ softboxes as my edge lights and one 5′ octabank as my overhead modifier. This is my go-to set of modifiers for a good percentage of my portraits. You can see in the two images of musician Dre Merit and fitness model Monique that the light is somewhat softer than in the first examples. As we discussed earlier, I can fine-tune the softness or harshness by moving the edge lights closer to or further from my subject. As a side note, it’s much easier to build contrast in postprocessing than it is to remove it. As a general rule, I try and keep the overall look a bit softer in the camera and then build the contrast later in post.
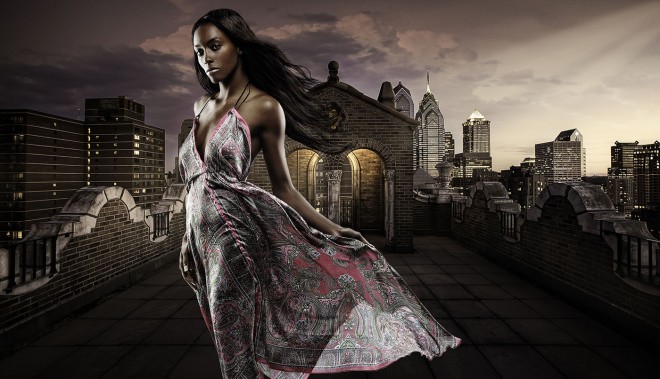
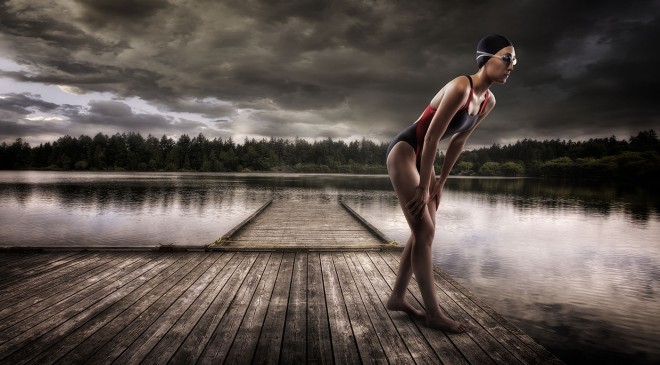
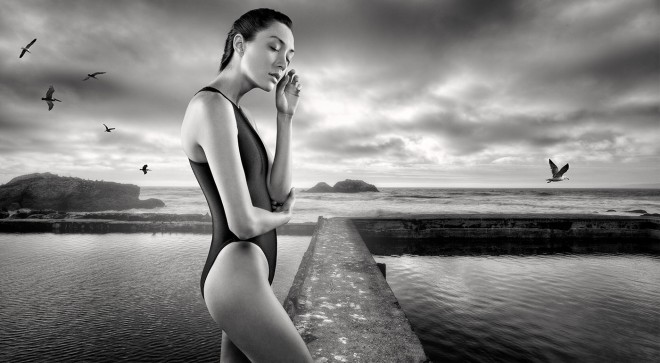
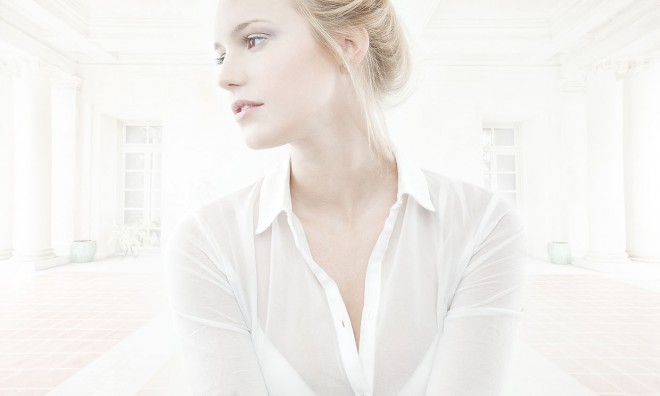
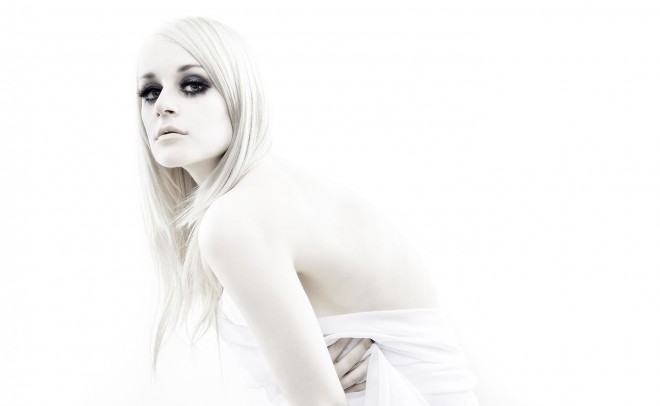
Finally, to achieve an ultrasoft look, I use two large 7′ octabanks as my edge lights and one 5′ octabank as my overhead modifier. In this scenario, I might move the overhead light in just a bit closer than in the second example to achieve the softest look possible. You can see that in the two images of Aimie and Lauren that this approach produces a look that is off-the-charts ultrasoft. Keep in mind that in postprocessing, I’m enhancing this look even further using a number of blending techniques. But it’s by using the largest modifiers I have as close as possible that gives me this ultrasoft look.
No matter what lighting technique you’re using, you can change the overall feel of an image by simply mixing up the sizes of your modifiers. With this knowledge, it really comes down to where you want to end up, so don’t be intimidated. Just start experimenting and the images will follow.
Looking to get your models out of the studio and into a new location? Try compositing. PlanetPhotoshop has a number of online free tutorials and videos for you to check out…How about this one on Artistic Photo Composite or this one for getting a fireman into a smoke filled environment in this Hollywood Smoke Effect tutorial.

