Peter Treadway on Monday Motivation
As a full time wedding photographer with a young family, finding free time to shoot for myself can be very difficult. Don’t get me wrong, I genuinely love shooting weddings but having something away from ‘work’ to photograph is not only relaxing but, very often, necessary.
I’ve always said that shooting a wedding is akin to conducting a portrait shoot at 100mph, for 10-12 hours straight! And to be honest, it’s that adrenalin pumping pace that keeps my enthusiasm and creativity going during the day. However, like any fast moving activity, you need that R&R time afterwards to kick back, take stock of what you’ve done and to learn what you can do better next time. For me, that R&R now comes in the shape of a personal project of long exposure, black and white photography.
Having started this project at the start of 2018, I’m now well in to it and am loving the process of both capturing and editing my images. Shooting long exposures not only forces me to slow down, because when you have a 4 or 5 minute exposure to shoot, you want to make sure you slowly go through a mental checklist to remember everything before committing to pressing the shutter release, but I’m also learning to be more patient. With this extreme digital age we’re currently living through, we’re used to immediate results and immediate gratification and whilst I’m still getting to see what the image looks like after the shutter closes, I still have to wait those agonising minutes, to see if my composition and time calculations paid off. Add to that the fact that a lot of editing goes in to my images, it can easily be a week or so before I get to see the final version of my shot.
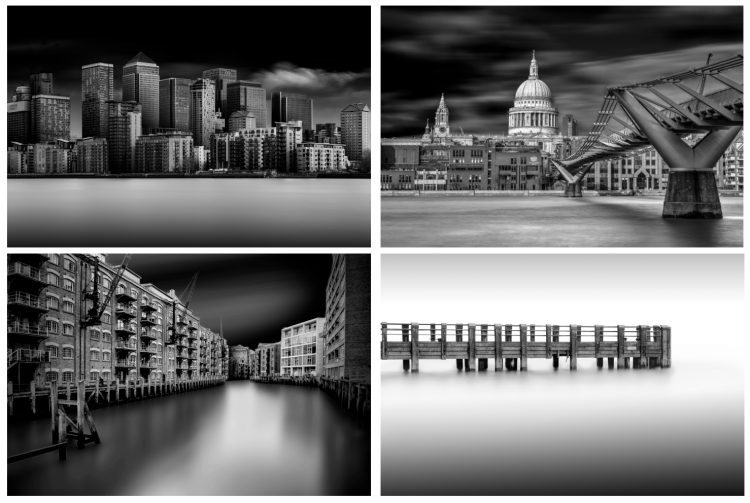
Long exposure photography, as I see it, lends itself mainly to two things: Clouds and moving water. Without either of these things, a long exposure photo lacks any tell-tale signs that it wasn’t just taken at 1/8000 sec. The milky water and streaked clouds give the image an almost ethereal look that can’t be matched by a fast shutter speed.
Recently then, whilst I had a couple of friends from America and Ireland over in the UK to assist me with a wedding, we had some time to go out and explore. My friends were both keen street photographers and so I began wondering where I could take them to encompass both their love of capturing everyday life with my love of water and clouds. The answer was obvious in the end….. a traditional British seaside resort. Our destination was set for Clacton in Essex!
This would also afford me the opportunity to capture a shot that I’d had in mind since I began my project 10 months ago but had been unable to engineer time to create. When we arrived at the beach, I was disappointed to see that the tide was a little low and the feature in the water that I had in mind for my shot, a marker indicating the location of a groyne, was too exposed. However, having checked my trusty tide time app (Yes, I’m a geek like that!) I was happy to see that the tide was on its way in, so I wouldn’t have to wait too long to get the perfect tide height for my shot.
Having waited the requisite time, I cautiously made my way out on to the Groyne, making sure not to lose my footing on the very slippery, algae covered, concrete surface. It goes without saying, but if you’re also going to attempt anything like this, do take great care here, as parts of the algae felt fine to stand on whereas other parts were like stepping on sheet ice!
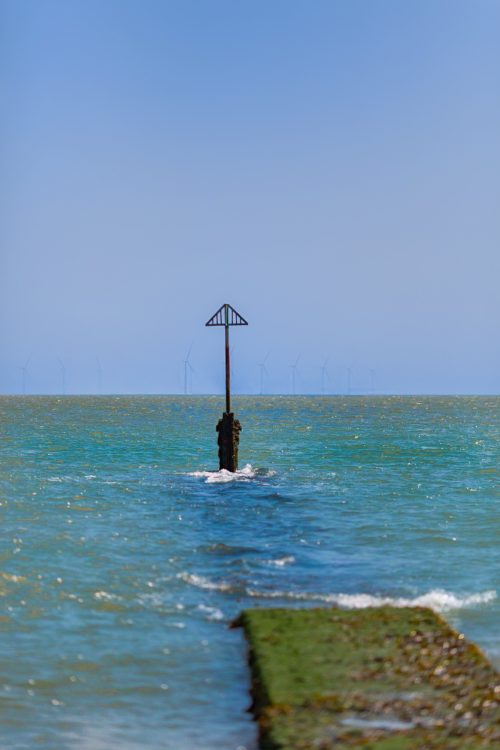
A lack of patience here would have meant I didn’t get the shot I had envisaged, as the water would not have sufficiently covered the end of the groin.
For this reason, I understood why I was visited by the local lifeguards in a RIB as I was setting up, asking me to be careful that I didn’t ruin their day by falling in the drink!
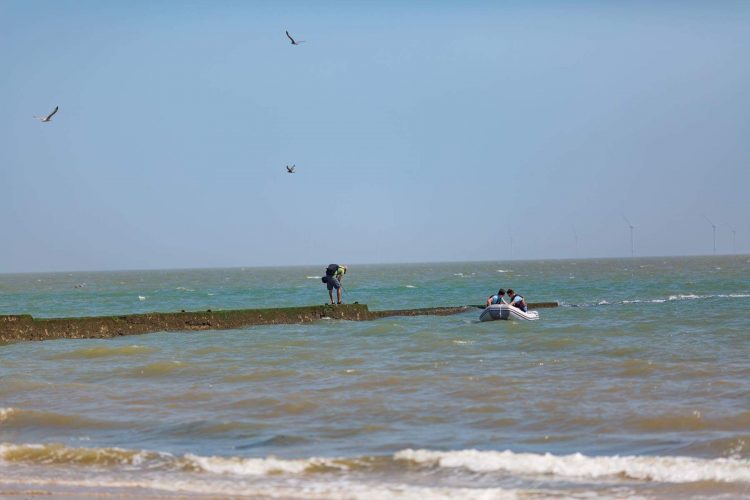
This is me setting up after some friendly advice from the lifeguards.
Once I was setup, the only thing missing was some cloud, but despite this being England, it was a beautifully sunny day with only the slightest whisper of vapour in the sky. With my scene being bathed in harsh midday sun then, I knew that I’d have to employ the big guns in the shape of my Haida 15 stop filter.
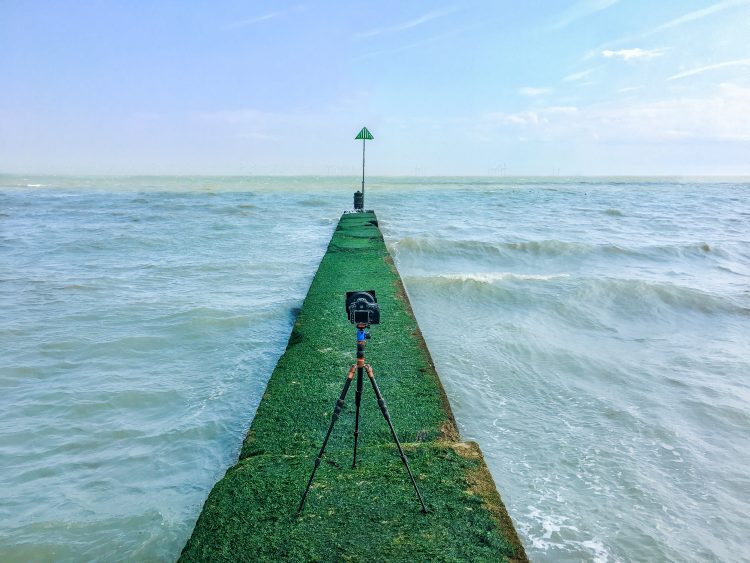
A 15 stop filter was the only way to get a long enough exposure in bright conditions.
Even with such a dark filter, I was still only able to manage an 82 second exposure, but that was long enough for the shot I had in mind.
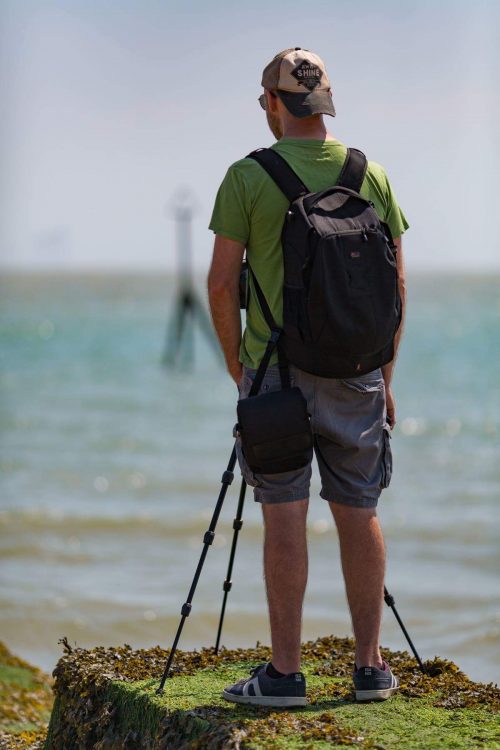
The life of a long exposure photographer… always waiting!
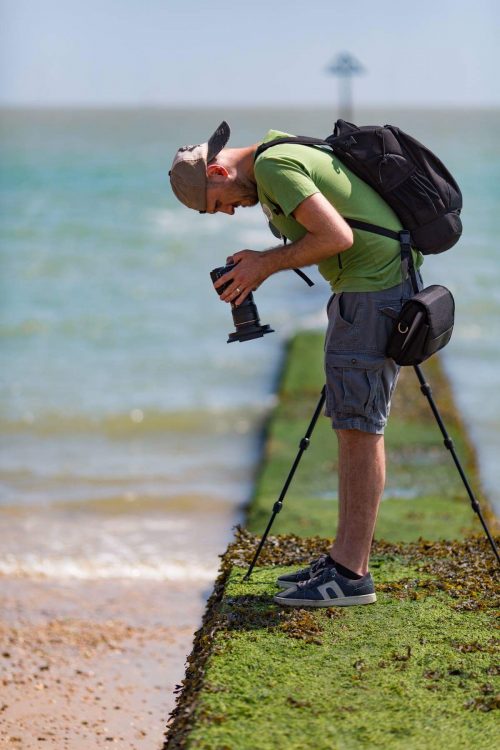
Checking your image is correctly exposed in harsh sunlight is always a challenge!
I was fairly happy with the straight out of camera shot that resulted though, and knew that I could work with it to create the dramatic image I had in mind.
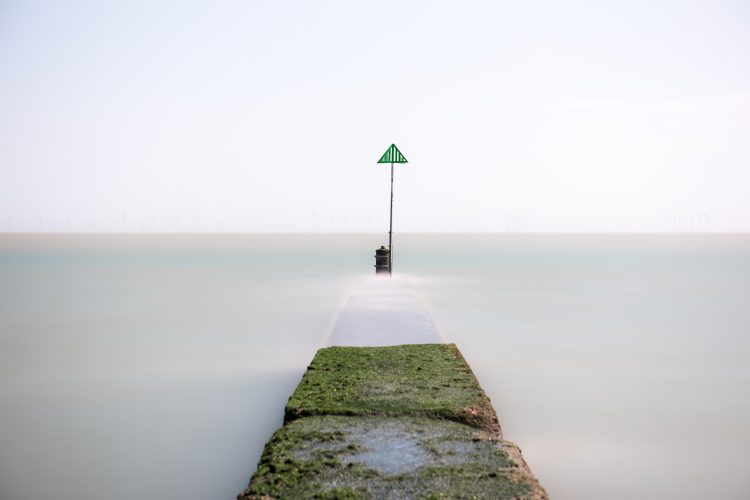
This is the shot straight out of camera.
As I mentioned above, a lot of editing goes in to my images and this image was no different. Most of my post processing time is spent cutting out individual parts of the image, enabling me to manipulate them separately to create something extremely unique.
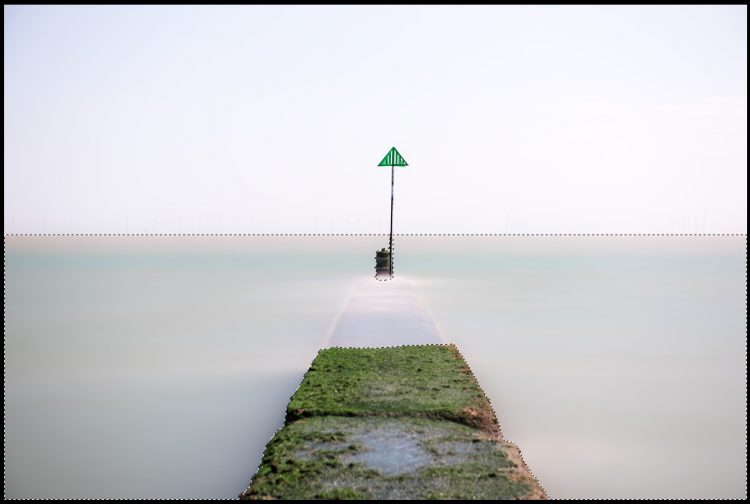
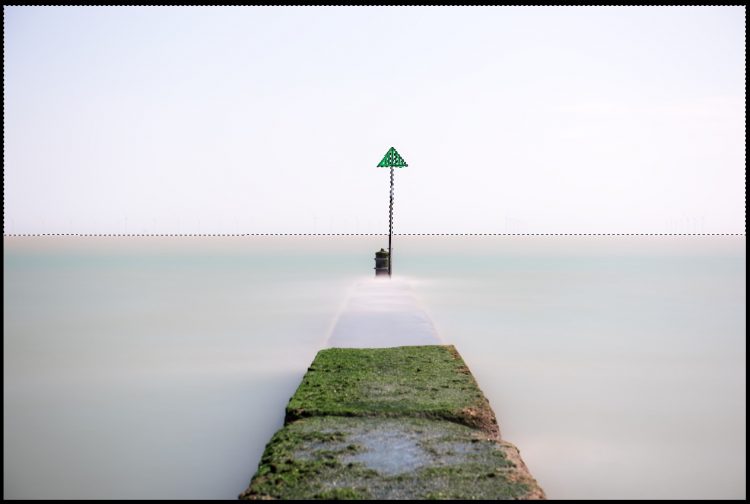
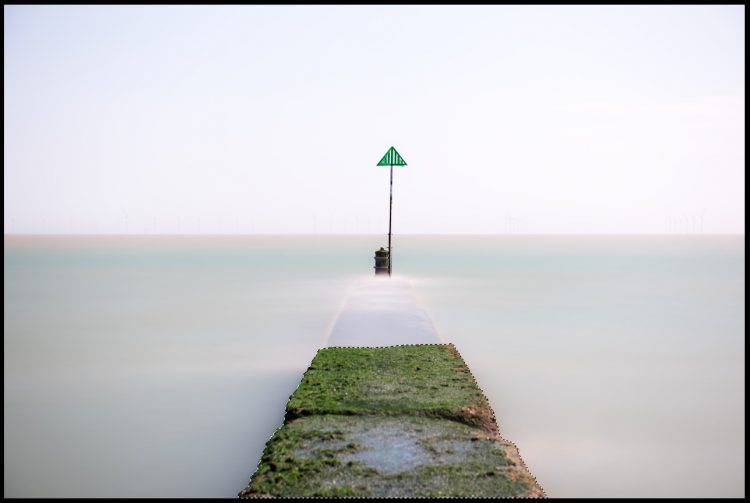
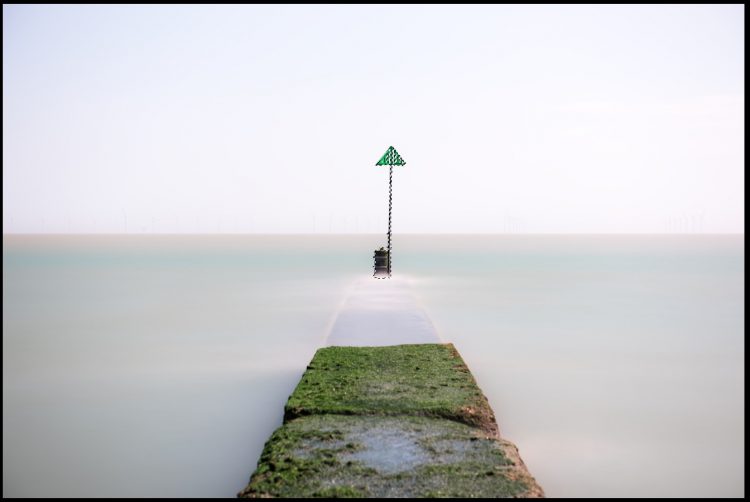
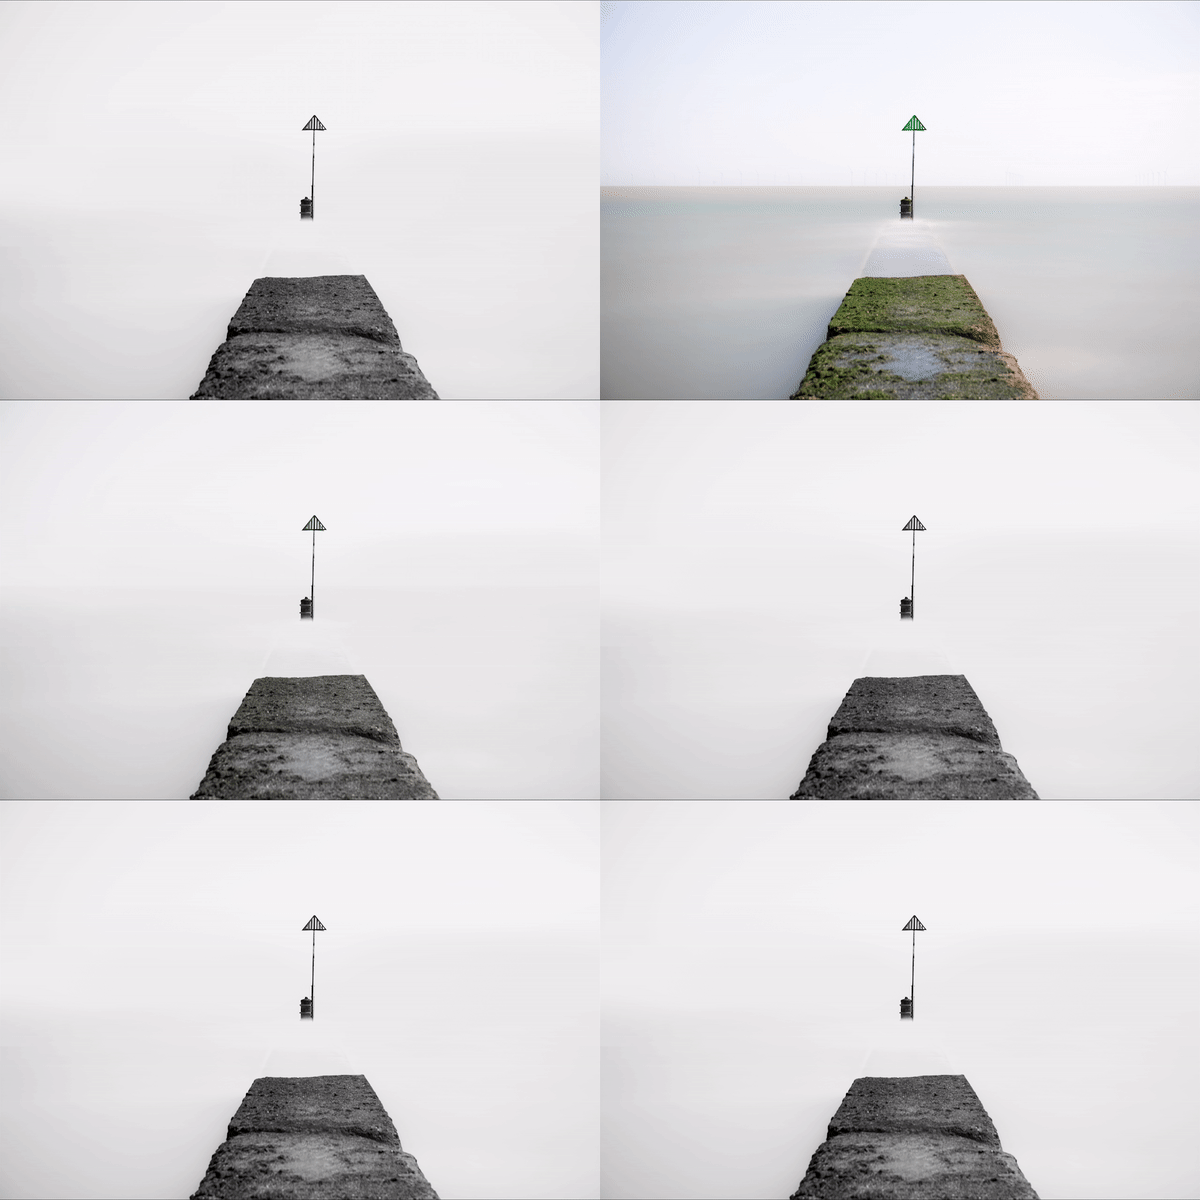
Using the pen tool to select each element of the image is time consuming but essential, as you can see from these four images.
Once every part is selected, I set about using curves, levels and gradient adjustment layers on them individually in Photoshop to create the finished image.
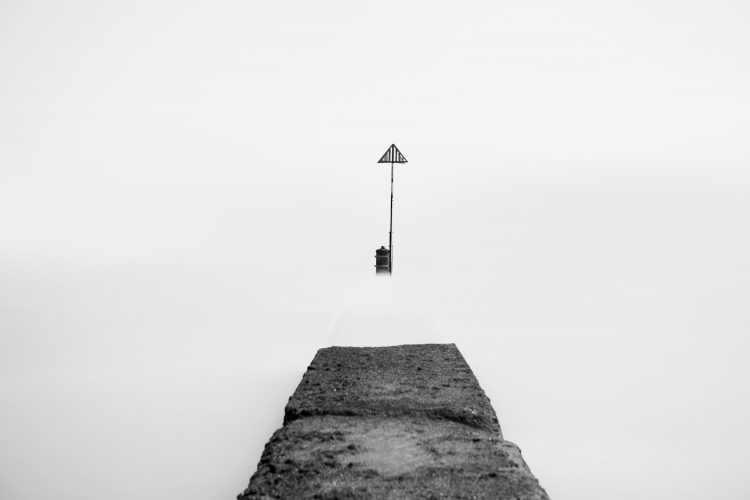
So, having waited a while to find the time and opportunity to shoot this particular image, I think it was well worth the wait in the end and, in some ways, actually made the image even more special to me.
So I guess if I had to sum up this article in one paragraph, it would be this:
Whether you are a full time photographer or a keen hobbyist, find something you absolutely love shooting and don’t worry about finding the time to shoot it. If you love it enough, the time will, eventually, find itself.
Happy snapping, folks
That was a great post by Peter with a great stress on the importance of personal projects and in doing what you enjoy! The BTS photo credits go to KelbyOne members Cathy Baitson and Stephanie Richer. To learn more about Peter go to his website, Instagram, Twitter, or Facebook.


