Lighting for Weddings: Using an Old-School Technique for a New-School Approach
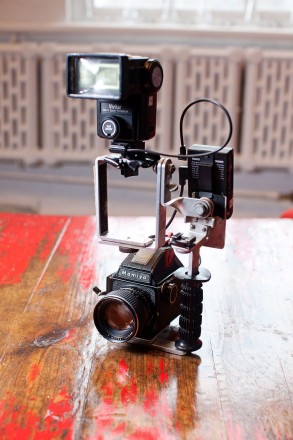
I’m feeling a bit nostalgic as I pack up some items I just sold on eBay. One of the items is my trusty old Mamiya 645, which served mewell for so many years. What a great camera; they just don’t make things like that anymore. Pair that with an industrial bracket,the iconic Vivitar 285HV modified to accept a household to PC cord, and the Quantum radio transmitter (a.k.a. garage door opener), and you’ve got yourself a weapon of mass destruction. That got me to thinking about how basic, yet effective, my flash photography was back then.
We have so many options today and it can be easy to get confused just trying to decide where to start. Sometimes we get so bogged down by the variables that we lose sight of how simple it can be. When I teach off-camera flash, I like to keep it simple and begin with the basics. If you remove some of your options, understanding lighting becomes less daunting and much easier to grasp. From there, you can master how to light without getting bogged down in the gear. Let’s take a look at an old-school approach then apply that to a fun lighting setup.
Old-school Setup
Back in the old days, there were several things that limited the variables we needed to think about. One of the biggest variables was film speed. I only trusted two kinds of film. Early on it was Kodak Vericolor III, and later I preferred Fuji NPS—both were rated for ISO 160. My camera sync speed was 1/60 (no high-speed sync), and my flash was totally manual (I never trusted that auto thyristor). Given those limiting conditions, how does that make things easier? First, I didn’t have to think about which ISO to choose. Second, my shutter speed would never go above 1/60 or below 1/30, unless I used a tripod. I didn’t have to make any decisions on my flash other than the power setting. My f-stop was usually between f/5.6–8.
What’s left? Distance and power. Manual flash now becomes simple. My shutter is most likely going to be 1/60. As a matter of fact, I had a penny jammed in my shutter ring tomake sure it never moved. Also, the viewfinder was terrible and quite dark, so to ensure a sharp image, I usually stopped down to f/8 and zone focused (a way to focus that uses the depth-of-field scale rather than the actual distance from camera to subject). I would also limit myself to three distances: 7’, 10’, and 14’. This would give me half-stop increments.
Today’s Lesson
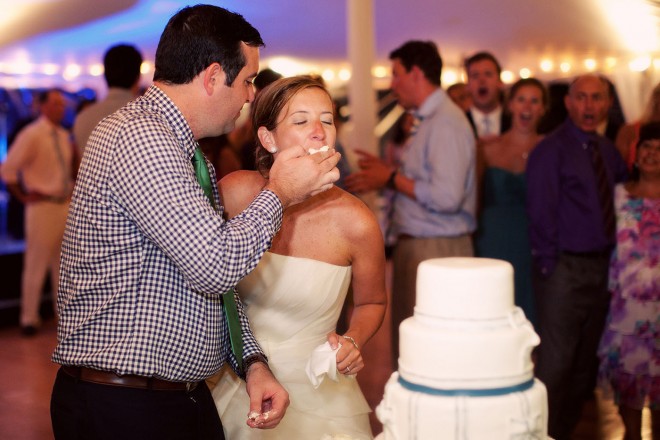
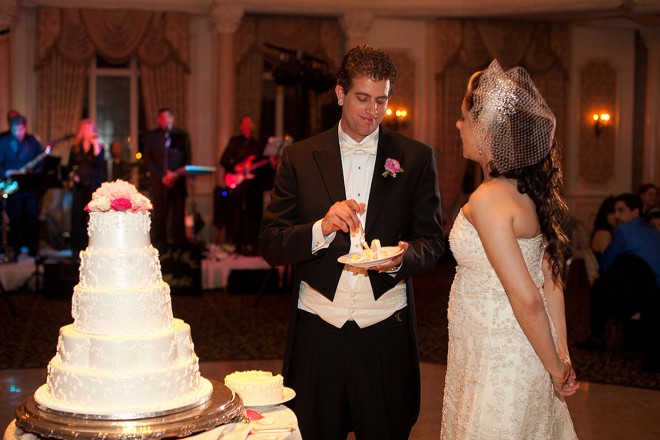
For this step, let’s discuss a real-world wedding example where you’d want to use manual flash: cake cutting. If there were ever a situation made for the TTL to fail on your flash, cake cutting is it. The white dress, white cake, white tablecloth, dark suit, dark decor, etc. are going to wreak havoc on your flash in TTL mode. All that white or dark area might make your flash underexpose for the white or overexpose for the dark. If you’re moving your lens around (say when the bride and groom are smashing each other with cake), that might cause for inconsistent exposures. However, you’re really not changing your distance, right? You’re crammed between Uncle Bob and Grandma Betty, so you have to make the best of it. The last thing you need is inconsistent flash output. I go totally manual in this situation and use the same approach I used from 20 years ago. Choose an ISO, shutter speed, and f-stop, then adjust your flash output to match your settings.
Typically, I use my 50mm lens and stand 10′ away. Using the settings mentioned earlier on my camera, my flash would need to be at 1/64 power pointing forward. I’m not a fan of direct on-camera flash. To make it a little softer, I like to bounce the flash into the ceiling using a little dome diffuser, so I’ll need to add some power to compensate. This will vary based on ceiling height, but let’s just say we need to add a stop, making it 1/32 power.
If we don’t change our distance, we can shoot away, get consistent exposures every time, and not worry about our flash making a wrong decision and dumping full power for one shot, which of course will always be the best cake smash ever, right? However, should we change distance, we have two choices: adjust the power on the flash or adjust the f-stop.
I think it’s much easier to adjust my f-stop, and do so without moving the camera away from my eyes. With a little practice, you can get quite good at adjusting the f-stop with your thumb while viewing through the eyepiece.
Given those parameters and using my old-school formula of 7′, 10′, and 14′ distances, all I have to do is adjust the f-stop in camera if I need to back up. This gives me three settings:
• 7′: ISO 640, 1/60 at f/5.6, 1/32 power
• 10′: ISO 640, 1/60 at f/4.5 (open 1/2 stop), 1/32 power
• 14′: ISO 640, 1/60 at f/4, 1/32 power
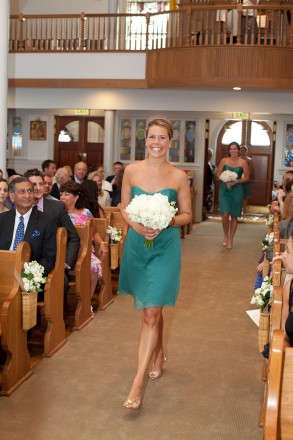
Trust me, with a little practice it’s really simple and you’ll get consistent exposures every time. This can also work great for other scenarios when you’re taking multiple shots and your distance to subject isn’t changing (e.g., bridal party walking down the aisle [or returning], bridal party entering a reception, toasts, etc.).
Homework
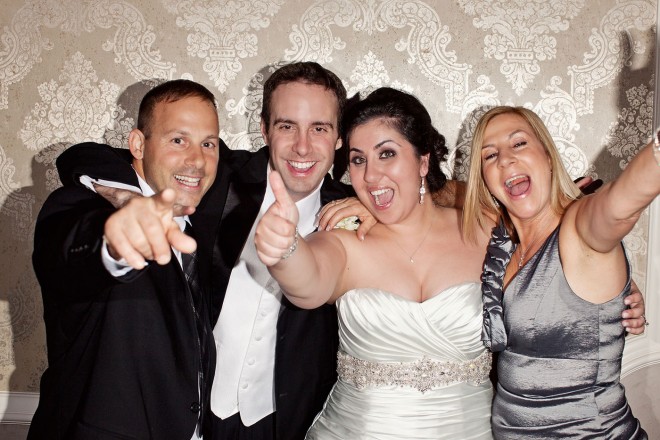
Taking this same old-school approach, let’s do something fun with it, but add some off-camera flash. How about some fun candids? It’s the end of the night, you’re bored, and you can’t leave for another hour. Instead of throwing back cheap tequila shots with the groomsmen, make yourself productive. Of course, you can do both if you want, but that’s your call.
Find a dark area where ambient light won’t be an issue, and a light-colored or patterned wall. Leave your flash on camera, set it to manual mode, and dial it to the lowest power setting. Rotate the head of the flash so it’s pointing behind you. The only thing the flash will be doing is helping you focus in a dark area. Alternatively, you could go into your camera’s settings and set it to focus but not fire; however, I can never remember where that setting is and after a few tequila shots, fumbling around the menus is nearly impossible for me. (I’m kidding! On the Canon, it’s under External Speedlite Controls.)
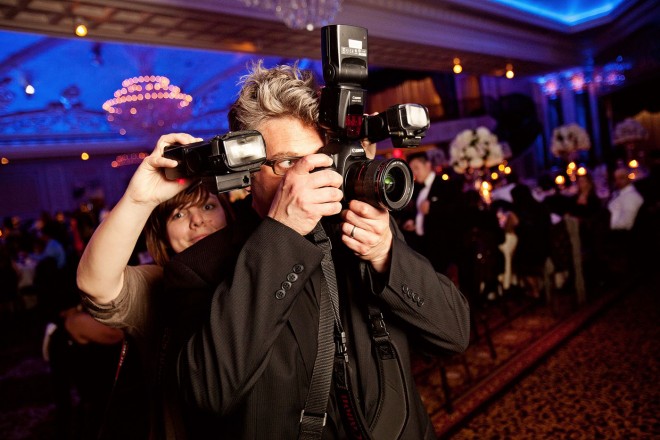
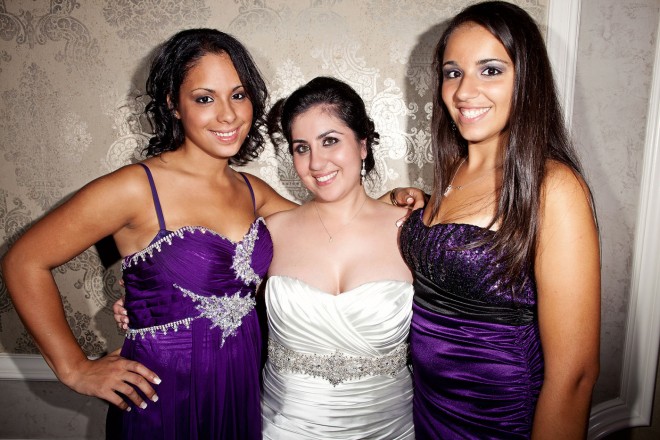
Using two small portable strobes and a radio transmitter/receiver (I like LumoPro LP160s with the RadioPopper JrX), have someone hold both flashes on either side of the lens. Place your subjects against the wall and close together. This will create a ring flash look, and I think make for an out-of-the-ordinary candid. It has that photo booth type feel, and it will look like you’re going the extra mile for your client. I also get a ton of print sales from guests of the wedding, too!
Using the old school principle, here are my settings:
7′: ISO 400, 1/50 at f/5.6, LP160s at 1/64 power (for 2–4 people)
10′: ISO 400, 1/50 at f/4.5, LP160s at 1/64 power (for 4–6 people)
14′: ISO 400, 1/50 at f/4, LP160s at 1/64 power (for 6+ people)
This lighting setup works best with smaller groups. Now go kick some butt and make some money!
Editor’s Note: As a professional photographer based in NYC and Director of WPPI Jason Groupp is a man in-the-know. Want to know more of what he knows? Here is a course from Cliff Mautner on One Flash Wedding Photography.

