
Creating a Halftone Background in Adobe Illustrator
Using both Adobe Illustrator and Adobe Photoshop together can produce some original designs. I’ll go over a technique of creating a shape in Illustrator and then using it as a clipping mask in Photoshop, which is then partially hidden for a nice background effect.Step 1:In Illustrator, click-and-hold the Rectangle tool to bring out the other shapes. Click the Ellipse tool.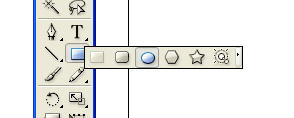 Step 2:You can click-and-drag out a small circle by holding Shift to keep the correct proportion, or you can just click on the Artboard with the Ellipse tool selected and enter a specific size, such as .2 inches shown here. Make the Fill black and Stroke none.
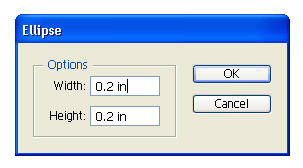 Step 3:With a Selection tool, hold down Option (PC: Alt) and click-and-drag to the right to create a duplicate. Be sure to hold down Shift to keep it duplicated at a 90 degree angle.
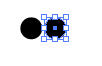 Step 4:To repeat this effect with the same settings, press Command-D (PC: Ctrl-D) which will repeat the last transformation. Press it as many times as needed to create a row, like seen here.
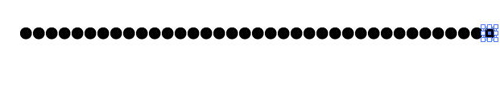 Step 5:With a Selection tool, click-and-drag around the row of circles to select them. Then hold down Option (PC: Alt) and click-and-drag below the current selection to create a duplicate row. Press it a couple times to create a box area of circles.
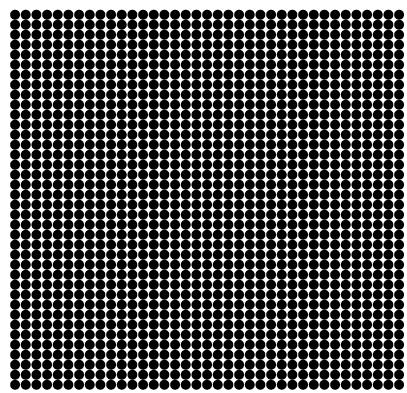 Step 6:Select the entire grid of circles and go to Edit>Copy. Open an image you want to work with and go to Edit>Paste.
 Step 7:Press Enter to place the clipboard contents. The art should look something like this.
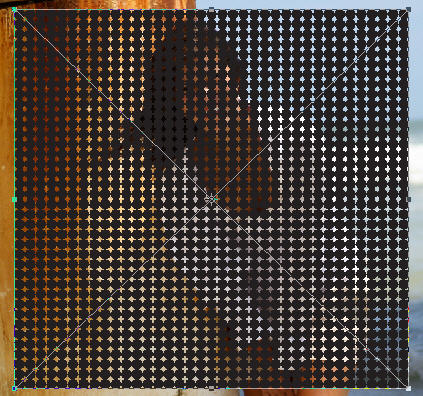 Step 8:Double-click on the Background layer and name it to make it a normal layer. In the Layers palette, click-and-drag the new layer which has the pasted shape from Illustrator below the original layer. There should now be two layers, one that has the image and one that has the pasted shape. The pasted shape layer should be below the image layer.Position the cursor between the two layers in the Layers palette and hold down Option (PC: Alt) and a circle icon will appear. Click to make a clipping mask.
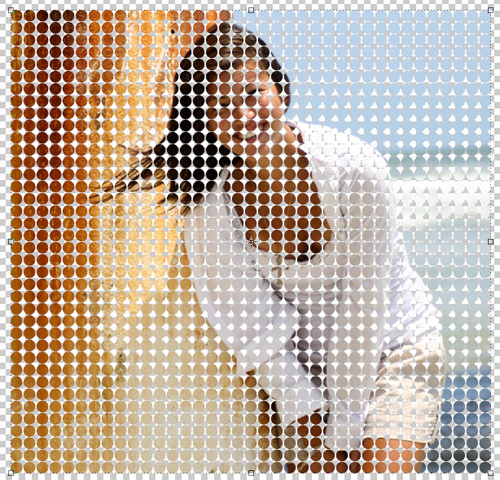 Step 9:Now the image looks pretty cool, but let’s go one step further. With the layer that has the shape on it selected in the Layers palette, choose a soft-edged, large brush and paint black over an area you would like to hide the circles. Now the subject stands out from the rest of the image, with a nice background effect.
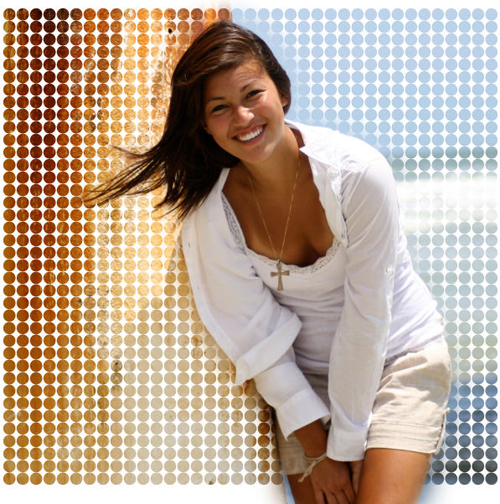 PHOTO: ISTOCKPHOTO/JOHN MILLERBIO: Chad Neuman is a writer, editor and designer from Florida. His website is www.chadneuman.com.
