
Use Adobe Illustrator to Make a Pirate's Map
Learn to create warped text that is still editable on top of another object by creating a pirate’s map.
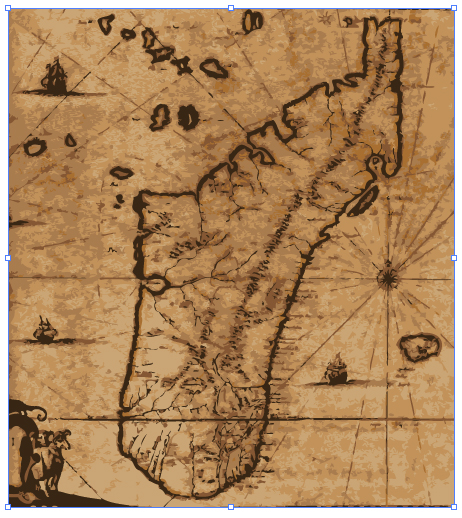
Sometimes it’s necessary to create outlines of text so that it can be distorted. But perhaps you want to be able to modify text after it’s warped. Here’s a neat way to do that. September 19th was Talk Like a Pirate Day, so let’s make a pirate’s map using this envelope warping technique. Here’s the image file I used: a map of Madagascar.
1
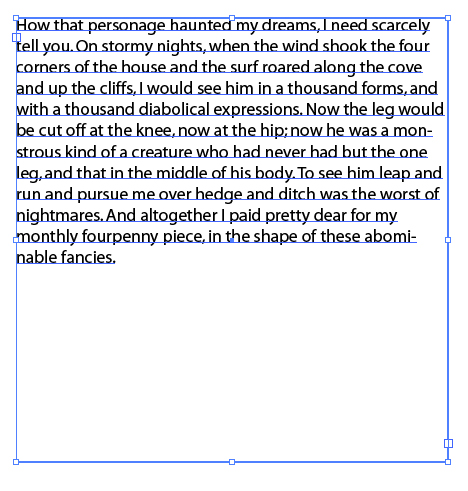
Open a new document in Adobe Illustrator. Choose the Text tool, and click-and-drag and area to insert some text. You can type in some text, and Edit>Copy from another source and Edit>Paste into the text box. I’ve inserted some text from the classic book, Treasure Island, which is in the public domain.
2
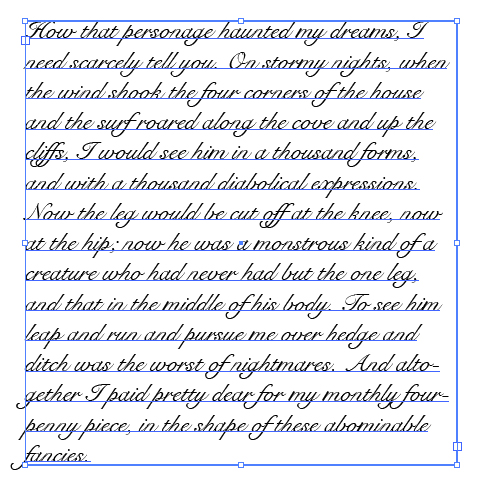
Change the font style and size to your liking by clicking-and-dragging over it with the Text tool then changing the font on the Options Bar or under the Type pull-down menu. I’ve used Snell Roundhand at 20 points to get a more “pirate” feel.
3
Choose the Rectangle tool, and change the Fill and Stroke to None. Click-and-drag a box just around the text.
4
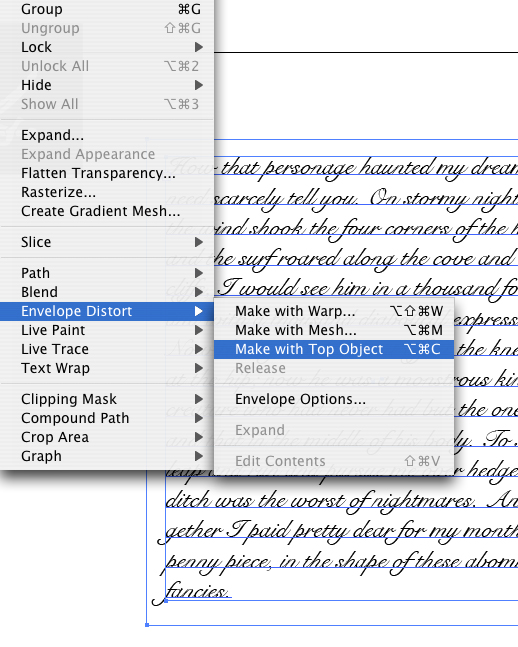
Select both the new box and the text underneath it by clicking-and-dragging around both with the Selection tool. Go to Object>Envelope Distort>Make with Top Object.
5
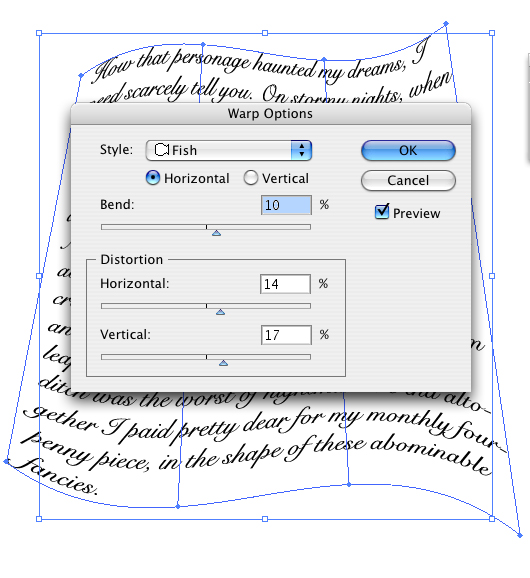
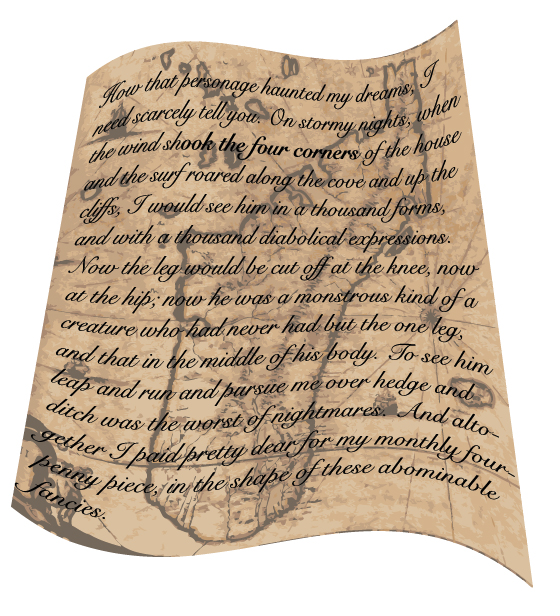
Go to Object>Envelope Distort>Reset With Warp. Choose a shape for the warp; the Fish shape makes for a good curved piece of paper look if the settings are correct – Horizontal Selected, Bend % set to 10, and the Horizontal Distortion set to 14 and the Vertical Distortion set to 17.
6
Go to File>Place and choose the map of Madagascar. Click Place.
7
With the Selection tool, click the placed art and resize by clicking-and-dragging a corner bounding box. Then click on the Live Trace pull-down arrow and choose Color 6. This will convert the map to a vector object.
8
With the map selected, go to Object>Envelope Distort>Make with Warp. Enter the same settings as before: Fish shape, Horizontal Selected, Bend at 10%, and Horizontal Distortion set to 14 and Vertical Distortion set to 17.
9
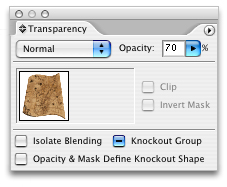
With the map selected, go to Object>Arrange>Send to Back and then change it’s Transparency to 70% (Window>Transparency).
10
Click-and-drag the map directly underneath the text. Now both the map and the text are curving on the same shape coordinates. What’s neat about this is that you can still edit the text. Go to Object>Envelope Distort>Edit Contents and use the Text tool to edit the text. I changed the text “shook the four corners” to bold.
