
DIY Photography Light Modifier
People take pictures of Chinese lanterns all the time. The (usually) colorful and decorated globes, lit from within, make an interesting subject for photographers. But if you do a Web search for “Chinese lantern photography,” what you probably won’t find is that a white Chinese lantern can be an excellent light modifier, especially for an off-camera flash.
Walking through the lighting department in Lowe’s recently, I spotted an inexpensive Chinese lantern made of cloth with a modest, solar-powered light fixture in it. There were four great things about this Chinese lantern: the lantern was cloth, not paper; it was flattened in the package, so I knew it was collapsible; even in the package I could tell that the light fixture would be easily removable; and at $10, it was affordable.
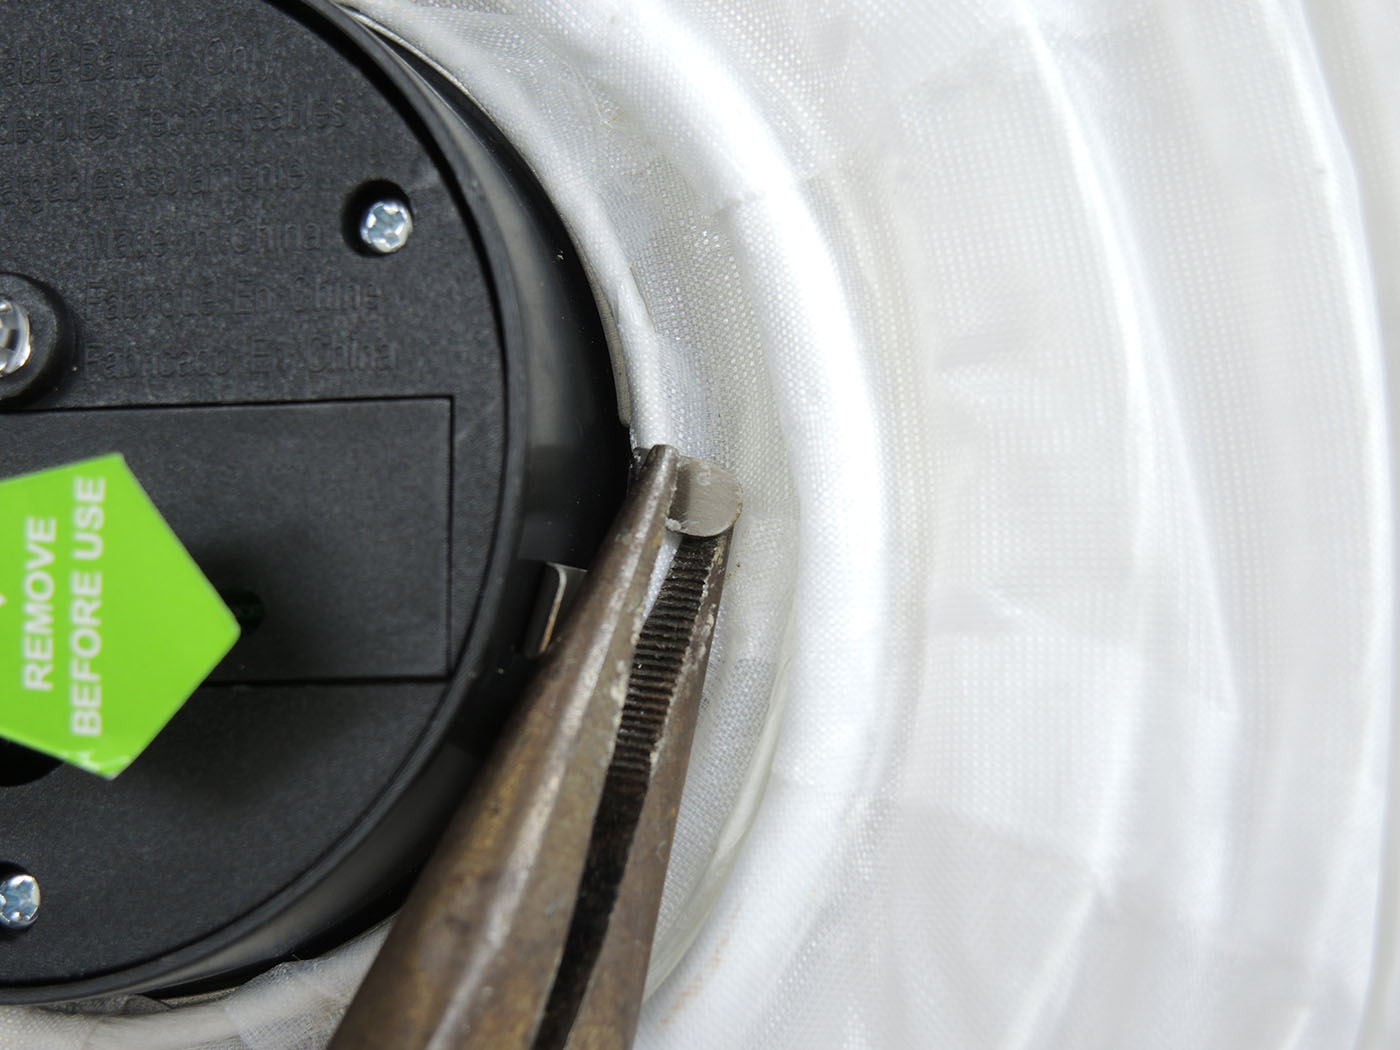
Step One
There were six metal tabs holding the light fixture mounting ring in place, so I bent those back with needle-nose pliers and the light and mounting ring were easily removed. The result was a collapsed globe with one hole slightly larger than the other.

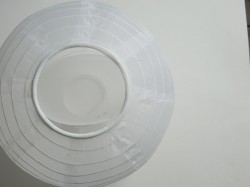
Step Two
Next, I needed a way to prop the lantern open in a globe shape without closing the bottom hole and without dimming the light too much. We have several pets in our house and our vet’s office gives away pet can lids, which are white and sized for various can diameters. This turned out to be perfect to close the hole at the top of the Chinese lantern and hold a makeshift plastic cone. I inserted it through the larger hole and plugged the small hole with it.

Step Three
Then I took a piece of 8.5×11″ frosted plastic report cover material and rolled it into a tapered tube/cone. The diameter of one end was the diameter of the smallest ring inside the pet food can lid. The other end was exactly the same diameter as the larger of the two Chinese lantern openings. In case you’re wondering where to get frosted plastic report covers, when I was in a FedEx Office store recently, I bought a half dozen sheets of this plastic for around $.0.75 each because they make good diffusers for various projects.
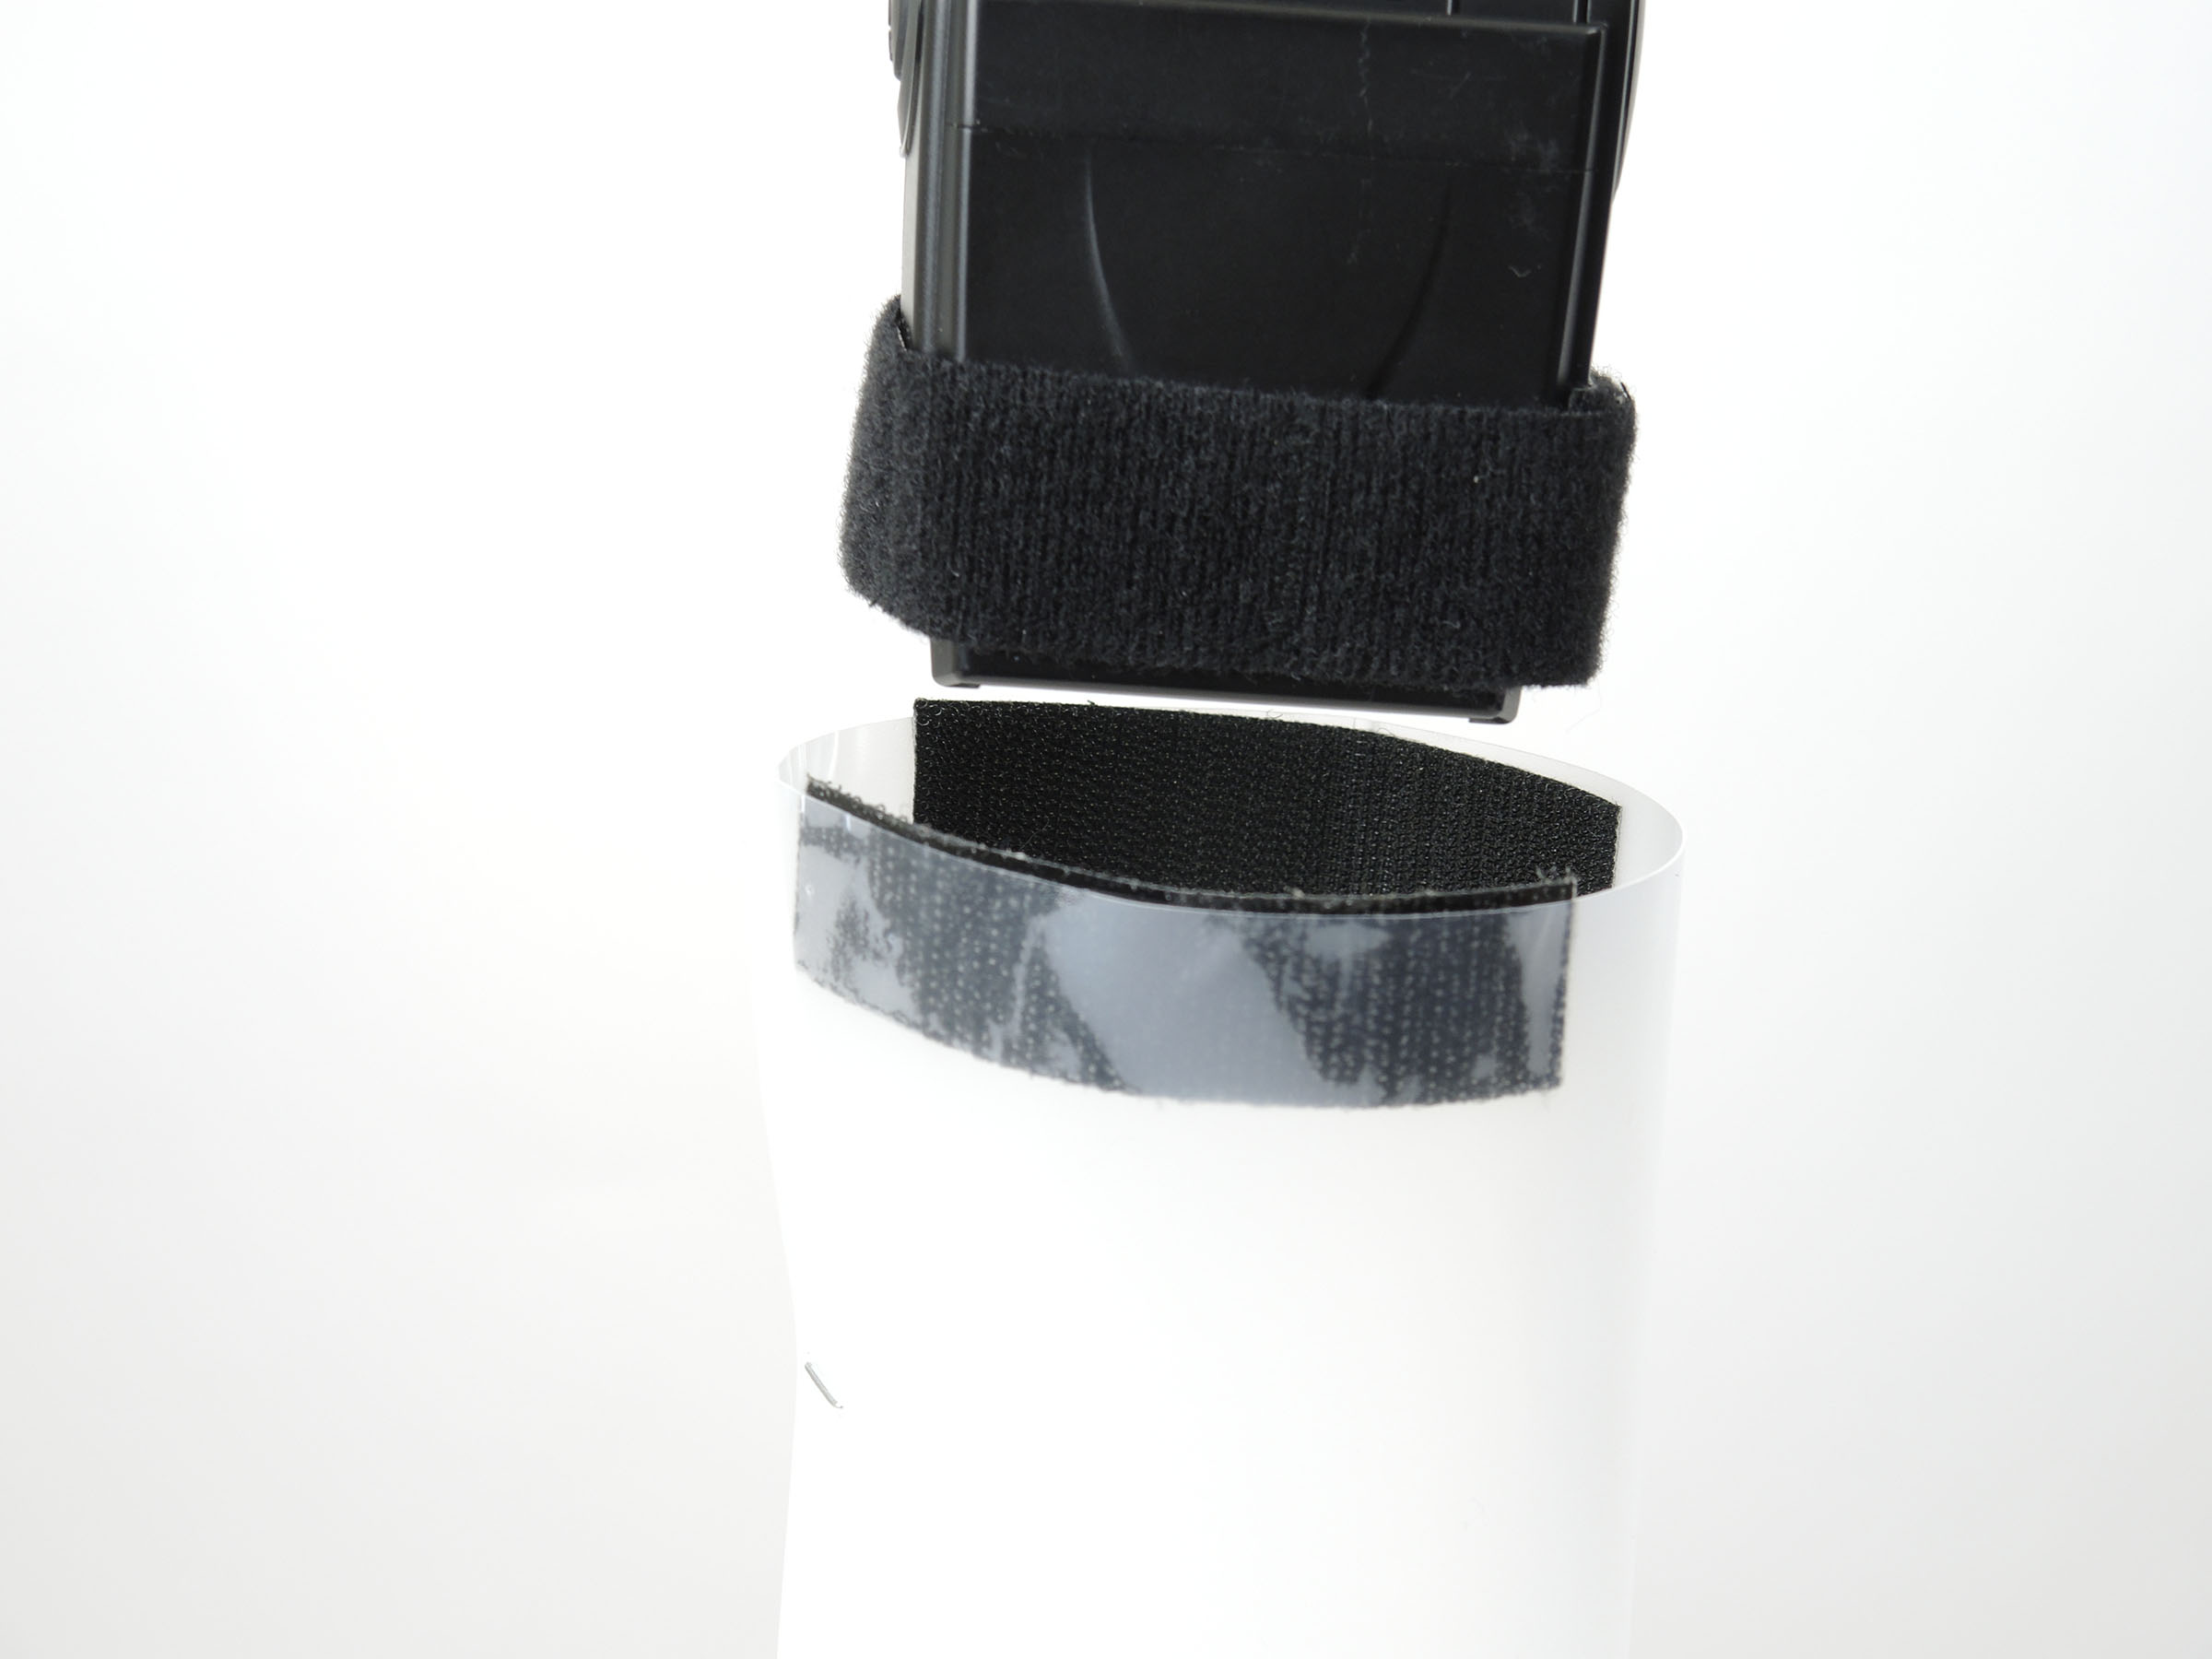
During my proof-of-concept build, I kept the cone in this position with two staples, but I recommend Velcro so it can be unrolled and travel flat.
Step Four
The only remaining thing to do is put adhesive Velcro around the inside of the wide end of the cone. I have Velcro on all my flash heads, so I could easily mount the whole lightweight globe onto my flash.
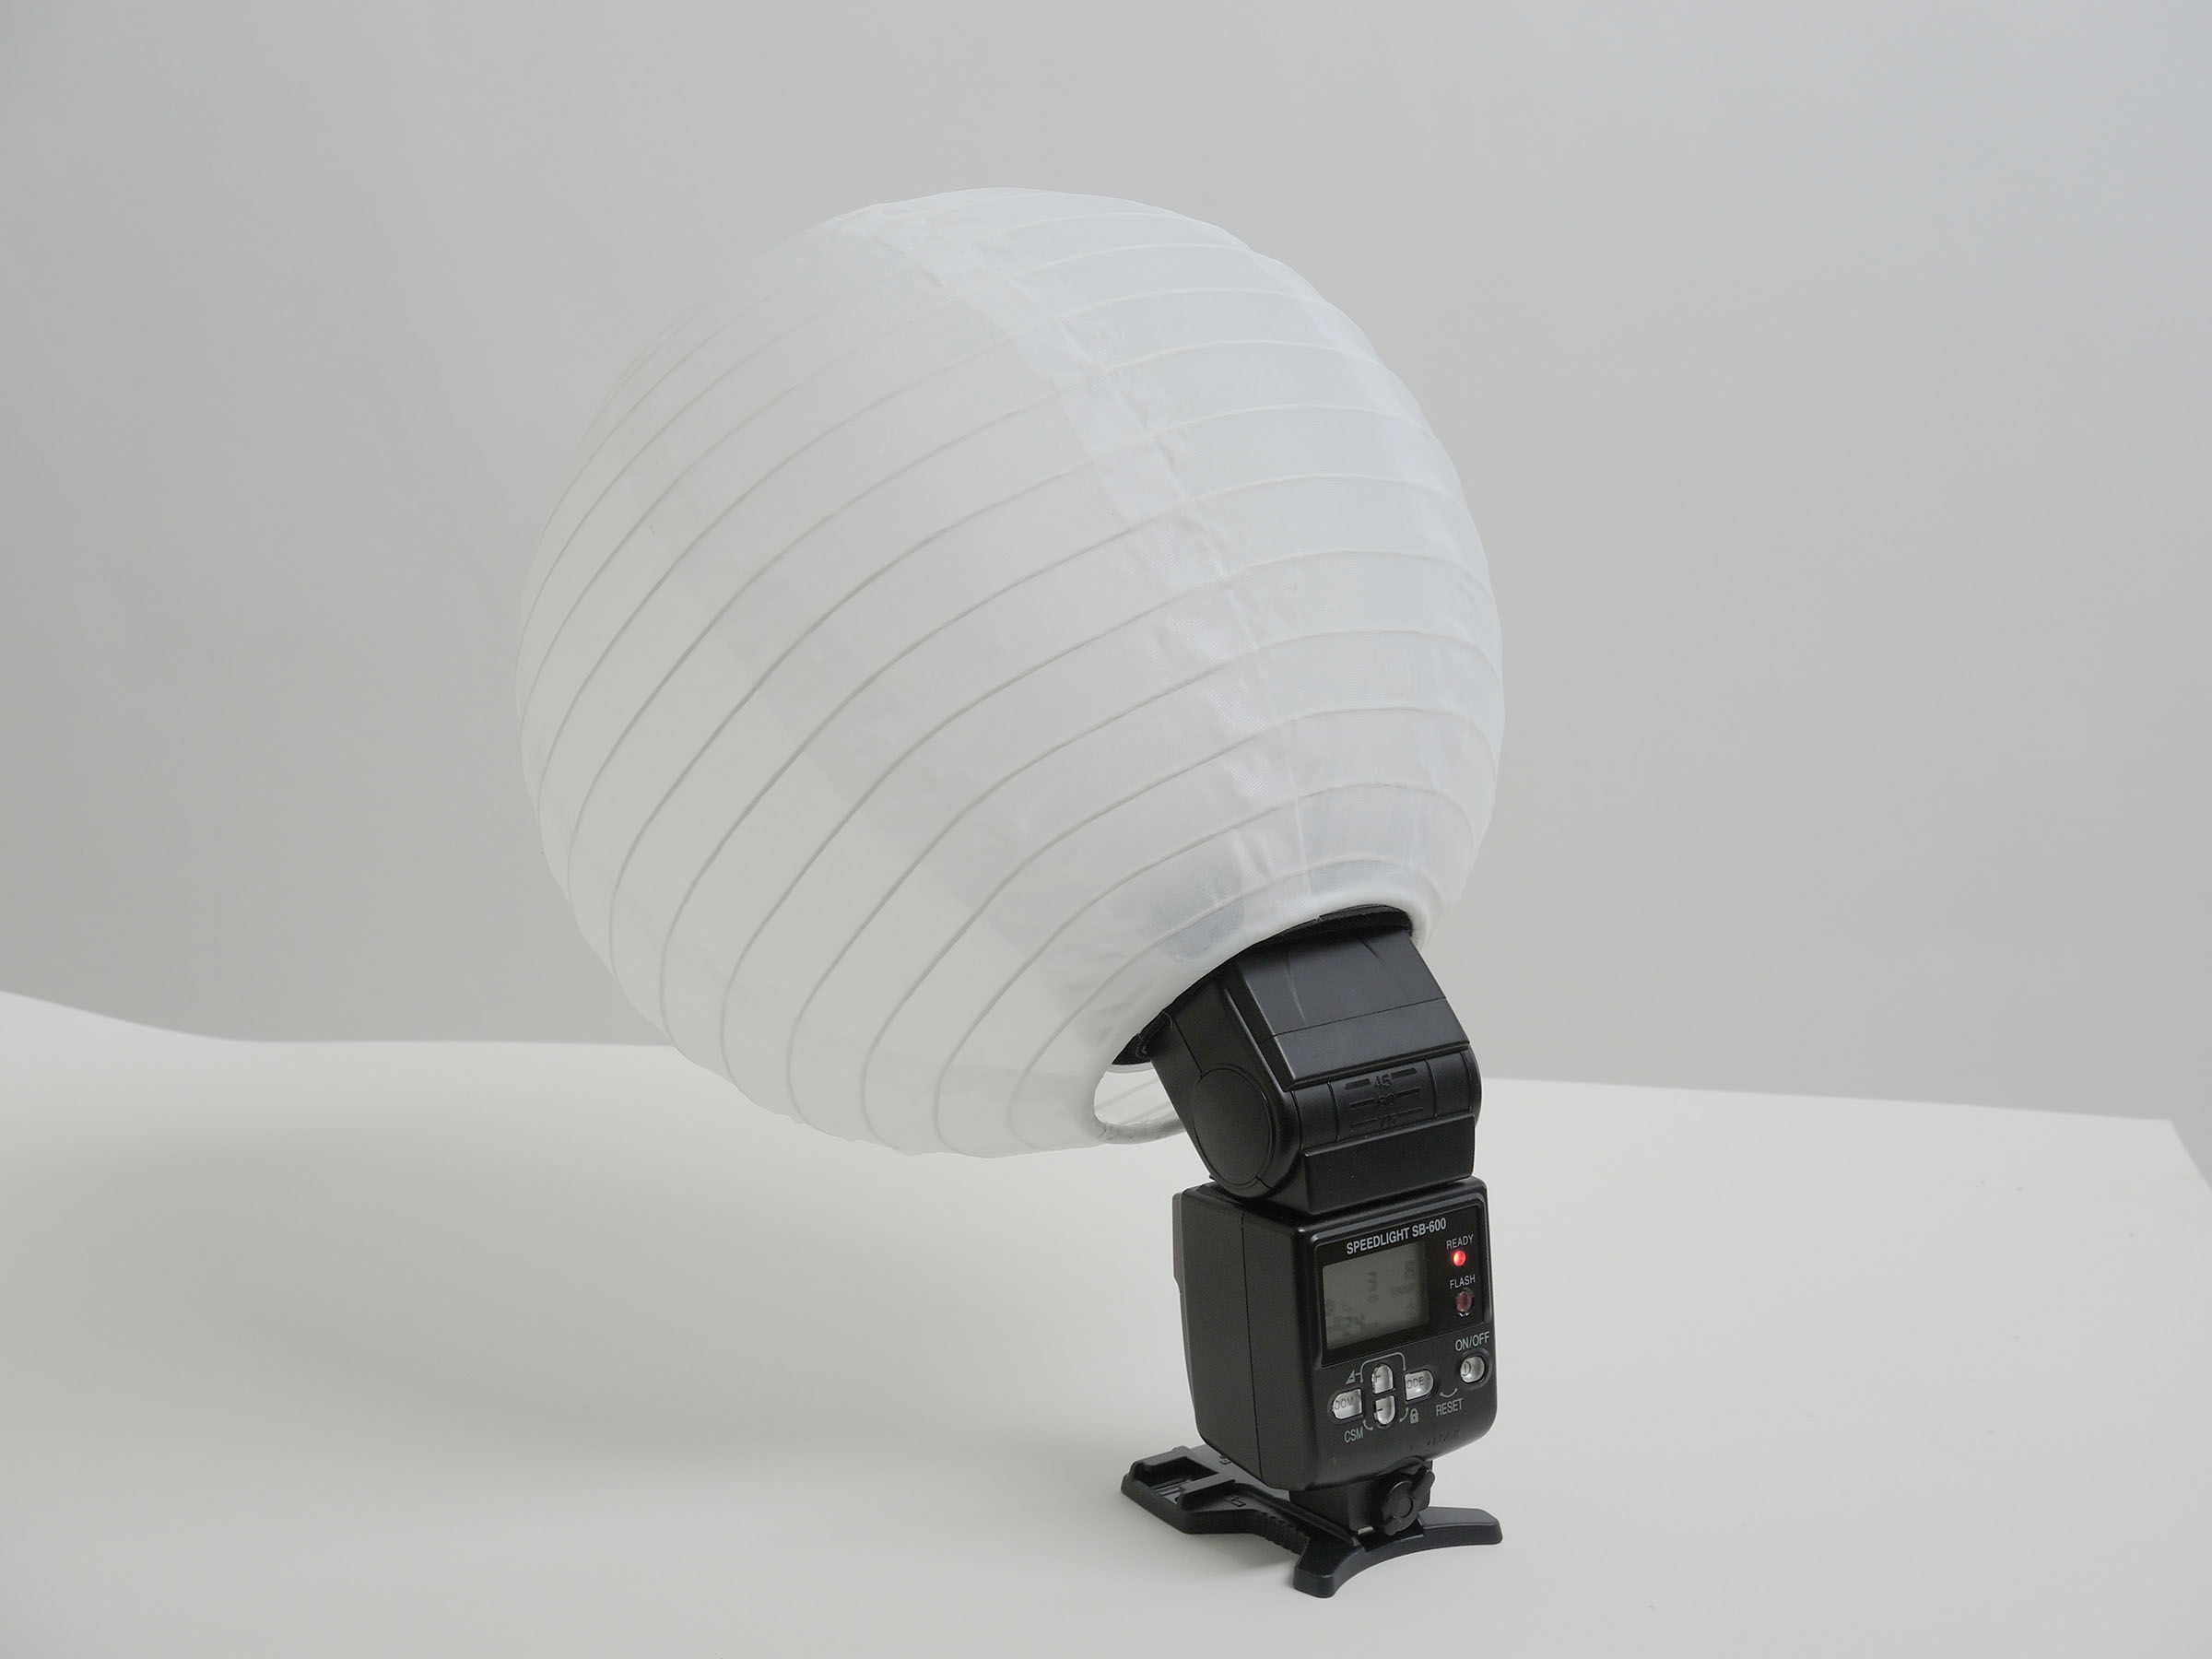
Step Five
Now when the flash fires, it hits the white pet food lid and bounces all around inside the globe. This makes a great light source! I really like this simple little DIY because it’s very affordable, easy to assemble, lightweight, and best of all, it packs flat.

Move forward with your photography with this Q&A on Copyright and try one of our new Photoshop classes here.
