
Artistic Expressions: Creating a 3D Sign
Though the concept of 3D tends to scare many people, it’s there to make things easier.
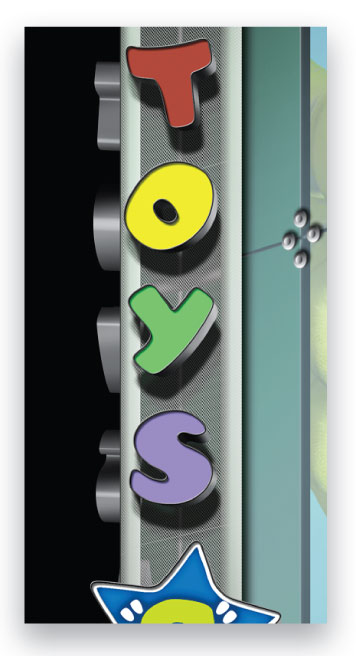
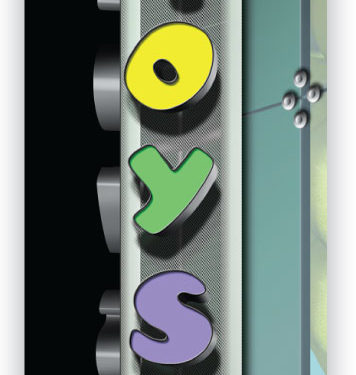
The painting I’m currently working on is a night scene of New York City’s Times Square. One of the structures visible in the image is the enormous Toys“R”Us store that has become a landmark of the area. It sports a huge Ferris wheel inside the store; it’s a must see if you’re ever there. In this column, we’ll look at a tiny fraction of the overall building—the sign on the farthest edge.
Begin in Illustrator
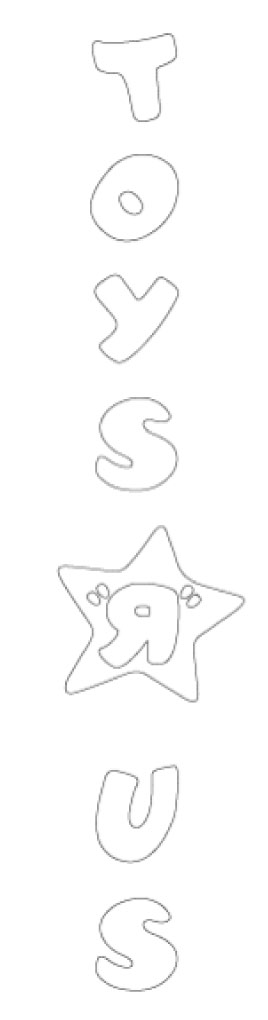
As you can see, the sign is made up of colorful letters that are embedded in metal shapes that extrude from the edge of the building. Begin by drawing the paths that make up the basic letterforms of the store logo in Adobe Illustrator, and then export the basic shapes to Photoshop via Edit>Copy in Illustrator and Edit>Paste in Photoshop. Select Path in the Paste dialog. These paths will be used later as selections for the basic metal shapes and colored parts of the letters.
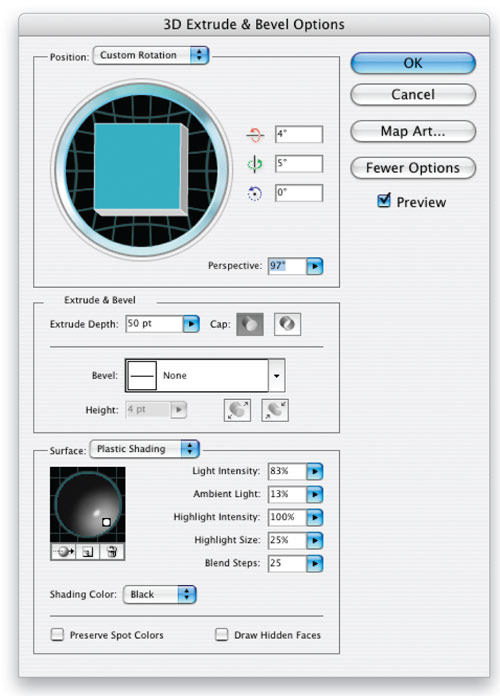
In Illustrator, you can create the extruded sides of the metal casings using the 3D tools. Start by giving the shapes a black Stroke with no Fill color. To achieve the slight depth visible on the sides of the logo facing the viewer, choose Effect>3D>Extrude & Bevel. Modify the x- and y-axes slightly, just enough to get the desired visible edge, then set the Perspective to a value that matches the viewing angle for the overall image.
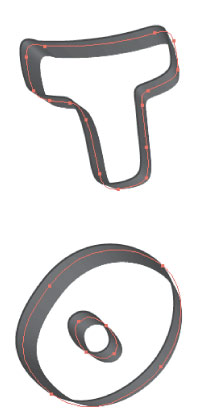
Now set the surface lighting to give the shapes added dimension and highlights, making them appear to be made of metal. In the Surface section of the 3D Extrude & Bevel dialog (click the More Options button if you don’t see it) set the direction of the light, as well as its parameters, to give the appearance that the light is coming from below, as it is in the actual scene. The black outline extruded the letters in black, demonstrating the reaction to light with a series of gray values.
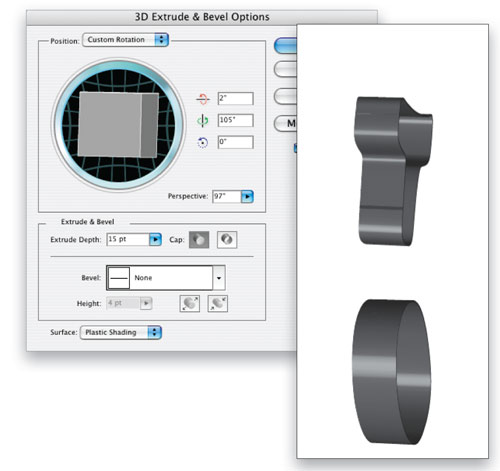
To get the sides of the letters on the left part of the sign that’s facing away from the viewer, duplicate the layer by dragging it to the Create New Layer icon in the Layers panel. Hide the original layer and then target all the paths in the duplicated layer. Open the Appearance panel (Window>Appearance), and click the 3D Extrude & Bevel effect to edit it. Further modify the x- and y-axes with a greater emphasis on the y-axis to turn the letters away from the viewer, thus exposing the entire sides. The Perspective remains the same as before but adjust the Extrude Depth to give the shapes the appropriate depth. Make sure you adjust the highlights too.
Assemble in Photoshop
Once the two different sides of the logo are complete, send each layer to Photoshop via Edit>Copy in Illustrator and Edit>Paste in Photoshop. This time, however, paste them as Pixels. Because the gray values were created in Illustrator, this will import the shapes into Photoshop with all their appropriate tonalities in place. If you paste the layers separately, each shape will be imported into its own layer.
After moving each layer into position, the face of the letters is next. With the Path Selection tool (A), place the originally imported paths in position over the their three-dimensional counterparts. Click the Create a New Layer icon at the bottom of the Layers panel, choose a gray color, head over to the Paths panel, and click the Fill Path with Foreground Color icon.
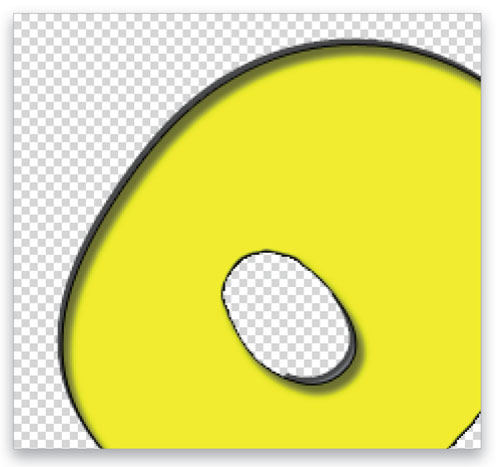
Create another new layer to fill each individual letter shape with the bright colors that match the actual sign. Because the entire logo is a set of paths, use the Path Selection tool to select each letter, and fill the letters with the appropriate colors with the Fill Path with Foreground Color icon in the Paths panel. Now click the Add Layer Style icon at the bottom of the Layers panel and choose Inner Shadow from the list. This will make the letters appear slightly indented into the metal cases. With the Layer Style dialog still open, choose Stroke from the Styles list. Adding a Stroke layer style gives the letters an edge, thus making them look separated from the metal shapes of the cases.

Now create a clipping group with the brightly colored letters layer and the layer containing the gray letters. To do this, press-and-hold the Option (PC: Alt) key and click between the two layers in the Layers panel. Using the Move tool, move the colored letters to the right and down slightly to expose the gray letters underneath. This creates the effect of seeing the inside edge of the metal shapes where the colored letters are indented.
More detail
To add a little more dimension to the inside edges of the metal casing visible along the edge of the colored letters, use the Dodge and Burn tools to create highlights and shadows along the inside edge. Because the inside edge is made of metal, it’s necessary to add these shadows and reflections to complete the effect. In the two-dimensional workspace of Photoshop, how you handle highlights and shadows will give an object a sense of what material it’s made of.
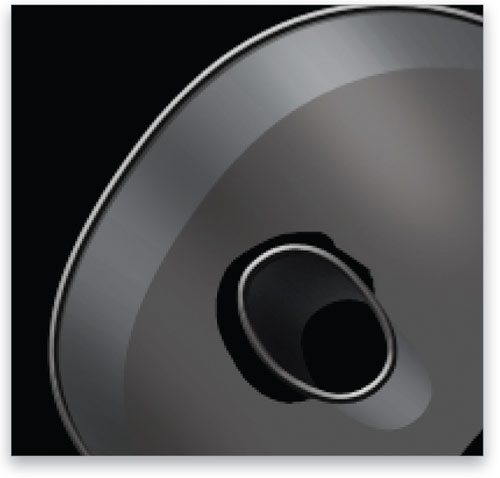
With the colored part of the letters visible, move them further down than they should be to allow the highlighted edge to be easily visible. Can you see how the shadows and highlights give the edge that added dimension, making the whole image appear three-dimensional?
What’s next?
Once all the elements are in place, we’ll add the final details to make the sign look real. One of those details is the presence of dirt. What would a New York scene be without a little dirt here and there? This painting will take at least another year to complete.
Though the concept of 3D tends to scare many people, it’s there to make things easier. Understanding how it works will open the door to creating many effects that before required many convoluted steps and still didn’t guarantee the best results. I love telling people, “Sit there and play.” Think of yourself as a sculptor and create shapes. What about lighting? You can add and position multiple light sources and create a mood, as you would for that perfect photograph. The only difference in this lighting is that you’re using a lot less electricity. That’s important nowadays. Have fun!

