5 Tips for Shooting Stellar Interior Photography

Interior photography can be tricky. Each space has a story to tell, a personality to express, and unique needs to be met. Wide lenses, a sturdy tripod, and a beautifully designed space all help, but if you’re looking to step up your game, the following tricks can help.
1. Clean the Space
While we all know to clean up before any interior photo shoot, we often don’t realize just how much more we actually need to clean. Be sure to clear off as much floor space as possible so the space opens up visually. Flat surfaces like tables, countertops, and desks should all be completely cleared off, with the exception of one or two strategic accent pieces.
Be sure that all light fixtures are clean and in functioning order, as all lights will need to be turned on. Test out all curtains and blinds to make sure they are clean and operable, as these will also be opened for photos.
Small daily items like remote controls, junk mail, and small countertop kitchen appliances, and dirty dishes should all be tucked away and out of sight. Make sure to wipe the kitchen sink down clean.
Be especially mindful of areas such as entry foyer, family room coffee table, and night stands. These can be places for small items to pile up without us even noticing.
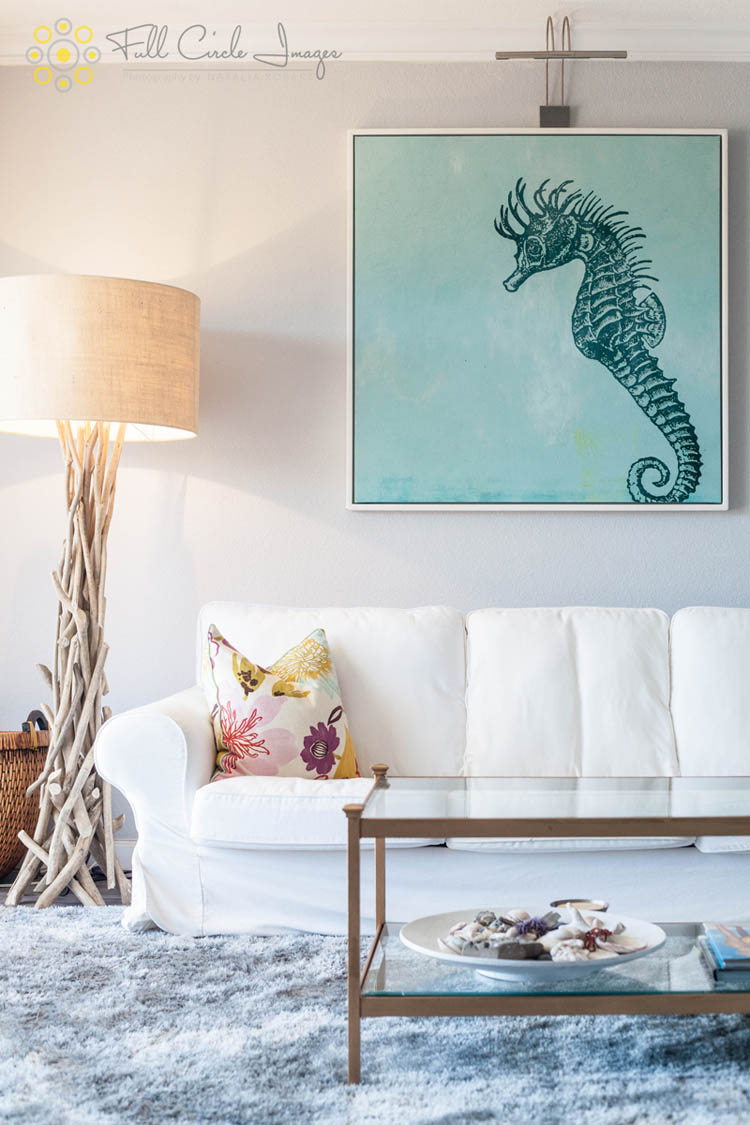
Once the space is completely cleared, almost to the point of feeling too empty, then we can begin to add decorative touches sparingly. An accent pillow with a pop of color may be enough for the living room. A brightly colored teapot on the stove in the kitchen or beautifully textured towels very neatly folded and draped over the edge of the counter may be just enough.
A large dining table may call for a beautiful arrangement of flowers as a centerpiece, or a small eating nook may be perfect for an open book, coffee mug, and small plate with cookies.
Regardless of what personal touches you add to the space, be sure to add them only after you completely de-clutter the space. This will allow you to wipe the space clean, creating a blank canvas, and then slowly add details that pop.
A few things to be mindful of when adding decorative touches:
- A single pop of color goes a long way! Be sure to add a decorative piece, then take a few steps back and look at the entire space overall to determine if more is needed. When unsure, refrain from adding extra decorative touches. An open and clean space is always better than one that feels cluttered even a tiny bit.
- Keep color palettes in mind. If you have a room full of neutrals, you may not want to add a pop of fire-engine red on the kitchen counters. Likewise, if you have a room already full of color accents, be sure that whatever (if anything) you add coordinates well.
- Think ahead to what shots you want to take in the space, and use those to help you arrange small pieces. If you know you want to take a detail shot in the dining nook, then go ahead and set up the open book and coffee mug on the table. If you think in terms of what vignettes you’ll shoot and what angles your wide shots will be shot from, this will begin to dictate how to add any accent pieces.

2. Use All the Light You Can
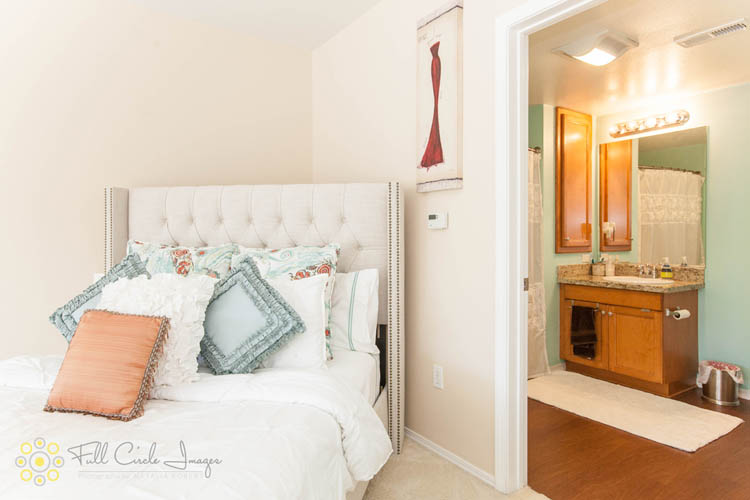
Take advantage of all the light possible, both natural and artificial! Be sure to turn on all light fixtures possible, big and small. While not all lights will contribute drastically to the overall lighting of the space for exposure purposes, having the interior lights on helps to visually warm the space. When lights are left off, interior spaces have a tendency to feel a bit cold and empty. On the other hand, having interior lights sprinkled throughout the space give accent lights and create a warm, lived-in space that will add to the appeal. When shooting a kitchen, don’t forget the light over the oven (yes, even that one!).
While using available light alone is always ideal, it is often not enough for the desired look. My go-to lighting tool for interiors is simply an off-camera flash. Whether I’m able to keep it on my camera, or it’s set up remotely throughout the space, there are several things to keep in mind:
- Be sure to use a flash unit that allows for adjustment of the flash strength. While each situation is unique, I start by setting my flash to Manual mode at 1/16th strength, and then adjust as needed after one or two test shots.
- Especially when the flash is on-camera, always bounce it. This means that the flash is never pointing directly into the space, but rather points towards one of the walls behind me or to the sides (depending on what direction has more shadows that need to be filled with light). This helps to farther diffuse the light, lessening the harshness and increasing the natural look of the space.
- Be aware that different light sources do create different light temperatures. Depending on the client, the space, and the use of the photos, this may or may not need to be corrected. My camera tends to do quite well on Auto White Balance, so I shoot on AWB and then make any needed adjustments in post-processing. To correct light temperatures in my editing, I use the Adjustment Brush tool in Lightroom and manually cool or warm up the spots that need to be adjusted. If, for example, some candescent lamps have given a warm glow to an entire side of the frame, then the Graduated Filter is often a better tool to help tone down the warm glow. Whether using the Adjustment Brush or the Graduated Filter, simply move the Temp slider towards the left or right to adjust the effect and simply brush over the area that needs to be corrected.

3. Watch Your Lines
One of the things that will set your photos apart from those with less experience in interior photography is the angles. Specifically, whether or not the verticals are truly kept vertical. Be mindful of your lines while shooting. To avoid as much post-processing corrections as possible, shoot at a height of approximately 5′ from the floor.
The camera should always be level; never pointing down or up, even slightly. Before releasing the shutter, take a final look at the frame and check your lines – are the verticals truly vertical? If you’re shooting a wall or vignette straight-on and want both your verticals and horizontals to be perfectly lined up, make sure to check both before releasing that shutter.
For any minor corrections to your lines in Lightroom, use the sliders within the Lens Correction module in Lightroom, under the Manual tab. Adjust the rotation first (if needed) to make sure your center is vertical, and the adjust verticals and horizontals from there.

4. Beware Extreme Angles and Over-Editing
Angles can be a great thing. Shooting a wall or a space at an angle can be a wonderful way to add interest and drama instantly! Having one or two shots at severe angles may add interest, but do limit these extreme shots. While they may add a bit of drama, they tend to not show the space as clearly because of the distortion.
In regards to post-processing, a natural look is best for most photo use. Extreme saturation, contrast, clarity, sharpening, and HDR use can all distract from actually showing what the space looks and feels like. This is a judgment call by the photographer, and often does take some time to get a feel for what the editing limits are for your clients. Some online research to find examples that you admire is helpful while finding these boundaries.

5. Add Variety
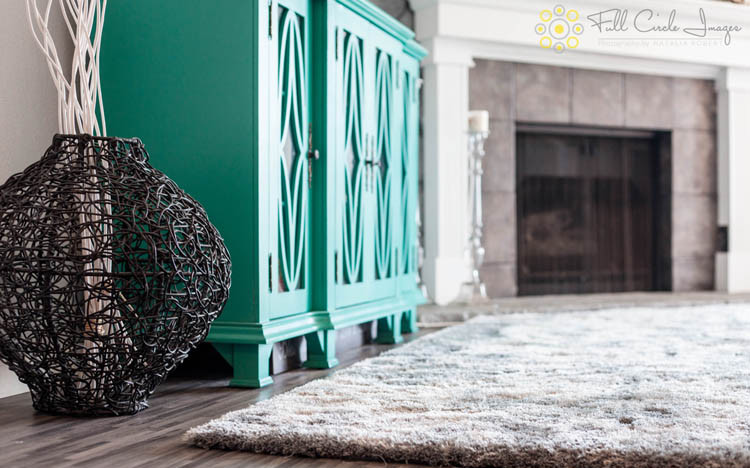
Don’t forget to document on different scales! Each space has a story to tell, and a personality to express. Wide shots can be impressive (a 10-24mm lens on cropped sensor cameras or a 16-35mm lens on full frame cameras is best), but details and vignettes can complete the story.
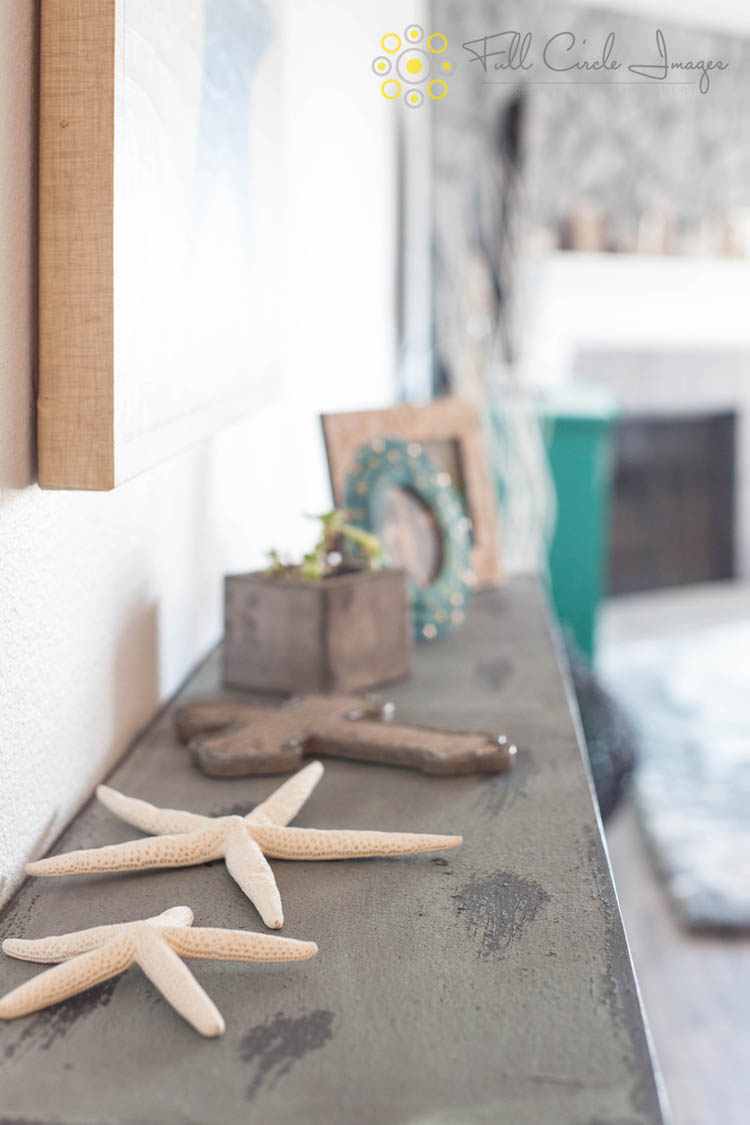
Within a set, you want to include wide shots, vignettes of small areas of furnishings or architectural features, detail shots of staging pieces or textures, and (if applicable) several exterior shots.
Any shots that do have severe angles or extreme post-processing effects should be kept to a minimum and the remaining photos should be able to stand on their own as a complete portrayal of the property.
Using the above tips to prep, shoot, and organize your photos is sure to show off interiors in the best possible light and tell a complete story. Do you have other tips that you want to share for stunning interior photos?
Photos by Natalia Robert. Used with permission.

