Creating a Navigation Bar with CSS in Dreamweaver

Here’s a great CSS trick for turning a bulleted list into a navigation bar with a simple rollover effect. Using a bulleted list for navigation bars is a well-accepted convention that meets current accessibility standards. A bulleted list is a logical choice for navigation elements because even if the style is removed, the links still stand out from the rest of the elements on the page.
Thanks to CSS, you can format your links with any style you choose so you don’t have to keep those boring bullets and you can align your links horizontally or vertically.
Also, using CSS instead of images to create a rollover effect helps your page load faster.
Note: You’ll find instructions for creating the page layout featured in this tutorial in the January/February issue of Layers Magazine.
STEP 1
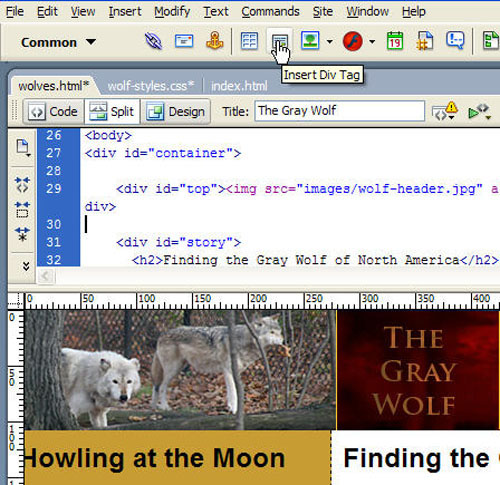
Place your cursor in your HTML page where you want your navigation bar to appear and then click the Div button in the Common insert bar at the top of the page. (Tip: I find it easier to ensure that I’m inserting the div in the correct location if I use split screen and place my cursor in the code.)
You can use the Div button to add div tags into the code or design views in Dreamweaver.
STEP 2
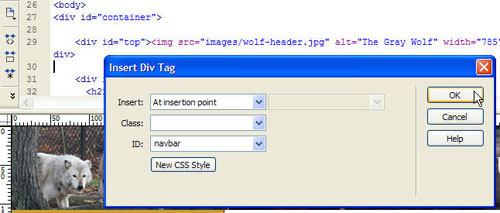
In the Insert Div dialog, enter a name in the ID field. You can name the div anything you like as long as you don’t use spaces or special characters. In this example, I named the div navbar. (Note: ID styles are recommended for positioning divs like this one for a navigation bar).
Before you click OK, click on the New CSS Style button and create a style for your div as you create it.
STEP 3
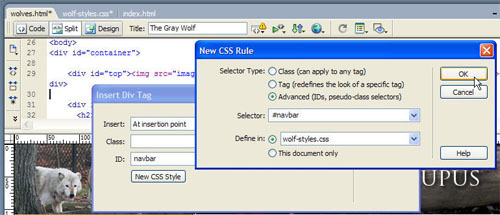
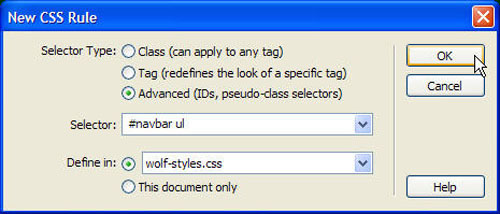
In the New CSS Rule dialog, click to select the Advanced radio button and enter a name for your ID style. ID style names must begin with a pound sign and must exactly match the name of the div. As you see in this figure, I named the style #navbar to match the name I gave to the div.
Select the Define in radio button to create the new style in an external style sheet (Note: You can select an existing style sheet from the drop-down list as I’m doing here, or you can create a new external style sheet as you create the style).
If you select the radio button next to This Document Only, the style will be created in the head region of the HTML document. Click OK to continue.
STEP 4
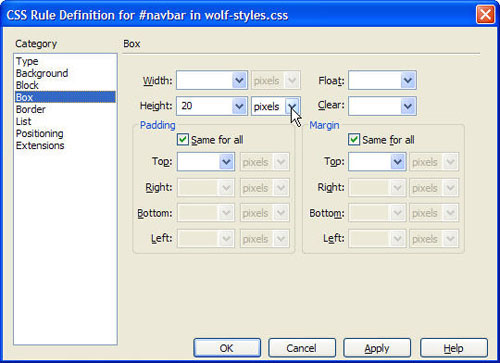
In the CSS Rule Definition dialog, select the Box category from the list on the left of the dialog box. Set the height to 20 pixels (or whatever height you prefer for your design). If you want the navigation bar to span the full width of the design area, leave the width setting blank. If you prefer, you can specify a fixed width.
STEP 5
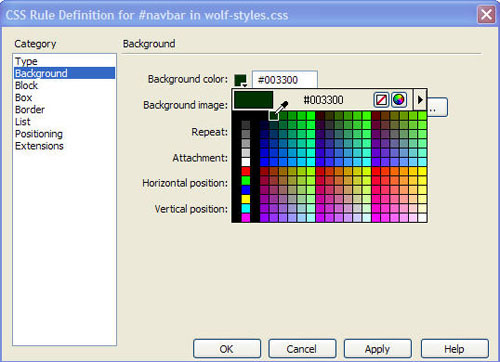
Select the Background category from the list on the left of the dialog box and choose a background color for the div. If you don’t specify a color, the color will match the page color. In this example, I’ve selected a dark green color for the div using Dreamweaver’s color selector.
STEP 6
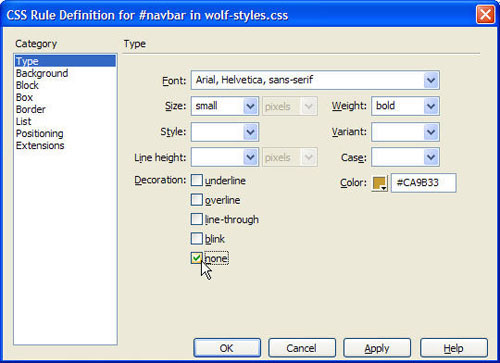
Select the Type category from the list on the left of the dialog box and specify text options. In this example, I’ve set the font fact to Arial, Helvetica, San Serif, the size to Small, and the text to a golden color.
STEP 7
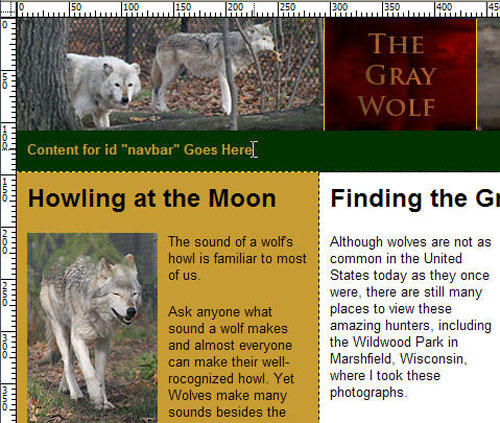
When you have finished with all of the style settings you want, click OK and the div will automatically appear on the page with the style applied. Dreamweaver also automatically inserts the words "Content for id "navbar" Goes Here," as a place holder. To replace that text, simply select it, delete, and then enter your own text by typing or by using copy and paste to insert text from another file, such as a Microsoft Word document.
STEP 8
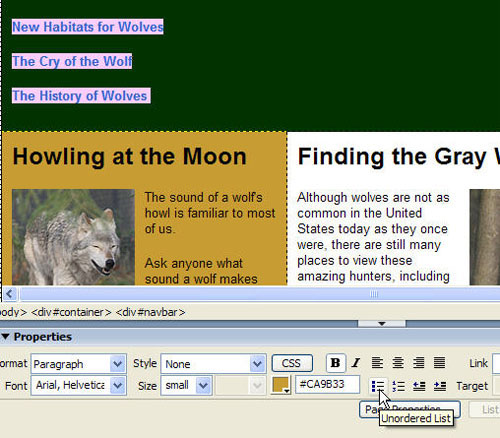
As you insert your text, make sure to separate each line with a return (it should be a <p> tag in the code). Click-and-drag to select all of the text and click on the Unordered List icon in the Property inspector at the bottom of the work area. This will format the text as an unordered list, removing the space between each line and adding bullets.
STEP 9
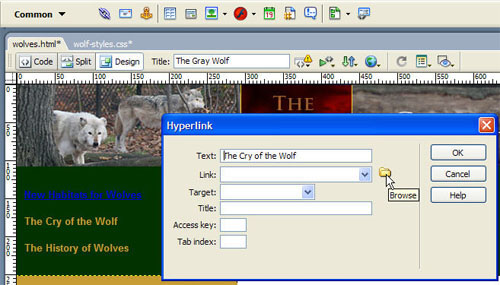
Set your links just as you would link any other text block or image by first selecting the text and then clicking on the Link icon in the Common insert bar at the top of the screen. In the Hyperlink dialog, enter the URL you want to link to or use the small folder icon to the right of the link field to locate the file you want to link to. Don’t worry if the text color changes when you make the text links—we’ll fix that with another style.
STEP 10
The next step is to redefine the Unordered List tag style to get rid of the bullets and the indenting. Choose Text > CSS Styles > New and then select the Advanced radio button. In the Selector field, enter #navbar ul (Note, you must type this exactly as #style name, space, tag name with no punctuation after the tag.)
In this example, that is the style for the navbar div, which is named #navbar, then a space and then the HTML tag. We’re redefining the UL tag, so you want to type ul. By being this specific, you’re changing the style for the UL tag only when it appears inside the navbar div. This is important if you want to use unordered lists anywhere else on your site and want them to appear with different formatting. Click OK to continue. If you are sure you won’t be using the UL tag anywhere else, you can simply type ul and leave out the #navbar.
STEP 11
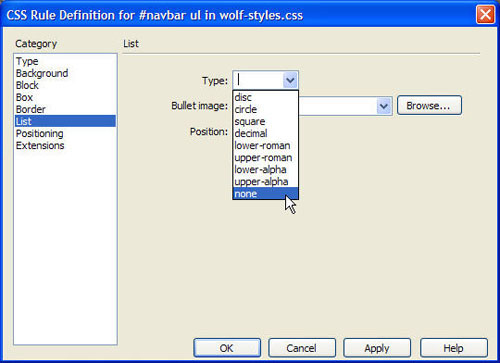
In the CSS Rules Definition dialog, choose the Box category and set Margins and Padding to 0 with the Same for All box checked for both. Then select the List category and set Decoration to None. Click OK to save the new style. Because you are redefining a tag that you have already applied to your text, the effects of the new style should be applied automatically.
STEP 12
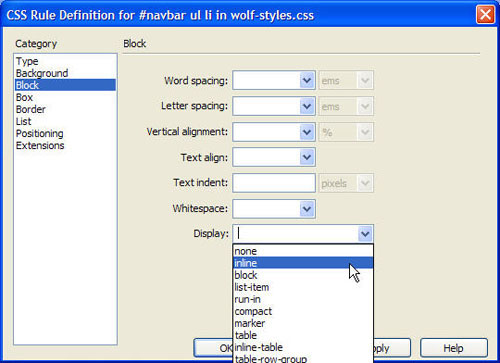
Next, you want to redefine the style for the List Item tag. Choose Text > CSS Styles > New and select the Advanced radio button. In the Selector field, enter #navbar ul li. Note again that you must type this exactly. Click OK to continue.
Now, if you’ve been wondering how we’d turn this list into a horizontal navbar, the trick is to choose the Block Category and set Display to Inline. Click OK to save the new style. Again, because you are redefining a tag that you have already applied to your text, the effects of the new style should be applied automatically and the text should all appear on one line
STEP 13
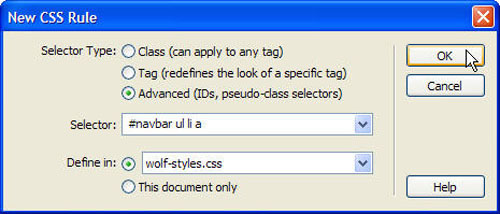
You’re almost there. The next step is to redefine the style for the link tag, also known as the Anchor. Again, choose Text > CSS Styles > New and select the Advanced radio button. In the Selector field, enter #navbar ul li a. Note each tag should be separated by a space and again, you must type this exactly if you want to create a style that only applies to link tags that are formatted with the unordered list in the navbar div. Click OK to continue.
In the CSS Rules Definition dialog, choose the Type category and set the font style you want for your navigation. In this example, I set the text to Arial, Helvitica, San Serif, the size to Small, and the color to the same golden color I used earlier. Finally, set the Decoration to None (this removes the underline). Note that I could have skipped these settings when I created the #navbar div style earlier (see figure 6), but setting these formatting options in both styles ensures that if you ever add any text in the navbar div that isn’t formatted with the UL and Anchor tags, it will have the same appearance.
STEP 14
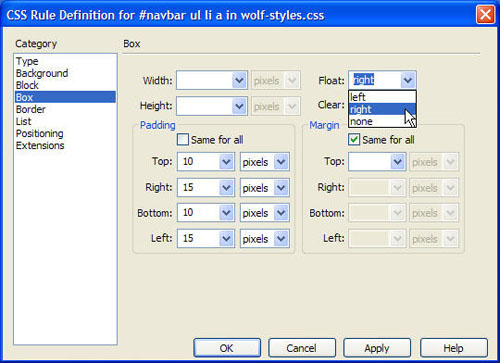
Now for the tricky part. You need to turn these link tags into block items to achieve the final effect here, and you have to float them to make them block elements. To do so, select the Box category and set the Float. In this example, I want my links aligned to the right side of the page, so I’ve selected Float>Right. However, even if you want them aligned left, you need to set a Float. Setting the float to left will cause no visible change, but it will make the other block settings possible.
While you’re in the Box category, uncheck the Same for All button above Padding, and set the left and right padding to 15 and the top and bottom padding to 10. (Note: you can specify whatever padding settings are best for your design.) The left and right settings are what control the amount of space between each link block. The top and bottom settings position them within the div. Click OK to save the style and automatically apply the formatting.
STEP 15
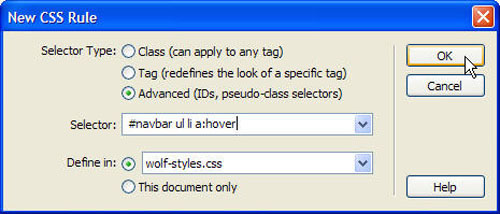
Create another style for the hover link tag and you can achieve a simple rollover effect by changing the formatting so that the text color changes when someone rolls a cursor over the links. Again, choose Text > CSS Styles > New and select the Advanced radio button. In the Selector field, this time enter #navbar ul li a:hover. Note that you need the colon between a and hover. Click OK to continue.
In the CSS Rules Definition dialog, choose the Type category and specify a font color. For this example, I set the font color to a light grey. Click OK to save the style. (Note: You won’t see the affect of the hover color until you preview the page in a browser and roll your cursor over the text.)
STEP 16
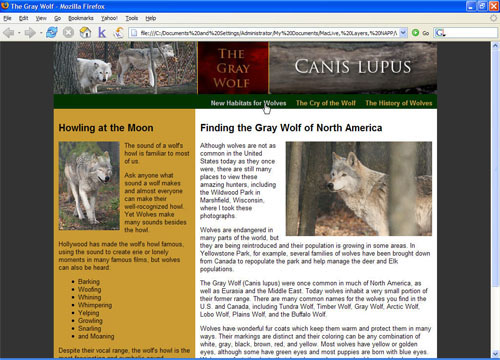
Save the page and click on the Preview button at the top of the work area to preview your work in a browser. Roll your cursor over the linked text and you should see the text color change to the hover color you specified. You can also set link colors for a:visited to alter the color a link will change to after a user has clicked on it. You can also set link colors to a:active if you want a fourth color to display while a visitor is actively clicking on the link.