I know what you’re thinking: “Shouldn’t this be in the Photoshop section?” After all, whenever you hear the term “contact sheet,” you probably immediately think images and Photoshop. Also, if you looked around the InDesign interface, you wouldn’t really find anything that says contact sheet; however, Adobe Bridge CS3 and InDesign have this secret relationship that allows you to do some really cool things with automating image placement and metadata.
1 YOU’LL NEED A FOLDER OF IMAGES
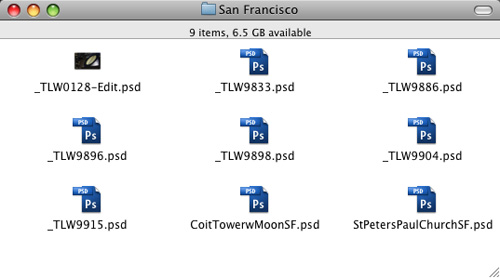
First, you’ll need to have a folder of images that are in a format that InDesign can place. Luckily, InDesign can place a variety of different formats, such as PSD, TIFF, JPEG, etc. However, if you’re a photographer used to working in Adobe Camera Raw, you’ll need to convert those Camera Raw/DNG files into another format.
2 TAKE IT TO BRIDGE
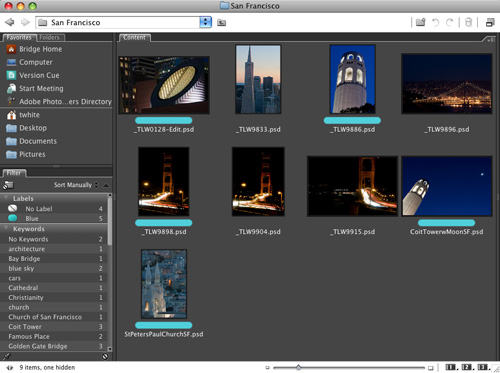
As you can see in our example, having a folder full of images doesn’t always mean that you can see what they actually look like. That’s where Adobe Bridge CS3 comes in. If you’re new to InDesign, don’t start looking for your discs…you already have Bridge. It’s in your Applications folder or you can just choose Browse from the File menu in InDesign. Also, if Bridge is in your Dock on the Mac, you can simply drag your folder of images right on top of the Dock icon to launch Bridge and switch to that folder to view.
3 CHECK OUT THE METADATA
As you can see, my filenames don’t tell much—they don’t mean anything to me and probably mean even less to you! So we need more than _TLW9886.psd. I’m not a fan of long filenames either, so instead of trying to describe your files by their filenames, we’ll use the Title and Description areas of the Metadata panel instead. Select one of your images and click the Metadata tab in Bridge.

4 ADD SOME METADATA
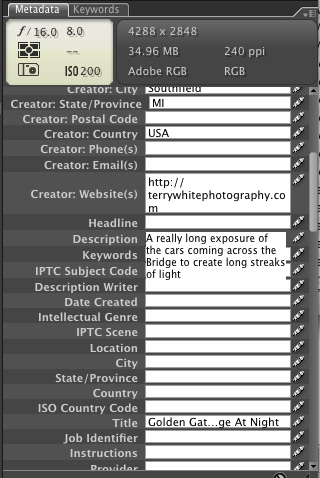
Scroll down to the IPTC Core area of the Metadata tab. Each of the IPTC tags with a pencil icon to the right of it can be edited so you can describe what’s going on with your images (unlike a filename). Click on an image, then just click on the pencil and enter the Title, Description, City, State, Country, etc. When you’re done, click on the next image. The first time you do this, you’ll get a dialog where you can click the Apply and Don’t Show Again checkboxes. Enter titles and descriptions for the other images in your folder.
5 SET UP YOUR CONTACT SHEET
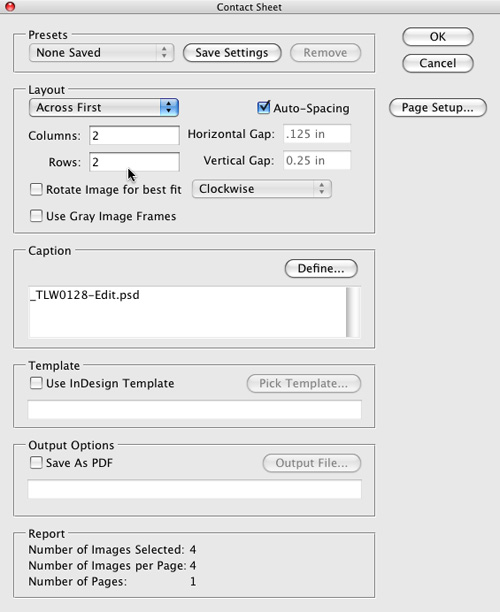
Now that you’ve entered some metadata for your images, you’re now ready to create a contact sheet from Bridge CS3. Select the images you want to be in your contact sheet and choose Tools>InDesign>Create InDesign Contact Sheet. The first part of the setup is pretty straightforward. In the Layout section, choose how you want your page arranged, including the number of Columns and Rows you want to display on the page. For our example, we’ve selected only four images and we want to maximize the space on the page, so we chose 2 Columns and 2 Rows on our 8.5×11″ page.
6 MORE THAN A FILENAME
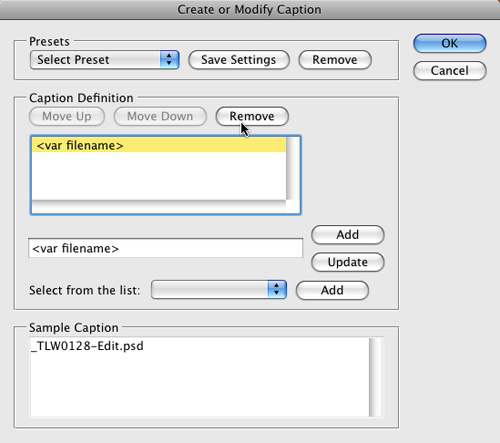
By default, Bridge will use the image’s filename as the caption under each image it places in InDesign, but we’ve already discovered that filenames don’t tell us much. Here’s where we can use the Title and Description info that we entered earlier. Click the Define button in the Caption section, then click on (var stands for variable) and click the Remove button. Also delete from the box below; otherwise it will be appended at the end—and we don’t want that.
7 ADD YOUR TITLE
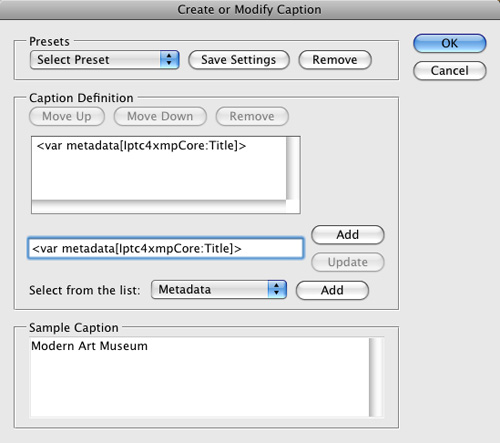
Now choose Metadata from the Select From The List drop-down menu and click the Add button that’s immediately to the right of this menu. The Select a Metadata Element dialog opens showing all the available metadata fields. Choose Title and click OK to close this menu. Now click the Add button that’s immediately to the right of the Title tag you just added to the box.
8 ADD DESCRIPTION
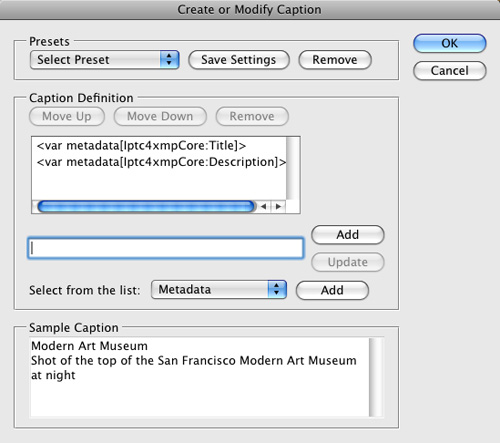
Now we want to add our description. Once again choose Metadata in the Select From The List drop-down menu and click the Add button immediately to the right. This time, you want to choose Description from the available metadata list and click OK to close this dialog. Now click the Add button that’s immediately to the right of the Description tag you just added to the box. If you did it correctly, you’ll see a sample at the bottom of the dialog that shows your title and description. Click OK.
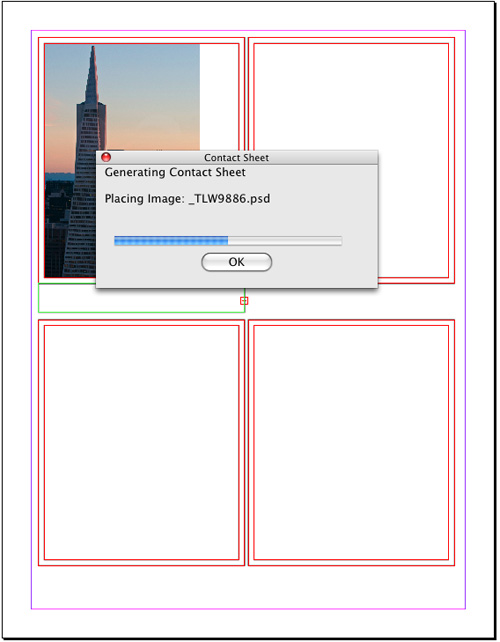
9 GENERATE CONTACT SHEET
At this point we have everything we need to generate our first “smart” contact sheet. Just click the OK button and let it run. InDesign will generate additional pages if needed, based on the number of images selected and the number of rows and columns.
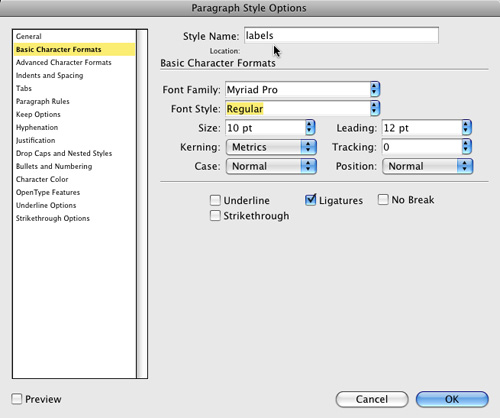
10 MAKE CHANGES
Once you’re in InDesign, you have a regular InDesign document and you can edit any aspect of it that you want. What’s even better is that the Contact Sheet script also generated paragraph style sheets and object styles for the images and the captions. For example, say you don’t like the font choice for the “labels” paragraph style, then just bring up the Paragraph Styles panel (Window>Type & Tables>Paragraph Styles); double-click on “labels”; click on Basic Character Formats; and change the Font Family, Style, Size, etc.
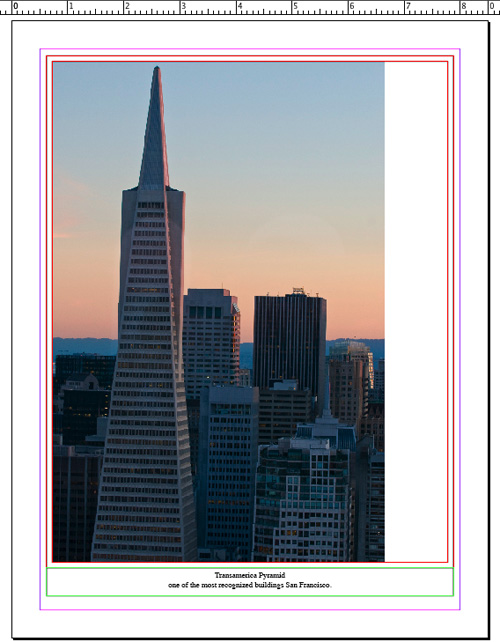
11 IT’S KIND OF PLAIN
Although it’s extremely cool that InDesign can make a contact sheet automatically from images selected in Bridge, I don’t like how “plain Jane” it is. You can, of course, start adding other elements to the page and totally customize it; however, you probably don’t want to have to do that each time, so let’s build a template. Do the exact same steps as before but select only one image in Bridge, and then in the Contact Sheet dialog, choose 1 Column and 1 Row to display one image per page. Click OK to create your contact sheet in InDesign.
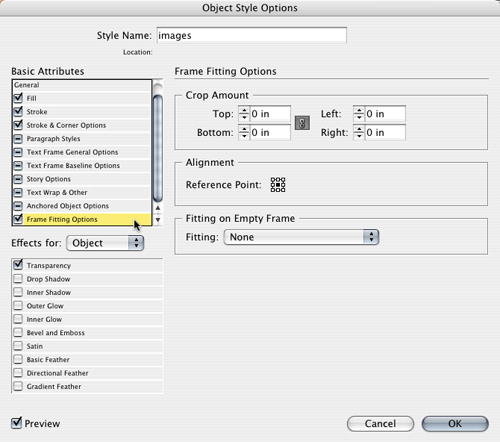
12 EDIT OBJECT STYLES
Now let’s convert your one-image-per-page document into the look that you want and save it as a template. First, modify the object styles so that the image is centered in the frame and the frame has a heavier stroke. Go to Window>Object Styles and double-click on “images.” In the Object Style Options dialog, click the Frame Fitting Options in the Basic Attributes list. Then, click the center Reference Point in the Alignment section and click OK. Next, double-click “imageFrames,” select Stroke in Basic Attributes and change the Weight to 2 or 3 pixels. I also set the Stroke for the captions object style to None.
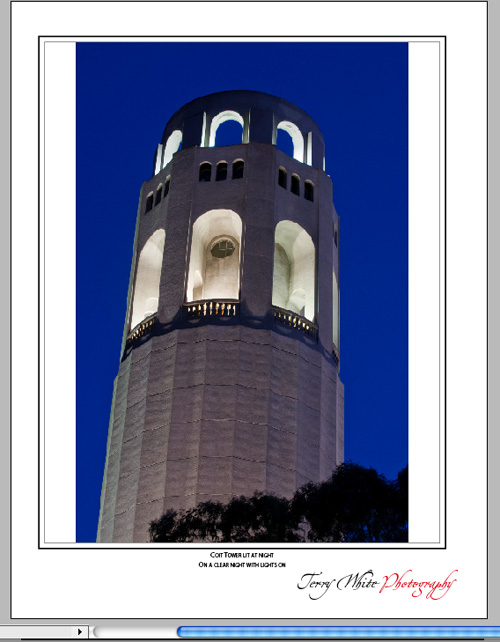
13 SAVE IT AS A TEMPLATE
Change the labels paragraph style to the font you want. (I also added a signature name to the A-Master Page.) Once the document looks the way you want, clean it up before saving it as a template: Delete all the elements on the page, delete any extra pages, and delete the last three color swatches that were added to the Swatches panel. Then choose File>Save As and select InDesign CS3 Template in the Format drop-down menu. Now when you choose Tools>InDesign>Create InDesign Contact Sheet from Bridge, you can choose this new template and have your document formatted the way you like.