
Create a Multi-Stroke Text Effect Using Photoshop’s New Layer Style Functionality

The latest version of Photoshop is equipped with some very helpful layer style improvements. This quick tip tutorial will show you how to use the new Layer Style features to add multiple strokes to an object, using only one layer. Let’s get started!
Step 1
For this effect, we’ll use a simple background filled with this Carbon fibre pattern.
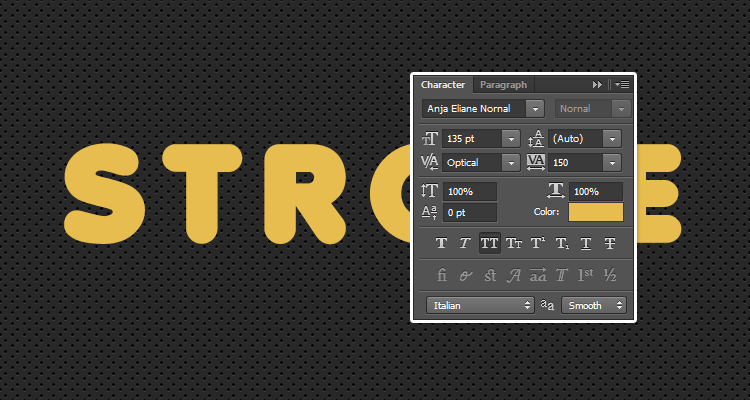
Create the text you want to add the stroke to. The text here is created in All Caps using the font Anja Eliane Normal. The Size is 135 pt, the Color is #e7bd4f, the Kerning is set to Optical, and the Tracking is set to 150 to avoid stroke overlapping.
You can use any values you like, but make sure to change the stroke values accordingly as well.
Step 2
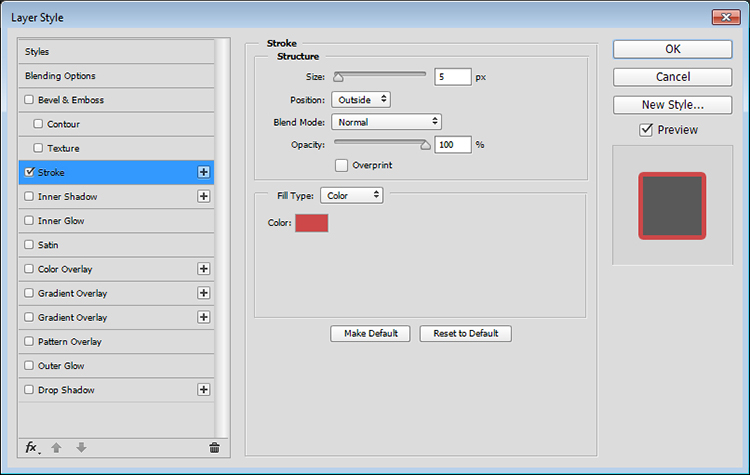
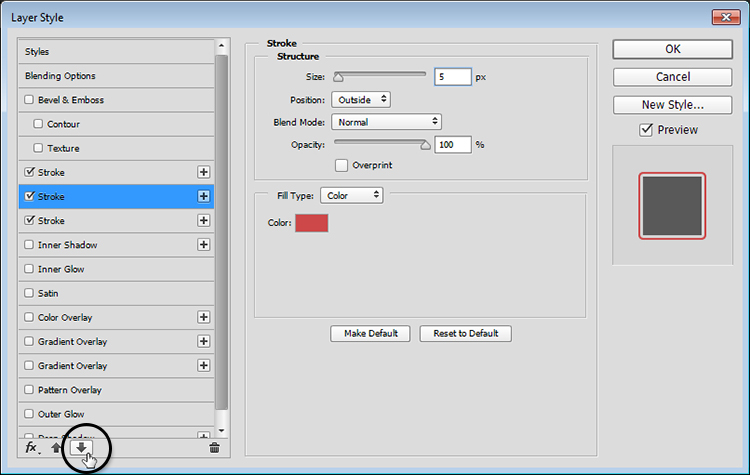
Double click the text layer to start adding the strokes. Start by adding a 5 px stroke using the Color #cd4949.
Step 3
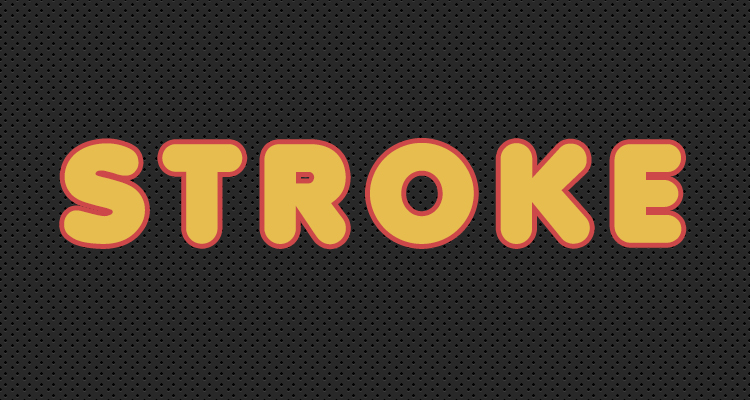
This will add a normal red stroke to the text.
Step 4
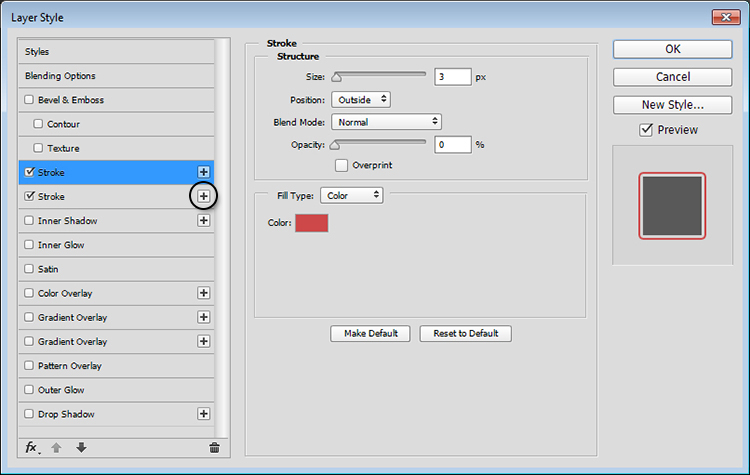
Click the little + to the right of the Stroke tab. This will add another Stroke instance on top of the clicked one.
Select the new Stroke tab, change the Size to 3, and the Opacity to 0%. Also, make sure that the Overprint box is un-checked.
Step 5
What this will do is create a transparent stroke between the text and the red stroke.

Step 6
Add another Stroke instance.
The Stroke instances’ order is an important part of creating the effect. You can control the order by selecting the instance you want to move, then clicking the Move effect up or Move effect down icons at the bottom of the Layer Style box.
Here, you’ll need to move the new instance to the bottom.
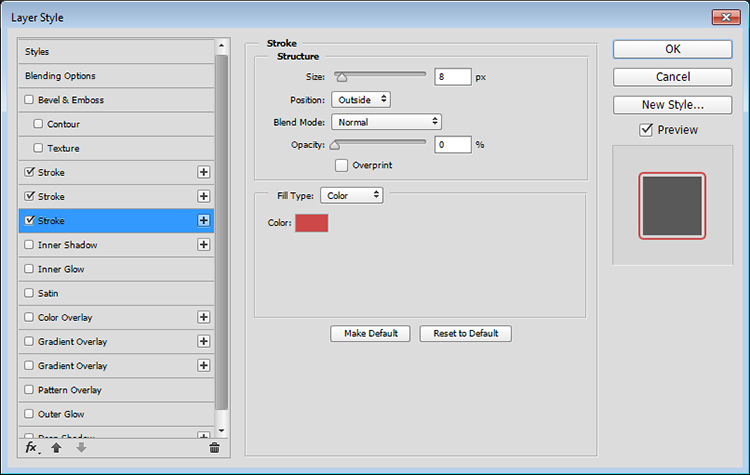
Step 7
Once you move it, change the Size to 8 and the Opacity to 0%.
Step 8
Add another instance, move it to the bottom, and change its Size to 10, its Opacity to 100%, and its Color to #16a2b3.
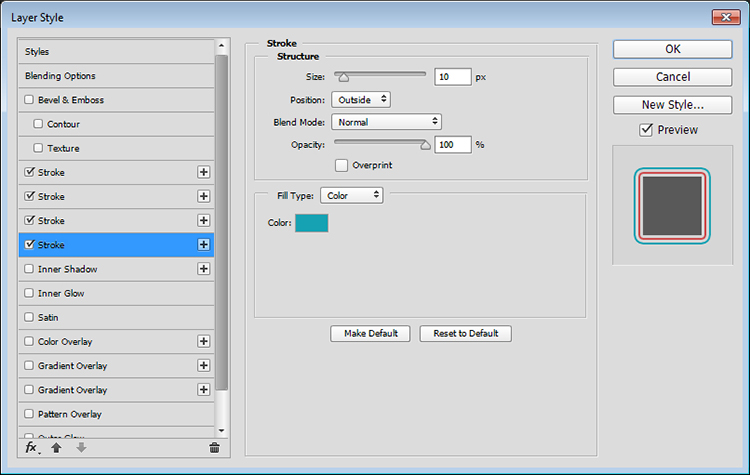
Step 9
As you can see, we’re adding transparent strokes on top of bigger, opaque ones to create the effect.
Step 10
You can also extend the effect inwards. To do so, add another instance, move it to the bottom, then change its Size to 1, its Position to Inside, and its Opacity to 0%.
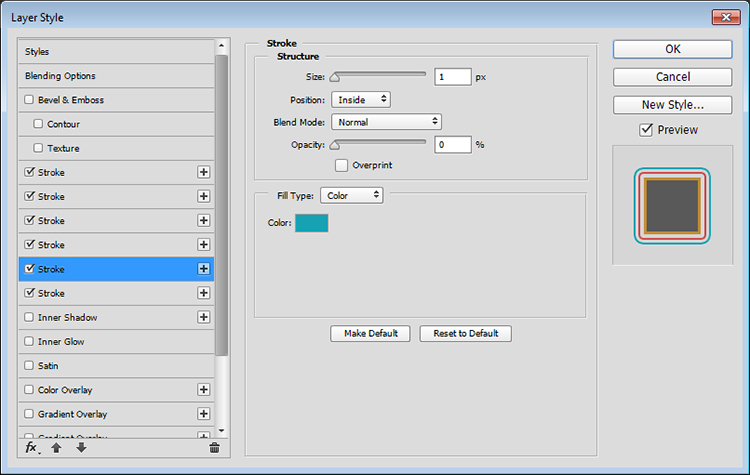
Step 11
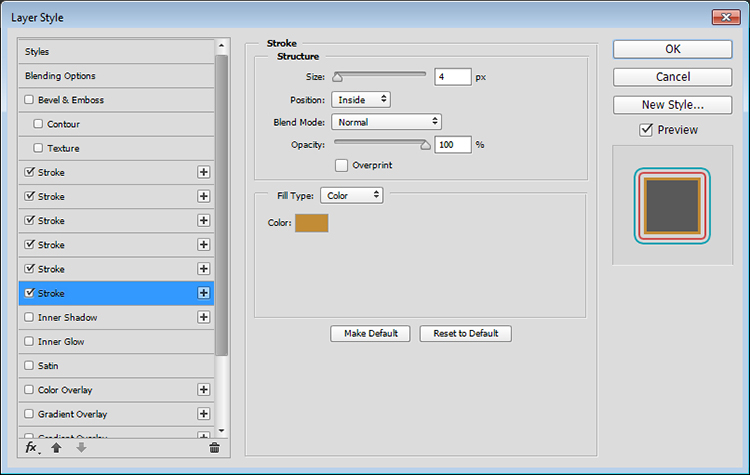
Add one more instance at the bottom, change its Size to 4, its Position to Inside, its Opacity to 100%, and its Color to #c28c36. This adds the last two strokes inside the text.
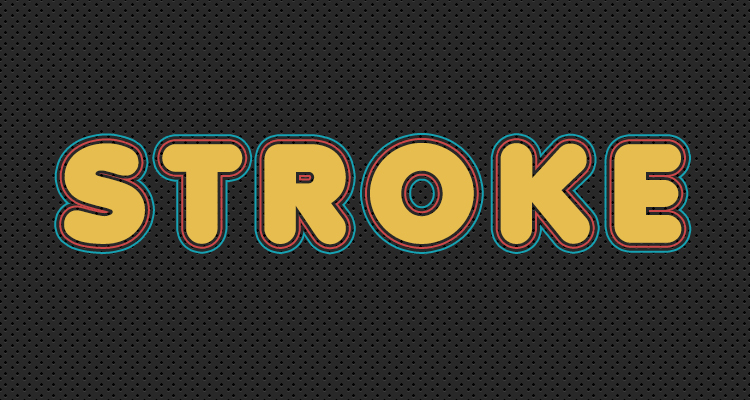
Conclusion
You can play around with the order, size, opacity, and color values of up to 10 different Stroke effect instances, to add multiple strokes to an object using only one layer and one layer style. Please feel free to leave your comments, suggestions, and outcomes below.

