If the Background Is Boring, Add Some Smoke
Excerpt from Mastering the Model Shoot
Every photographer knows the problem of a location that is, well, not really inspiring. I’ve shot some great locations over the years, but also some locations that made me want to run away. I’ve found that there’s one tip that can transform almost any location into a killer location, and it’s not even expensive—smoke.
Note: You really (and I mean really) do this at your own risk. Don’t go telling the fire department that I told you to use smoke in your hotel room. Always check with the owner(s) of the location as to whether the fire alarm can be disabled or whether it won’t respond to the smoke you are using (not all sensors work the same).
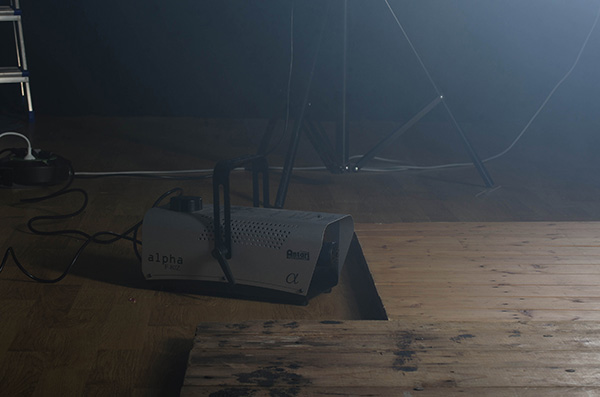
Some people think smoke machines are expensive, and they can be, but the ones we use aren’t—you can buy them online for less than $70. You should buy one with a remote control, though, unless you’re using an assistant. At the moment, we use two smoke machines because they have to warm up, which can break the flow in a session. Most of all, two machines can be placed in two different locations, making it easer to create a denser layer of smoke.
Why do I think this is the best tip ever? As you can see in the images here, smoke was an essential part of these shots and, without it, they just wouldn’t look as cool. Oh, and in case you were wondering, we use the smoke machines connected to a generator on location for power.
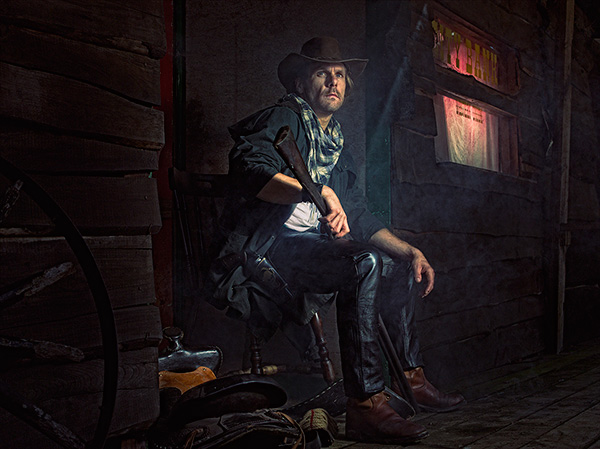
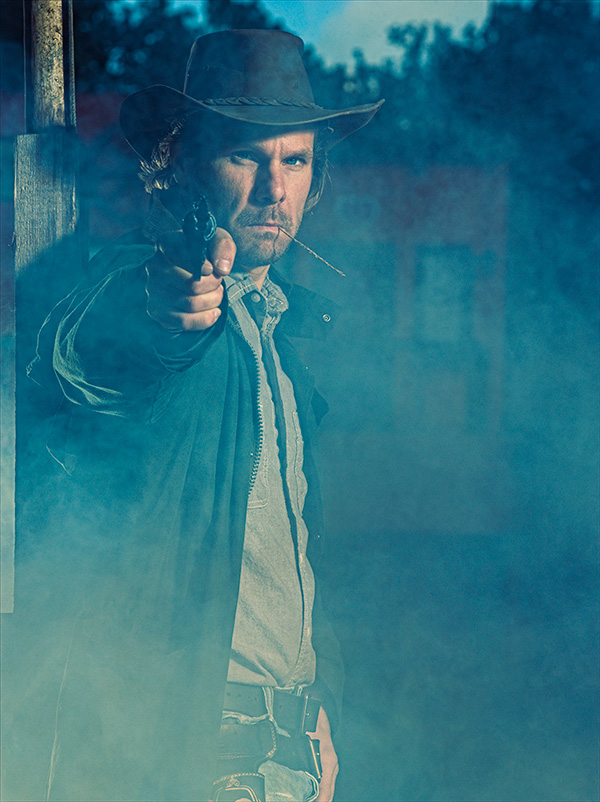
This “Old West” image was shot outside in a real cowboy village. By adding the smoke, the whole feel and sense of the Old West was enhanced. In the cowboy shot at the top, the smoke is not as obvious. However, look at the beam of light. That was possible thanks to a very faint layer of smoke. In this case, it also washed out some of the contrast, making it more “real” for the vision I have when watching westerns.
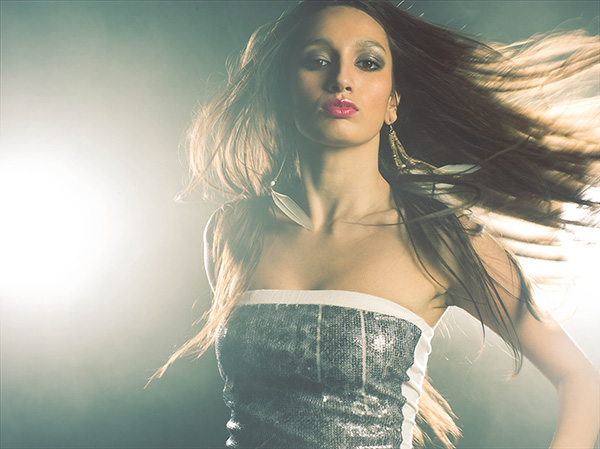
Here, we used two strobes to create lens flare behind the model, one main light, and a lot of smoke. You don’t even need a background behind this—you can create this shot almost anywhere because the smoke, in fact, is your background.
In this shot by the stairs, the smoke helped create the lens flare from the strobe at the top of the stairs. Here, not a lot was used—just a little bit was enough.

A local photo club asked me if I would like to shoot in an old abandoned building. Now, the longer a building has been abandoned, the better it is to shoot in (but always keep your safety in mind). In this location, there was actually still some power and some very big machines, and when you get a chance like that, well, you take it of course. I just loved the location, but it really needed something extra. Yeah, you guessed it, some smoke backlit with a red gel did the trick.
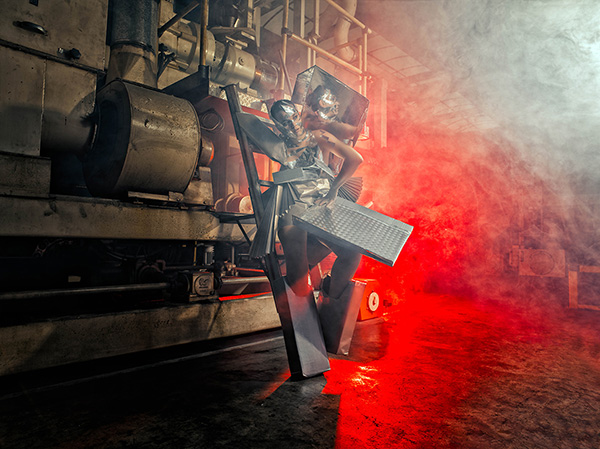
TIP: One thing you need to know about smoke: it works best when backlit. Don’t try to light it from the front, because it will reflect back to your camera and wash out detail, or even the whole image.
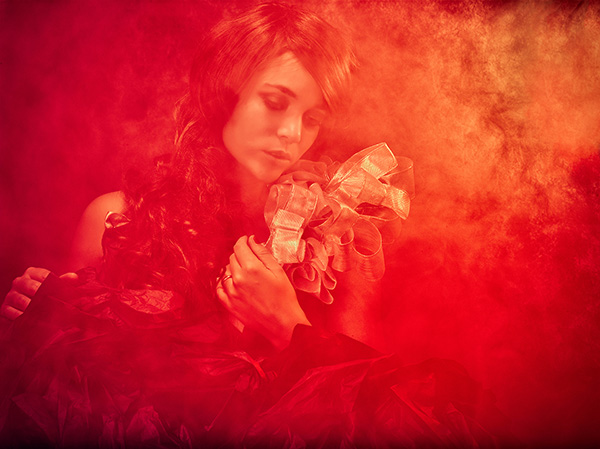
Now, here’s a shot with what I call a smoke overload: loads of smoke behind and beside the model, and just a bit in front of her created an almost surreal look, which was enhanced in Photoshop with the red color.
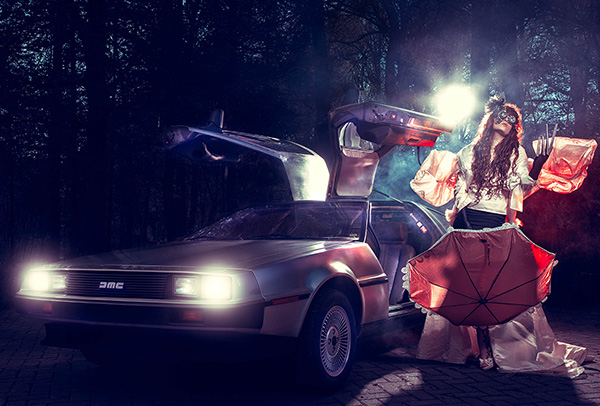
This shot with the DeLorean was done in a parking lot with the smoke coming from the back of the car. In this case, I chose the smoke because the area where the car was sitting was nothing special and I thought it needed a bit of that sci-fi look. Although the smoke was backlit with a red gel in some of the shots from this shoot, for this image, I decided not to use any gels on the strobe.
Learn how to do more from Mastering the Model Shoot here: http://kel.by/FD_MMS