
Adobe Illustrator in 3D

Let’s tap into some of the 3D features of Adobe Illustrator. Though Illustrator doesn’t offer a 3D environment like a true 3D application, it does give you the ability to create 3D objects that can be modified within a 3D space. Texture mapping and light sources similar to those found in the high-end 3D applications are also available.
[If you’d like to download the image used in this tutorial to practice these techniques, click here. All files are for personal use only.]
1 CREATE A LABEL
The first thing we’ll do is create the label that will wrap around our can. Create a label like the one here, or you can download the source file (above). In this example, we’re going to create a tin can full of beans, but you can fill your can with whatever you want. You can even import an Adobe Photoshop file for your label, if you wish.

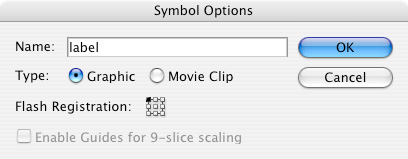
2 MAKE A SYMBOL
Once your label art is complete, select all the elements by pressing Command-A (PC: Ctrl-A). Using the Selection tool (V), click-and-drag the selected label into the Symbols panel (Window>Symbols). In the Symbol Options dialog that pops up, name your symbol, set Type to Graphic, then click OK. Press Delete (PC: Backspace) to delete the label from the artboard.
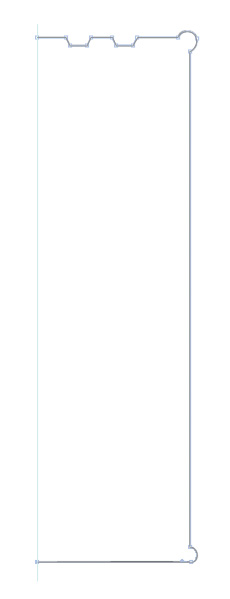
3 DRAW THE CAN
Now let the fun begin. Create a vertical line with the Pen tool (P) by clicking once on the artboard and then Shift-clicking below it to keep it perpendicular. Next, make it a guide by choosing View>Guides>Make Guides. Now set the Stroke to a medium-to-dark gray and the Fill to None (/) in the Toolbox or Control panel. Then draw a path similar to the one you see here (or download this file from the website). Make sure the path begins and ends on the guide. Believe it or not, this is the right side of the tin can. You’ll notice that I’ve created rounded corners. I did this to give my can a lip.
4 GIVE THE CAN SHAPE
With your can selected, go to Effect>3D>Revolve. In the 3D Revolve Options dialog that pops up, check Preview to see the 3D effect. At first it will look a little off. Dialing up the Perspective setting will make the can look more realistic (30˚ in this example). Click the More Options button to reveal the controls for lighting the object. I’ve added a second light source by clicking the New Light icon and then dragged the two light sources into place. With both light sources set, play with the other Surface settings to taste. I’ve bumped up the Highlight Intensity, as highlights would be stronger on a real tin can. (Don’t click OK yet.)


5 AFFIX THE LABEL
Now we’re ready to apply the label. Click the Map Art button to open the Map Art dialog. At the top of the dialog there’s a Surface indicator. As you cycle through the various surfaces by clicking the Surface arrows, the currently selected surface will be displayed over the object in red. Click the arrows until the body of the can is outlined in red. Then find your label in the Symbol drop-down menu in the upper-left corner of the dialog.
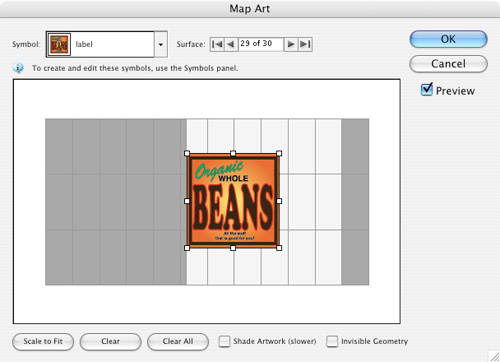

6 POSITION THE LABEL
Drag your label over the white surface shown in the box. The white area signifies the area that is currently in view, whereas the dark areas are the areas behind the object that are hidden from view. You can also grab the handles on the sides of the label to resize and alter its shape. Check Shade Artwork to add the highlights and shadows that appear on the can to your label. You can now click OK in this dialog and the one below because your tin can is finished.

7 ADD A LITTLE SHADOW
To make the can look like it’s standing within 3D space, add a little shadow behind it like the one shown here. To do this, click the Create New Layer icon at the bottom of the Layers panel for your shadow and then click-and-drag it below your can layer. Next, create a shape like the one shown here with the Pen tool and fill it with black.

8 SOFTEN THE SHADOW
Lower the Opacity for the shadow to make it more realistic (Window>Transparency). If at any point you want to edit your can or label, go into the Appearance panel (Window>Appearance) and double-click 3D Revolved (Mapped). You have now completed your 3D tin can!


