Small Flash Studio Portrait Tutorial | KelbyOne Blog

When we see a classically lit portrait, with the obvious use of multiple lights, we usually associate it with a large studio and all the big strobes and softboxes that come with it. This isn’t always the case. With a couple small flashes and some portable modifiers, these sculpted photo-graphs can be re-created in even the most confined shooting locations. The key to a successful portrait like this isn’t the size of the light source, but the control you exercise over each light. Fortunately, portability and control are a few of the biggest advantages we have as small flash shooters. In this post, we’ll cover the placement and control of each small flash used to re-create a studio-quality portrait.
Step One
In such photographs, we will carefully paint in the light to cut out and complement our subject. Like any painting, we need a blank canvas. This is where starting with the right camera settings becomes key. Unless you’re shooting in a pitch-dark room, there’s usually ambient light to contend with. By putting the camera into Manual mode and selecting a setting that doesn’t allow the existing light to bleed into the photograph, you essentially create a black background to start building on.
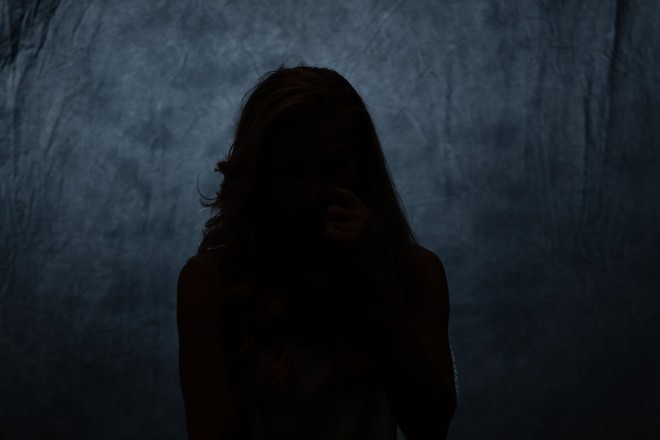
Starting with this black background, we add a single unmodified flash to illuminate the muslin backdrop. This seemed a little excessive for the tight nature of the desired portrait, so we focused the background light with an ExpoImaging Rogue Grid, creating a perfect halo behind the still-unlit subject. For proper placement, the small flash with grid was placed on a light stand, positioned directly behind the model, and aimed at the backdrop.
Step Two
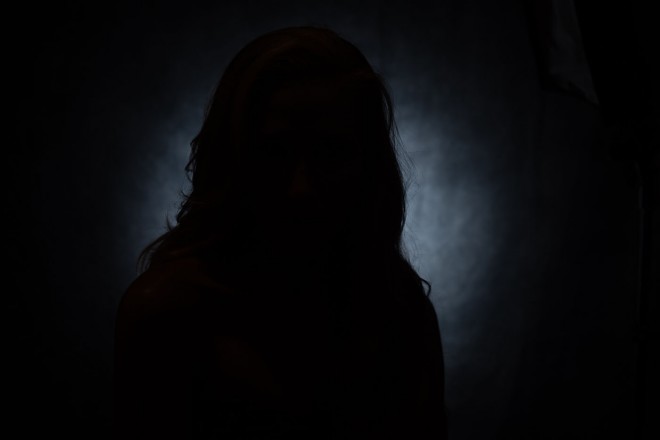
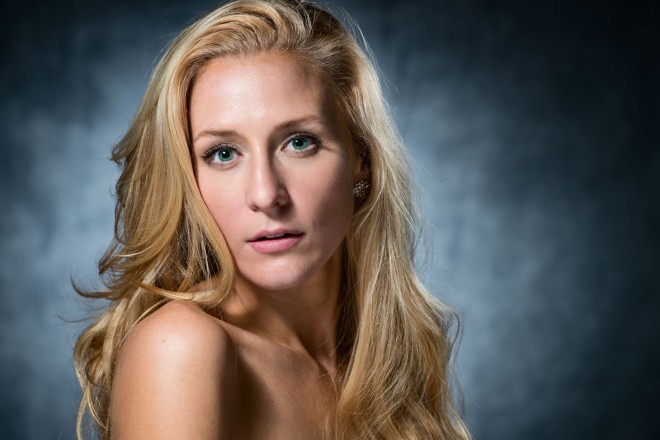
Now that we have a scene to place our subject into, we need to shed some light on the subject herself. If we aren’t careful, the key light here could spill onto the background, lighting everything again and overpowering the halo we created with the grid. To minimize light spill, I used an ExpoImaging Rogue XL Pro FlashBender as the main light source. If left to bounce on its own, it would still spill onto the backdrop, but that’s where the bending comes into play. By bending one half of the modifier down, it effectively flagged the light from hitting the background, while still emitting a large, soft spread of light to flatter our model’s face, as seen here. To further soften the light, I asked the model to hold a white reflector on her lap to bounce back some of the light, slightly lifting the shadows cast by our key light.
Step Three
With both lights firing, the photo looks pretty good, but we can still add something extra to polish it off. This polish comes in the form of a hair light or rim light. Up to this point, we’ve only lit the front of the model. By lighting her with another small flash from behind, we will further separate her from the background. At the same time, this light will also add a more 3D look to our model. If we were using studio strobes, this is where a traditional stripbank softbox would be perfect. What’s unique about the Rogue XL Pro FlashBender is the ability to transform it into a mini stripbank by simply attaching a special diffusion material to the front. With this narrow beam of light, all we need now is the proper placement.
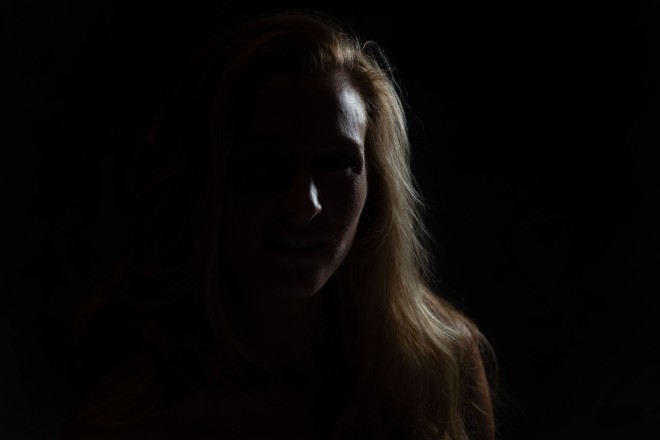
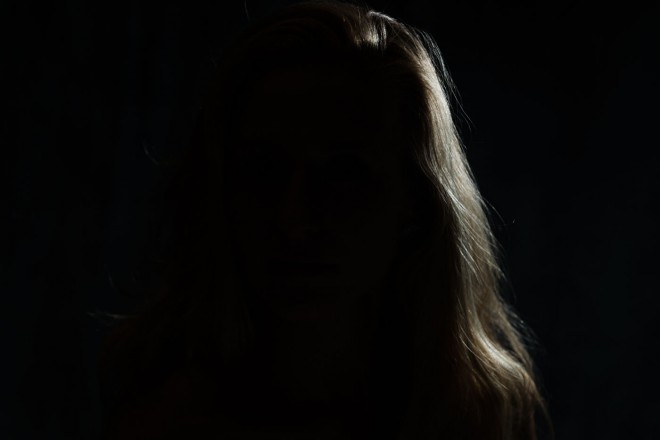
You’ll notice in the first photo that there’s light spilling onto the model’s nose. This can be quite distracting and should be avoided. To do so, have your model look straight ahead and walk your light around back until you no longer see her nose. This will result in a clean rim light just on the side of the head as in the photo.
Step Four
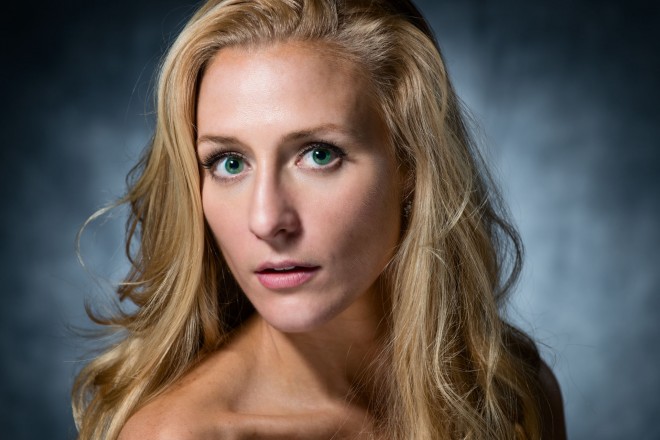
You may have noticed that each light was set up and positioned individually. Rather than starting out by turning on all of the lights at once and not knowing where to begin the troubleshooting, it’s easier to turn on, and then carefully position, each light one at a time. This leads to more precise control of each light and the exciting experience of turning them all on at the end and having the very next shot come out exactly as you envisioned. If you don’t have access to a big studio space, take a look at our final image and the behind-the-scenes photo. Our overall footprint was an area less than 10×10′, which means portraits like these can now be achieved virtually anywhere.
Pop over to LightroomKillertips.com and check out Pete Collins sharing a tip in Lightroom for some post-processing work.

