
Photography DIY: Flagging Your Lights

As you start adding light to your photography setup, you realize you need to control it. Umbrellas are great but the reason so many photographers use softboxes is because they control light spill so much better. The light goes just where you want it to go, usually.
Even with great softboxes, there can still be light spilling in unwanted directions. For example, if a softbox is just out of frame but pointed toward the lens, it’s possible to have lens flare appear in your shot from the refracted light out of frame. Sure, your lens hood can block some of this, but not always.
If you know what a lens hood does, then you know what a flag is for. A lens hood flags light that’s hitting your front lens element from out of frame, but the flags we’ll talk about can do much more than just kill lens flare. They can shape light that’s spilling in places throughout your scene.
Making a Snoot
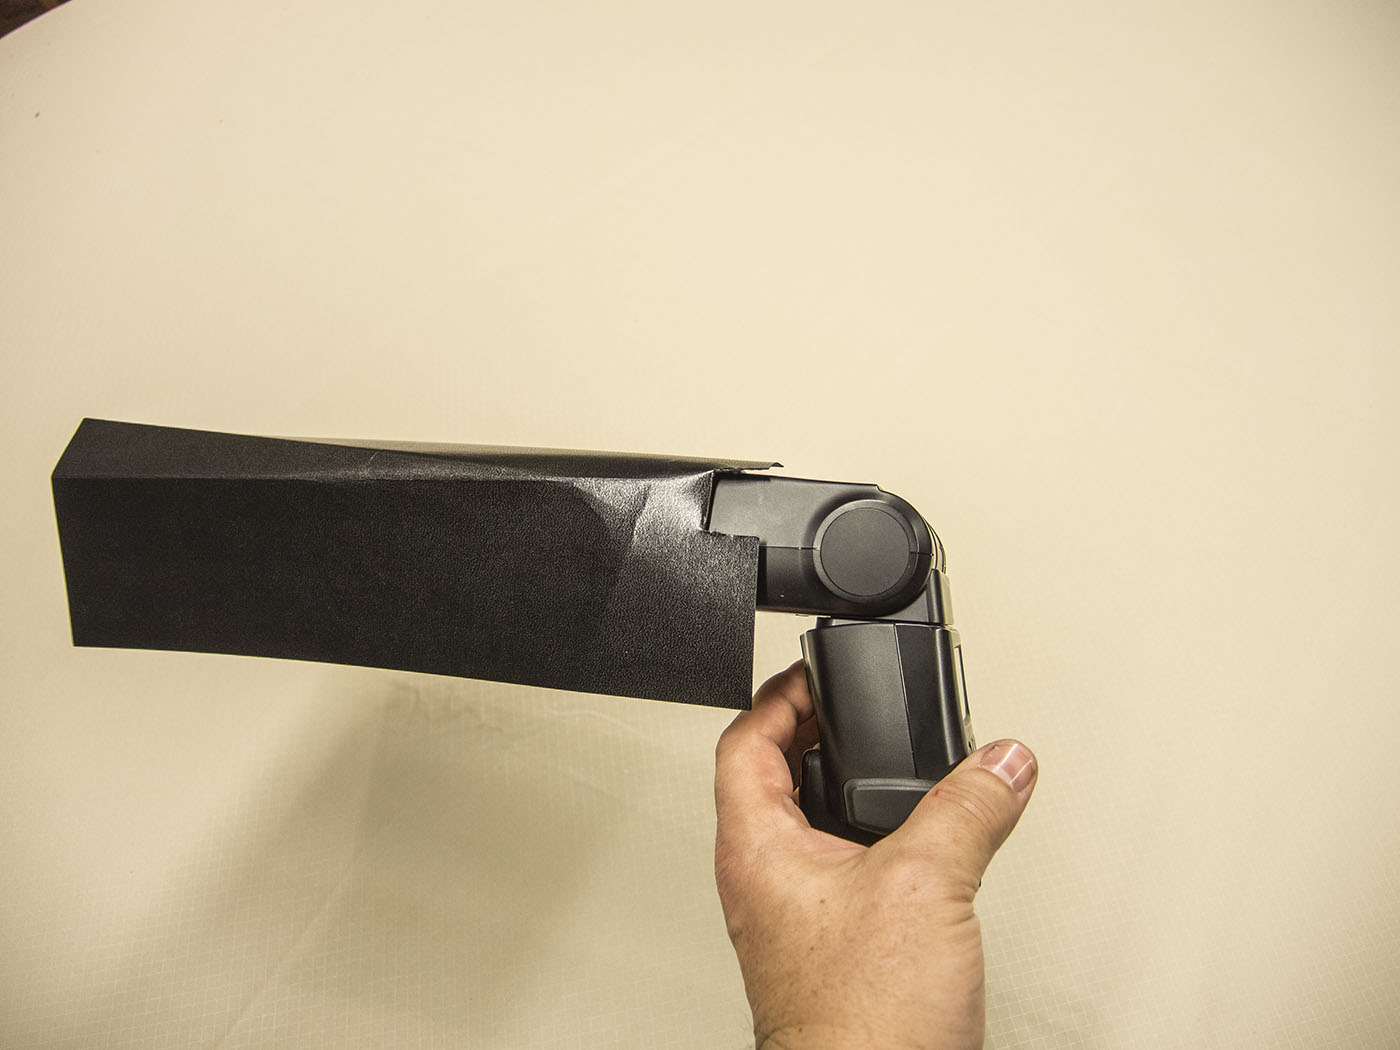
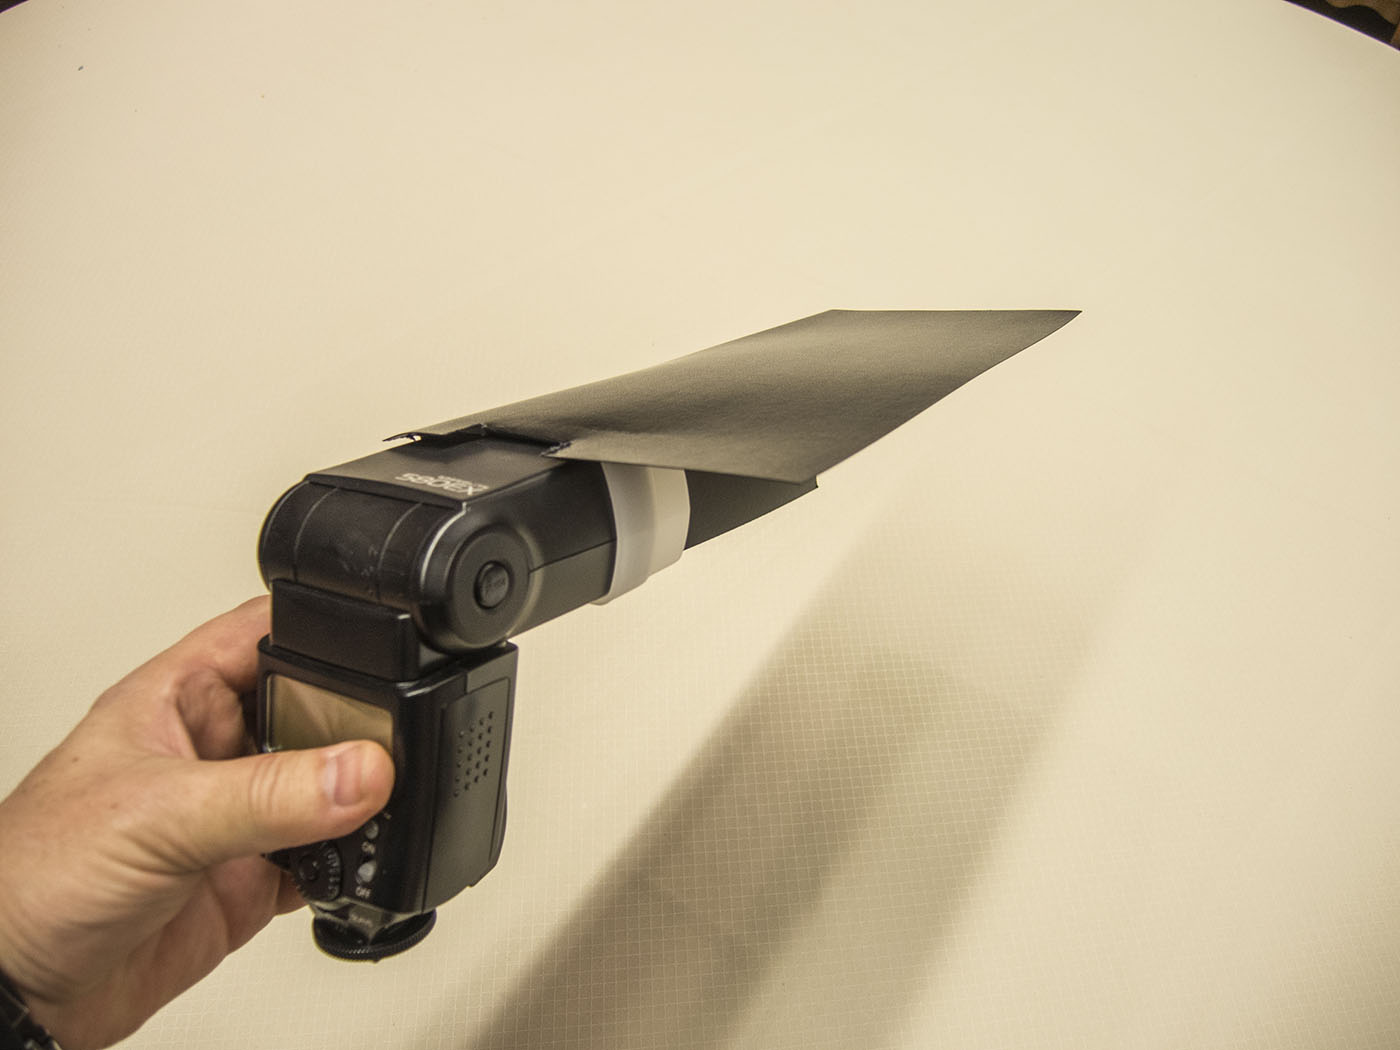
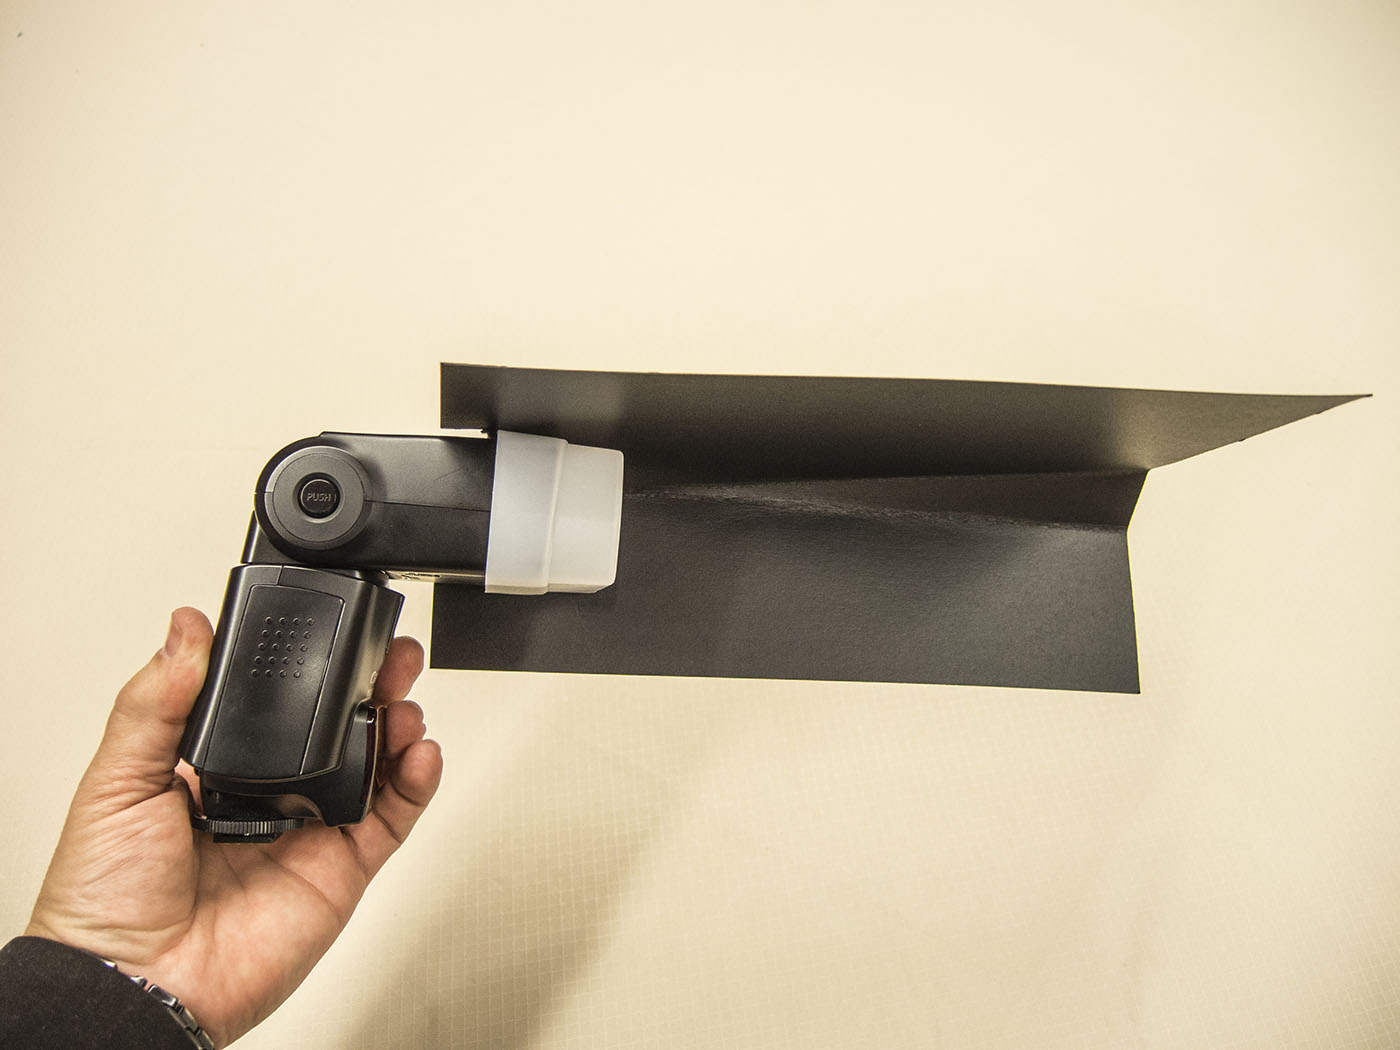
If you’ve read my column in earlier DIY posts, you know that I’ve discussed homemade diffusers for small flashes using frosted report cover plastic from a local print and binder shop, such as FedEx Office. Well, it turns out they sell a black version of the exact same material. I went to a local FedEx Office store and picked up three or four sheets of this great stuff for around $0.75 a sheet. All you have to do is trim it down to rectangles big enough to block glancing light from your strobe, but smaller than a whole sheet, which might be a bit clumsy hanging on the side of your flash head.
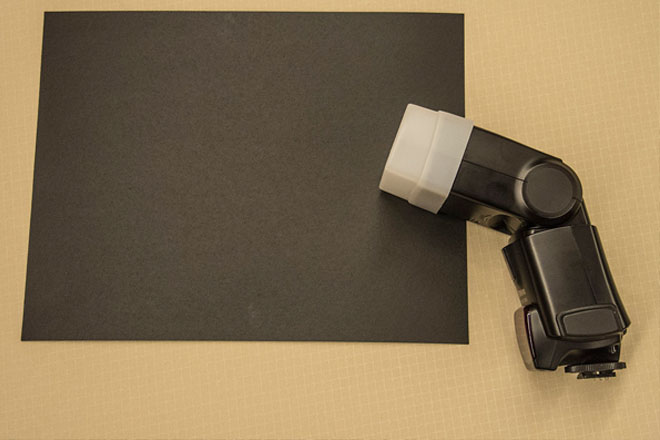
Then again, you could always fashion a makeshift snoot. If your goal is to get a small circle of light on a subject, a snoot (which is essentially a tube) can be a way to confine the light from your flash to an almost pinpoint area. I’ll leave it to your imagination how to best fashion a snoot out of these plastic sheets for your camera, but I’ll give you a hint—Velcro.
Making Flags
Flags aren’t limited to small strobe light control. You’ll often see large flags on light stands in pro studios. These block light spill from big light sources, such as large softboxes or outside windows. Normally, these large flags aren’t cheap and they’re often metal frames with mounting hardware for attaching to light stands. They’re also usually black, felt-like fabric on the surface because they need to absorb light rather than reflect it.
My flags go on light stands, too, but they’re far less expensive and a little lighter weight (but still rigid). While mine aren’t quite as light-absorbing as black felt, they can easily be covered with black felt.
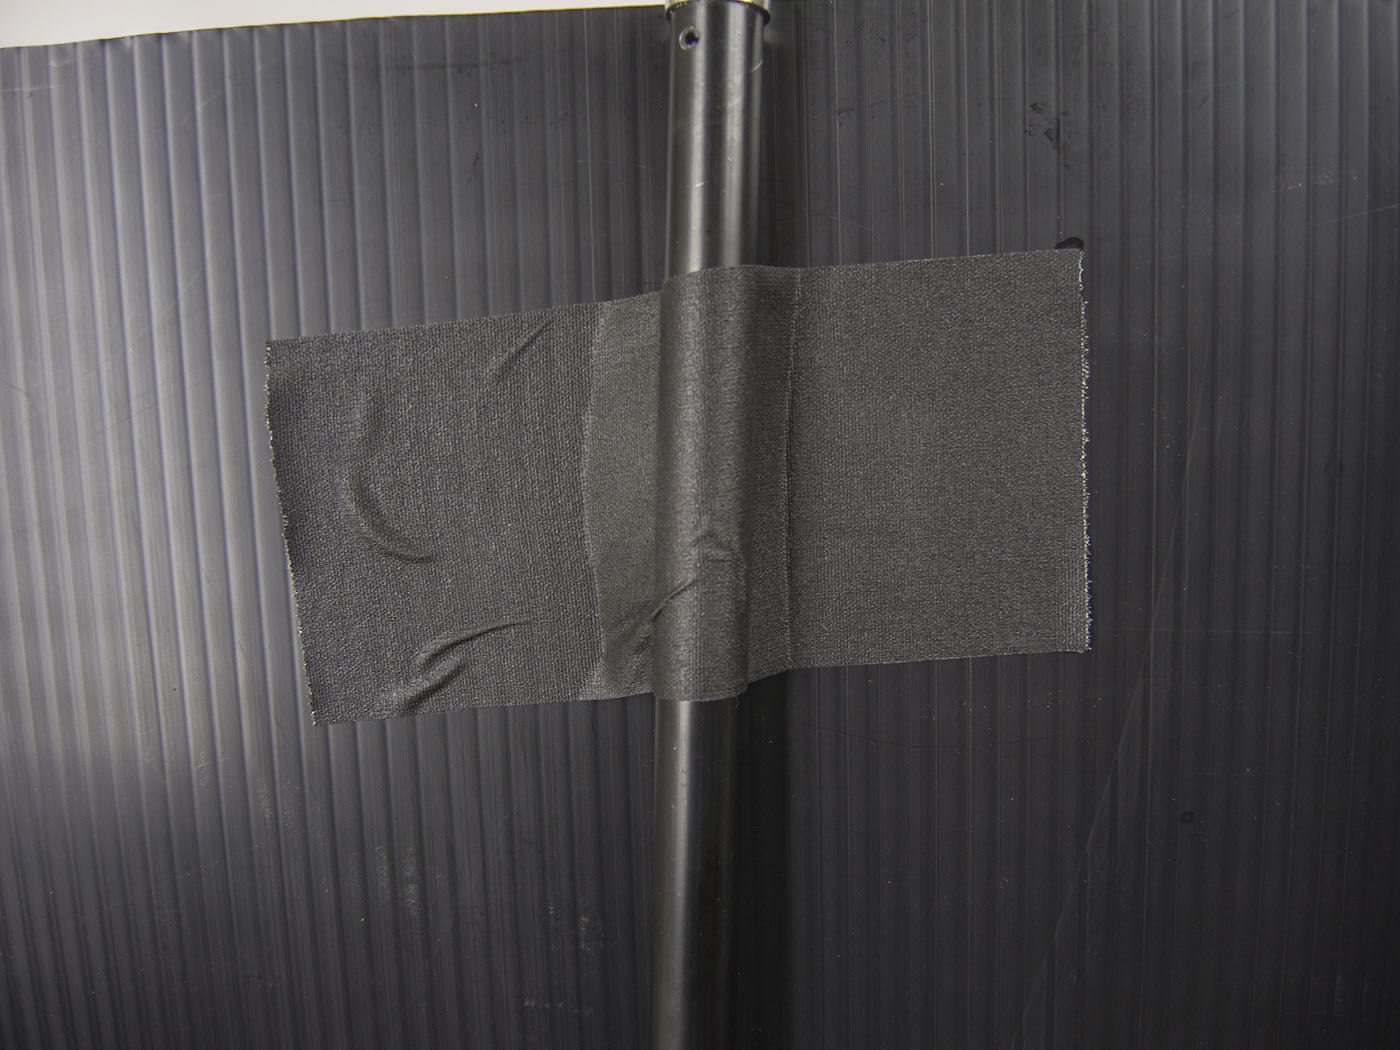
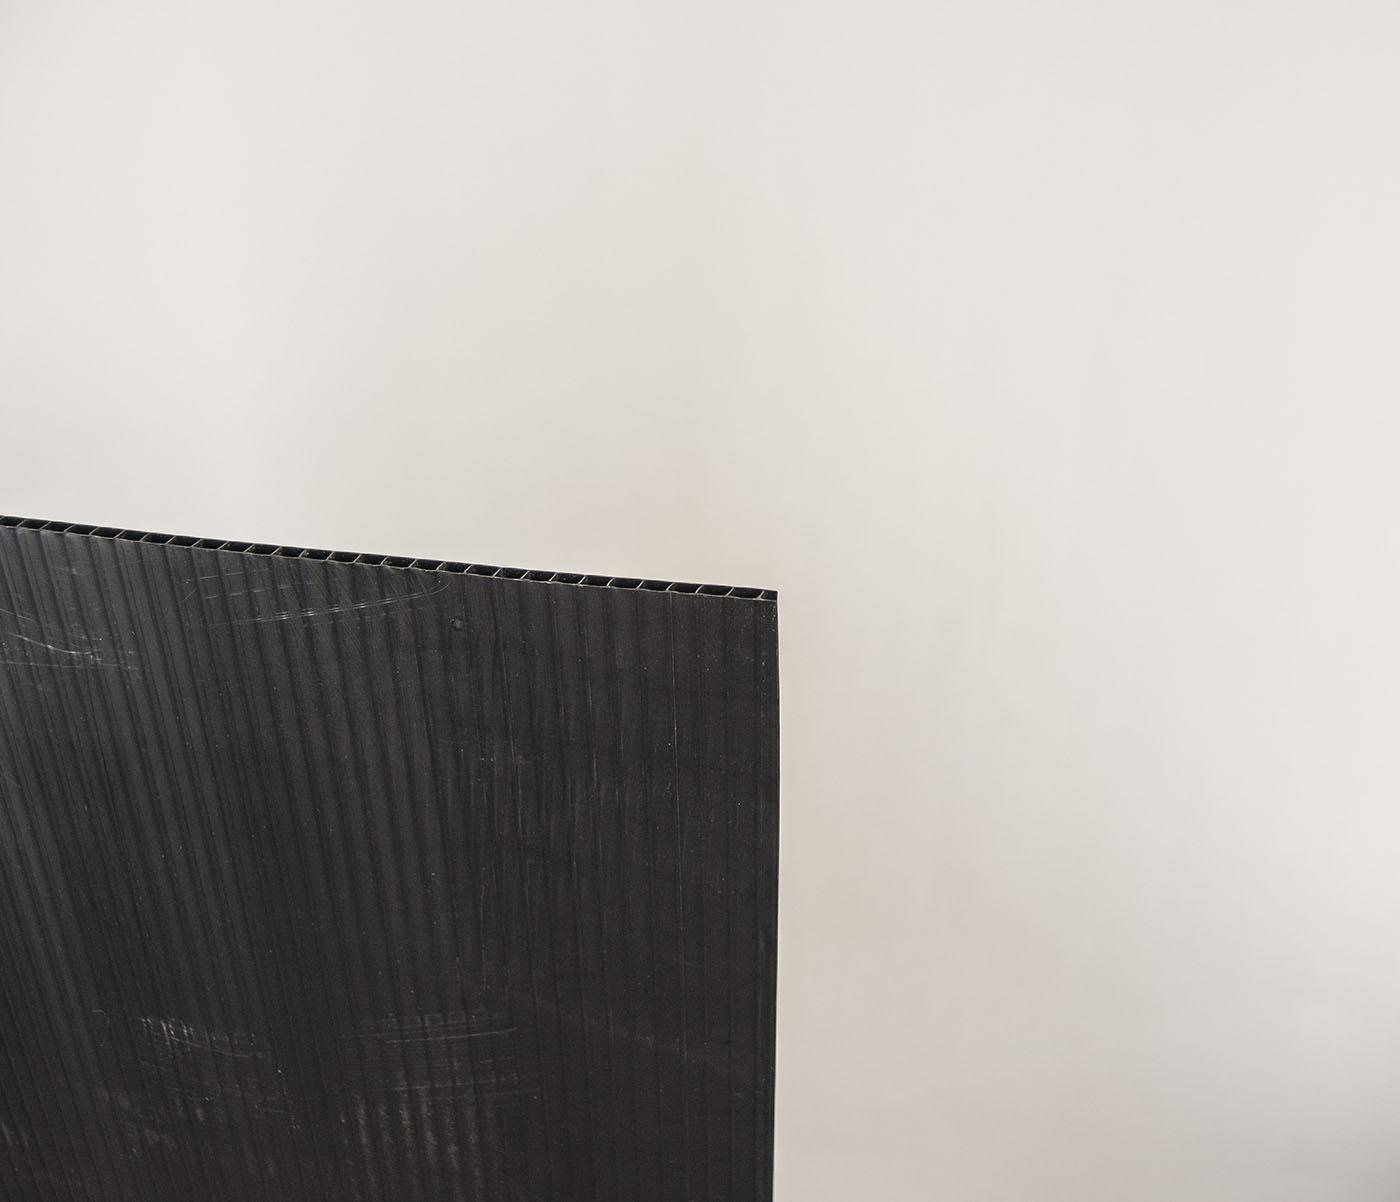
Begin by going to a local sign shop and order a sheet of black 4mm Coroplast. This is the same material political yard signs are made of, only it’s black. Essentially, it’s like corrugated cardboard, only plastic. This is available in most any medium to large city and I got 4×8′ sheets of the stuff for just $20 a sheet. Now use a utility knife and cut panels in the sizes you need. Then, fashion loops out of black gaffer’s tape and the flags will mount nicely on any light stand.
While the black plastic is a little bit shiny, you can mute the shine by spraying matte black spray paint on it, but make sure you get spray paint for plastic! If you use regular spray paint, it will flake off constantly and make a mess! The alternative is to swing by a fabric store and buy a few square feet of some lightweight, black, felt-like material. Then just tape it onto your Coroplast flags with black gaffer’s tape or, if you’re feeling really crafty, use a layer of spray glue and smooth the fabric onto the Coroplast before the glue dries.
With a sheet or two of black report cover material and a sheet of 4×8′ black Coroplast, all of your light spill will surrender to your flags!
