
Anchored Objects in InDesign CS2

A new feature in InDesign CS2, Anchored Objects, opens a whole new way to work with layout elements. Simply put, anchored objects are linked to a specific text location, so InDesign moves the object as the text moves. This is very handy for items such as sidebars, icons, photos, figures, and tables; the example layout here anchors an icon and small sidebar.
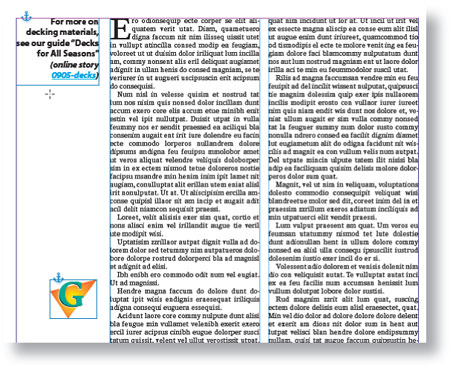
The Anchored Object feature allows frames to follow specific points in text automatically. The Anchor icon tells you which objects are anchored. You can anchor any frame to a text location, but in practice you’ll stick with smaller elements. Large elements usually need to be placed in one text location and left there. If they move with the text, they can easily bump into other large elements on the same page, creating layout problems.
While there are several ways to create anchored objects, the most straightforward way is to first create or place an object in its own frame. Choose the Selection tool (V) and cut (Edit>Cut) the frame. Then switch to the Type tool (T), click in the text where you want to link the object, and paste (Edit>Paste) the frame.
Now you’re ready to do the anchoring. Select the object to be anchored with the Selection tool, then choose Object>Anchored Object>Options to open the Anchored Object Options dialog. Choose Custom from the Position pop-up menu for additional options that will let you place the object. (After experimenting a few times, the options here will make more sense, so be patient.)
The first section of the dialog, Anchored Object, is where you choose the anchor spot in the text relative to the object (here, the settings for the text sidebar). If the text will be to the right of the object, as in our graphic icon example, make sure the right square is selected (black). Typically, you’ll have a margin gutter in your layout along the outside of the page to hold the anchored objects, while the text would be inside. (Tip: Turn on the Relative to Spine checkbox to automatically flip the anchor location in facing-pages documents.)
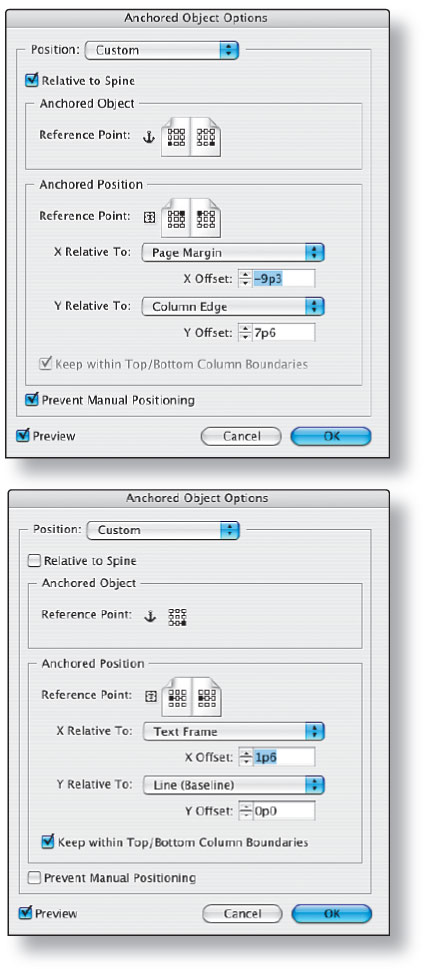
The second section, Anchored Position, is where you choose to position the anchored object (here, the settings for the graphic icon). It’s typically on the opposite side of the text anchor location, but that will depend on your layout. Again, select the square for the desired location (in our graphic icon example, the left-hand one).
The X Relative To pop-up menu lets you choose horizontally where the anchored object is relative to the text anchor, while the Y Relative To pop-up menu lets you choose its vertical location. In both cases, you can enter offset values to precisely control the position. Most often, you’ll choose Text Frame and Line (Baseline), respectively, so the object follows the text as it moves. But you may have layouts where you want, say, all figures to be at the top or bottom of a page, so you would choose Page Margin for the Y Relative To option in that case. Try different settings to see what they do.
As you can see, you’ll need to experiment to get the hang of this feature but once you do, you’ll be able to automate a lot of detail work in your layouts.

