
Adventures in Close-Up Photography
Close-up photography allows us to capture a unique view of our world, especially when that world is printed larger than life. Capturing small subjects requires careful attention to the technical aspects of photography: focus, lighting, sharpness, depth of field, exposure, and composition.
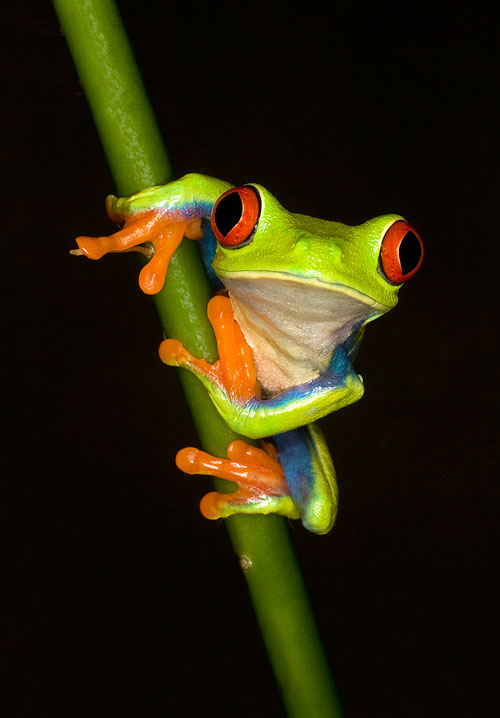
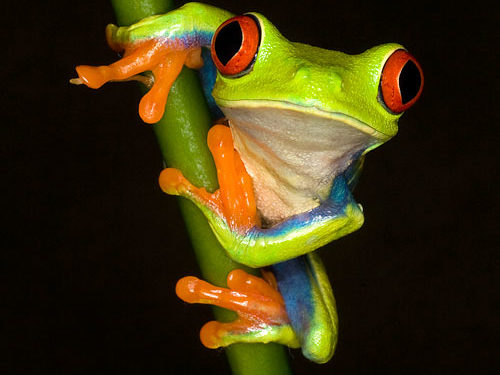
All of these factors came into play with the image of the red-eye tree frog (above left), photographed with a Canon EF 50mm f/2.5 Compact Macro lens and ring light. (The black background in this picture was created by holding a black T-shirt about two-feet behind the subject—far enough so that it wasn’t illuminated by the ring light).
For newcomers to the fascinating, fun, and rewarding aspects of close-up photography, this article introduces a few of the basic techniques.
The macro lens
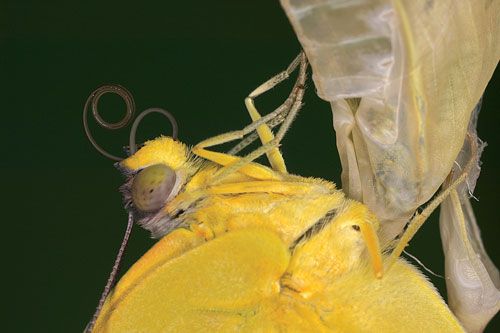
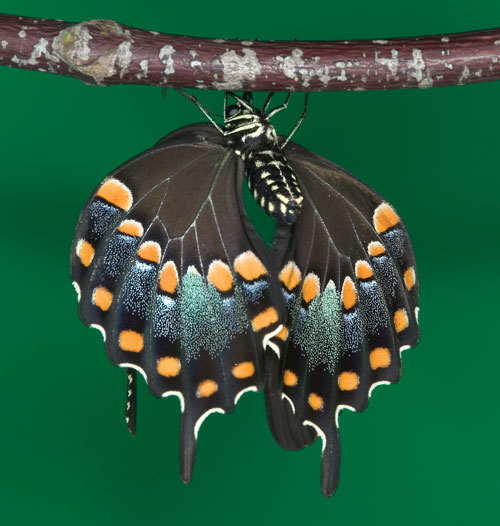
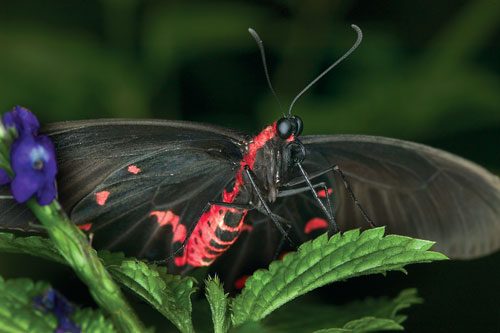
For true macro photography, you need a macro lens, as opposed to the macro/close-up setting on a zoom lens. Macro lenses let you get much closer to a subject than zoom lenses. This picture of a newly hatched butterfly was taken with a Canon MP-E 65mm f/2.8 Macro lens, which offers tremendous magnification—much like a bellows system for SLR cameras. It’s a specially designed, manual focus macro lens that actually lets you fill the frame with subjects as small as a grain of rice.
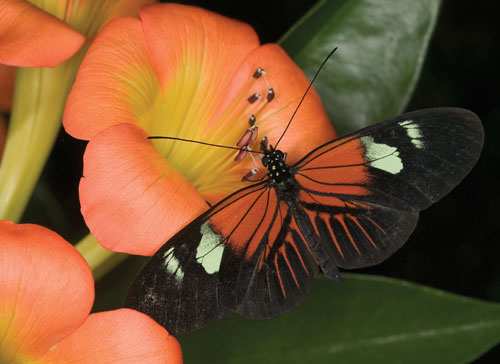
The remaining photographs in this article were taken with more commonly used macro lenses: 50mm and 100mm. The main difference between these two lenses is that that 100mm lens provides a greater camera-to-subject distance so you don’t frighten skittish subjects, such as butterflies.
Getting close
Okay, let’s move on to some macro shooting tips and techniques.
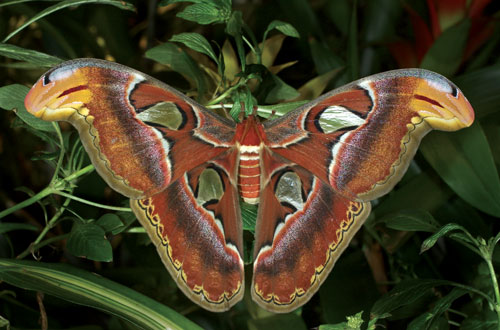
Steady your shots: Macro lenses exaggerate camera shake, as do telephoto lenses. To reduce the chance of a blurry picture caused by camera shake, which is most noticeable in natural light pictures, you need to use a tripod. I used a tripod with a ball head (for easy positioning) when I took this natural light photograph of an Atlas moth with the 100mm f/2.8 Macro lens.
Compose carefully: The background can make or break a close-up picture. Try to compose a picture so the background complements the main subject and does not detract from it.
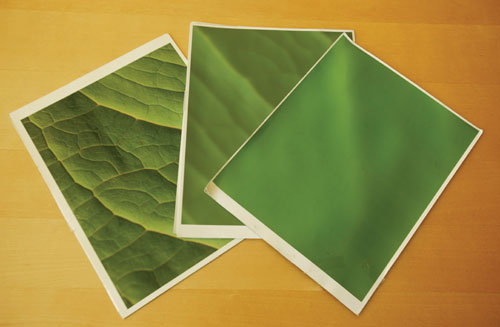
Add a background: If the background is too distracting, you can change it. Photograph a leaf, make an inkjet print, and use the print as a background. For more creative control, try blurring the leaf in the digital darkroom (using the Gaussian Blur filter in Photoshop) to simulate the effect of using different f-stops.
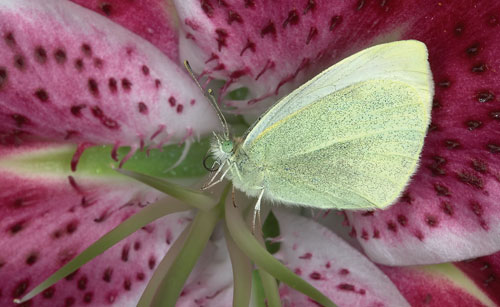
Add light: When adding light, a ring light is a good choice. A ring light attaches to the end of a lens and can provide ratio and even (“shadowless”) lighting. The light from a ring light also adds contrast to a picture, making it look sharper than a natural light photograph. A Canon Macro Ring Lite MR-14EX attached to the front of the 50mm macro lens was used for this picture of a cabbage white butterfly.
Focus carefully: In close-up photography, as with telephoto photography, focus is extremely critical. You need to focus on the most important element in a scene, such as the eye of an insect or small animal. It’s also important to shoot at a small aperture (f/11 or f/22) for good depth of field (unless you want the area in front of and behind your subject out of focus). I set the 50mm macro lens at f/22 for this photograph.
Set the white balance and image quality setting: When using a ring light as the main light source, set the white balance to Flash. When the light is mixed (daylight and flash), set the white balance to Auto.
For the very best quality image, set the image quality to RAW. The RAW setting gives you a little more exposure latitude (is more forgiving) than the Fine or High JPEG setting. What’s more, with a RAW file you’ll have less chance of getting banding in solid colors and dark areas, such as the black background in the opening image for this article.
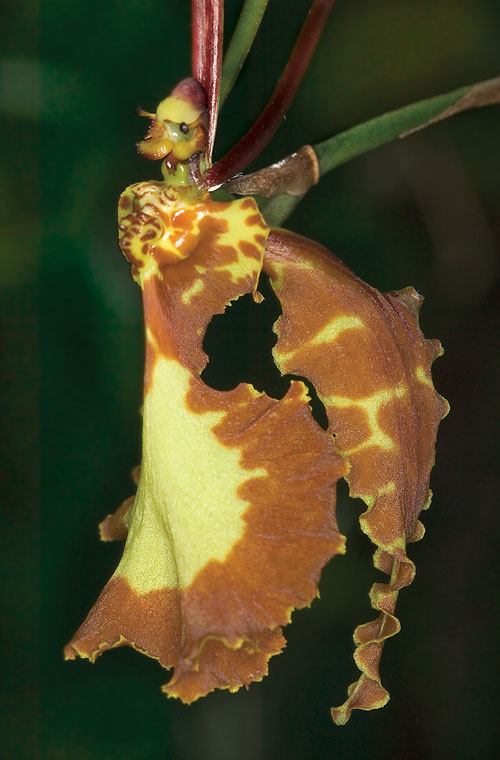
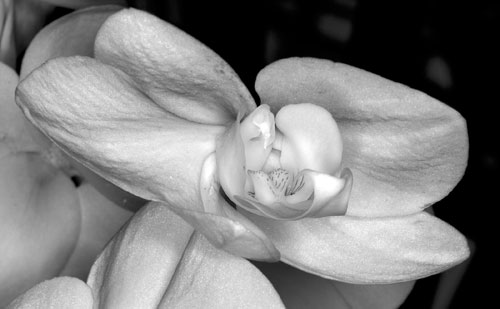
Experiment: It’s important to be aware of how different angles and different shooting distances can greatly affect a picture. In close-up photography, moving just a few inches, or a faction of an inch for that matter, can provide a completely different view of the same subject, as illustrated by these two pictures of an orchid, which I took with the 50mm macro lens. Also play around with different color modes, including black and white.
Okay, now it’s your turn to have fun exploring your own close-up world!
