Photo Recipes: One Light Shoot, Less is More
Welcome to my “Photo Recipes” column, which is based on the most popular chapter in my series of books called The Digital Photography Book, volumes 1, 2 & 3. In the books, I show a photo and then discuss how to take a similar shot (what lighting equipment was used, camera gear, settings, etc.).
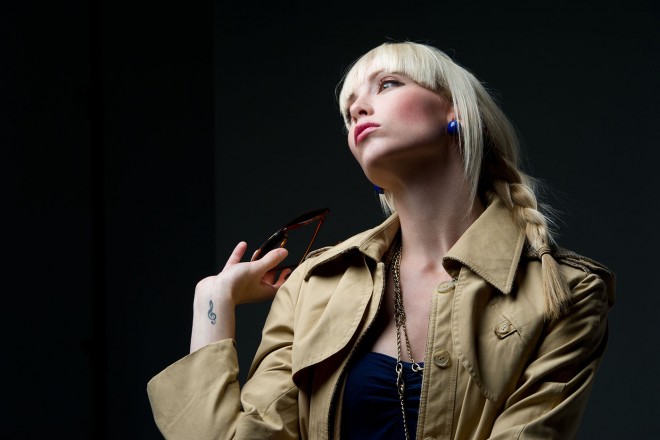
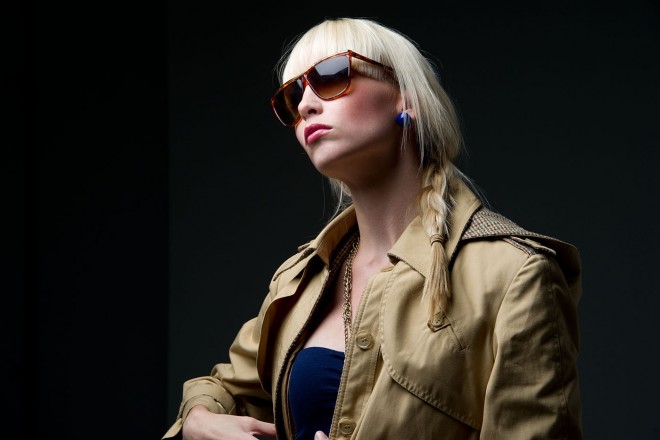
The only frustrating thing about the book is, because of the way the book is laid out, I can only show the photo and then talk you through it—there’s no room for a behind-the-scenes photo to show the exact position of the light, where I was standing, how far the subject was from the background, etc. That’s why I’m excited about this column, because not only can I share a behind-the-scenes photo, but I can share other shots from the shoot to give you a feel how the setup looks on more than just one image.
One Light Shoot
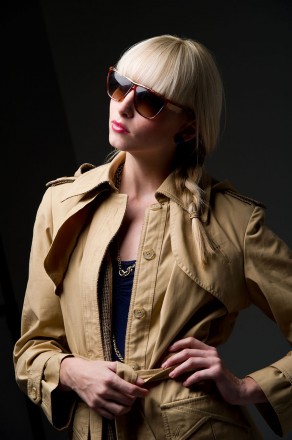
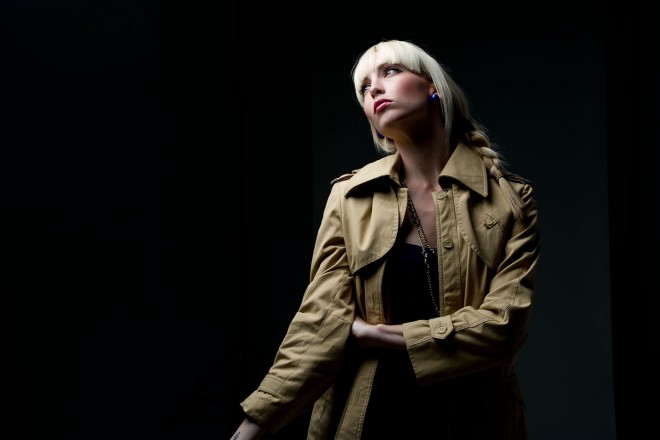
I wanted to keep it really simple and go with a one-light shoot. Less is more, and here’s our image. The idea behind this look is to create a very dramatic lighting setup with lots of shadows, but still keep enough light on your subject so the clothing has detail and dimension.
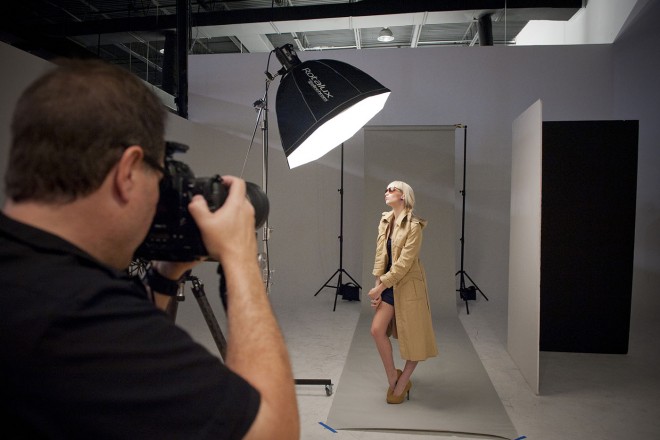
In this behind-the-scenes shot, and you can see where my shooting position is, and where we’ve placed the softbox—up very high and nearly beside our subject. I fell in love with this particular softbox after watching Frank Doorhof use this at a tradeshow in the Netherlands. The softbox is from Elinchrom and it’s called a Deep Octa. Essentially, it’s like any other octagonal softbox, except it’s deeper. What this does is create a wonderful falloff, so your subject’s face is really well lit and the light falls off quickly from there, creating a gradient from bright at the top to dark at the bottom (well, darker anyway).
Exaggerating the Falloff
For this shoot, I use two other techniques to exaggerate the falloff, and that is to place the softbox up and to the right, aiming down at the model like a showerhead. Then, I move the softbox very close to the model, which also gives the light a faster falloff.
Posing Tips
Because the softbox is so high and so directional (it’s kind of aiming down at the floor), you have to tell your subject to “play to the light” and position her body and head so the light hits her. If she turns away from the light, her face will go dark, so if you start with your subject’s shoulders facing the light, you’ll be okay. Also, it helps to remind your subject to keep her chin up, or even look up toward the light from time to time. She doesn’t have to do it for every pose, just every few frames.
Keep Things from Getting Too Dark
I want to make sure that the dark side of our subject and her coat (the side facing away from the light) don’t get too dark, so I brought in a large white reflector to bounce some of that light from the main light back onto her other side. It worked pretty well. I originally had it closer to the model, but it started to light up too much, and I lost some of the shadows and the drama, so we just moved it back a foot or two and that did the trick.
Also, I’m using a V-flat here (two large 4×8′ panels taped together where they meet using gaffer’s tape), but it’s not necessary to use something this large. Any large white reflector will do the trick. If you want even more light on the back side, use a silver reflector instead. It reflects nearly twice as much light as white.
The Background
Although I have our subject in front of a roll of gray seamless paper (cheap—about $26), I’ve positioned her about 12′ from the background, so none of the light from our main light spills onto it, and the background goes to black, which is what I was looking for. (It beats taking down the gray and putting up black seamless.)
Camera Gear and Settings
This image was taken with a Nikon D3s and a 70–200mm f/2.8 lens, at a focal length of 70mm. The ISO was at 200.
Note: Generally, I try to shoot at the lowest ISO I can in the studio, and 200 ISO is the native ISO for most Nikons. At 200 ISO, it delivers the cleanest, noise-free files. On a Canon camera, I would shoot at 100 ISO for the best-quality files.
In the studio, I shoot in Manual mode, so I can set the shutter speed and forget it (the shutter speed is 1/160). The f-stop is f/11, which is an ideal f-stop for situations where you want absolutely everything in focus in a portrait. I focused on the eye closest to me, held the shutter button down halfway to lock focus, and then I recomposed the image (with it still held halfway down), and took the shot.

