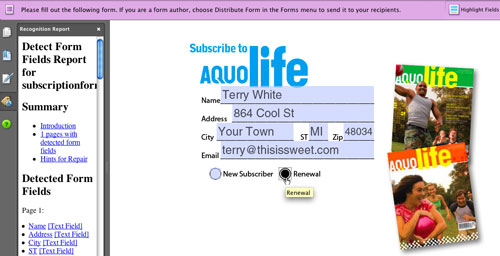
It kills me when someone sends me a form in Microsoft Word and he or she expects me to fill it out on my computer. Of course, the minute I go to type in it everything starts to move around. So let’s learn the right way to build a form in InDesign (with a cameo appearance of Acrobat to make it fillable).
1 CREATE A TEXT FRAME
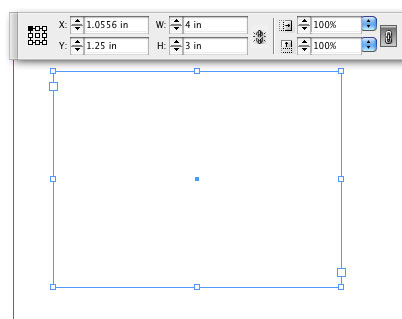
Either create a new InDesign document or open an existing document and navigate to a blank page or blank area of a page so that you can create a text frame. In this example, we’re going to create a magazine subscription card, so create a 4×3″ text frame using the Type tool (T). To make it exactly 4×3″, select the text frame after you create it and key in those measurements in the Control panel.
2 KEY IN YOUR FIRST FIELD NAME
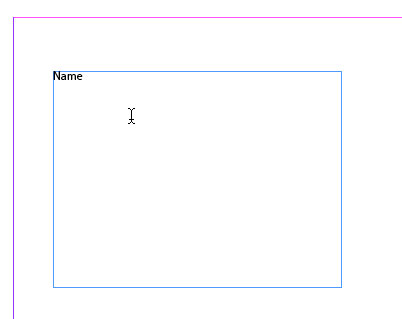
At this point we need to key in the name for our first field. For this example, type in the word “Name” in the text frame. You’ll be tempted to jump ahead and start creating all the other fields and I commend you for your eagerness, but you might want to read the next step first.
3 BRING UP THE TABS RULER
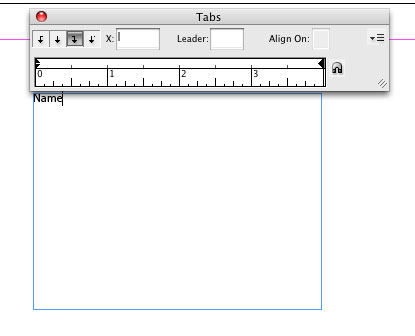
You could create the rest of your fields and then start drawing the lines where people will fill in their information; however, if you ever need to make changes such as font and font size, then you’ll have to move your lines too. That’s why were going to use leader tabs instead. Bring up your Tabs ruler by choosing Tabs from the Type menu. By default the Tabs ruler magnetically sticks to the top of your text frame. This will help you line up your tabs.
4 SET YOUR FIRST TAB
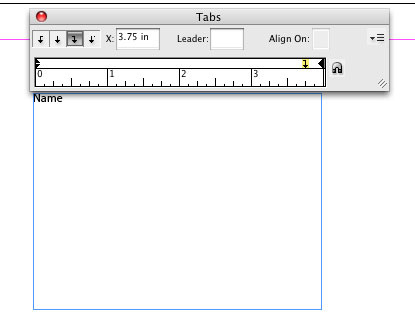
Since the Name field is going to take up the entire top line, we’re going to set our tab at the far right. Select a Right-Justified Tab (the third icon from the left) in the Tabs ruler and click just above the ruler at the 3.75″ mark. Don’t worry if you don’t click in the exact correct position because you can move the tab afterwards.
5 ADD A LEADER
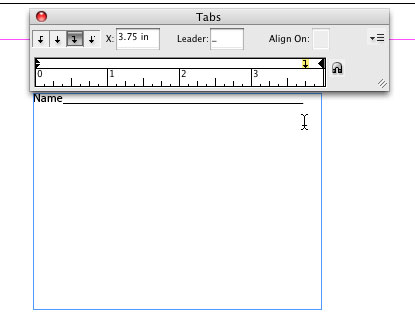
Now that you’ve inserted your tab, the next thing you have to do is give it a leader of an underscore character (_). So with the tab you just placed still selected, click in the Leader field on the Tabs ruler and key in an underscore character (Shift-Hyphen). Now click back into your text frame after the word “Name” and press the Tab key on your keyboard. You should see an underline from the word “Name” to your tab stop. Hit Return (PC: Enter) twice to skip a line.
6 ADD MORE FIELDS AND LEADER TABS
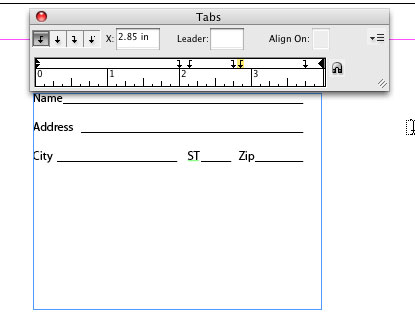
Key in the word “Address” and press the Tab key to create the underline. The next line gets a little more complicated because we need to set both tabs and leader tabs for multiple fields. Use Left-Justified Tabs (the first icon) for the field names and Right-Justified Tabs for the leader lines. Set the “City” leader tab at 2″; set the tab for “ST” at 2.15″ and its leader tab at 2.75″; and set the tab for “Zip” at 2.85″ and use the existing leader tab at 3.75″. Don’t forget to add the underscores for the leader tabs.
7 MAKE SOME RADIO BUTTONS
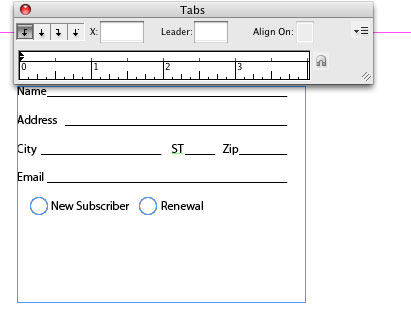
The next field that we want is Email. In order to get back to one long leader tab, remove the extra tabs from only that line by simply dragging them off the Tabs ruler. Next, let’s create some radio buttons. On the next line, type “New Subscriber” and “Renewal.” (Now that you got the hang of tabs, you’ll probably want to create tabs for these two words to give you room for the radio buttons.) Use the Ellipse tool (L) while holding the Shift key to create circles in front of each word.
8 CREATE A NEW LAYER
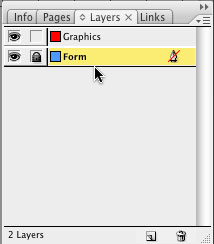
Our form fields are done. Now let’s lock it down and create a new layer for the rest of the subscription card layout elements. Bring up your Layers panel. Hold down the Option key (PC: Alt key) and click the Create New Layer icon at the bottom of the panel. This will allow you to create a new layer and name it all at the same time (we named ours “Graphics”). Double-click the name of the original layer and rename it “Form.” Then click the little box to the right of the Eye icon to lock the Form layer.
9 ADD GRAPHICS; EXPORT TO PDF
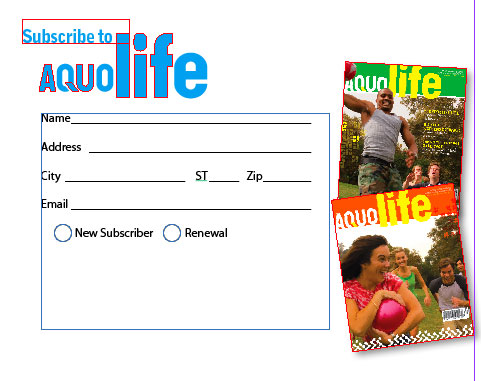
At this point you can place other text and graphics on your page. Be sure not to cover up any part of your form’s text or lines. After your design is complete, go to the Adobe PDF Presets under the File menu and choose Smallest File Size (or the one that best meets your needs) to export this InDesign document as a PDF. Be sure that View PDF after Exporting is checked in the dialog.
10 RUN FORM FIELD RECOGNITION
This is where the magic happens. Choose Run Form Field Recognition from the Forms menu in Acrobat 8 Professional. This should create form fields over your existing lines and circles. Click the Highlight Fields button to make sure the fields were recognized. Anyone can now type into this form with Adobe Reader or the full version of Acrobat. So now you can send a form that’s actually usable.
[For an in-depth look at creating and editing forms in Acrobat, check out Getting into Form, Part 1, and Getting into Form, Part 2 ]
