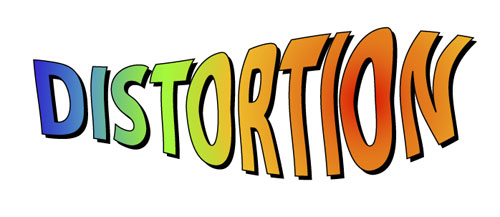
Adobe Illustrator: Text Warping with Envelope Distortion

With so many new things in Illustrator, it’s easy to overlook things that have been around for a while and forget what powerful tools they still can be. For instance, in this tutorial we are going see the precise control we can have on distorting an object by using Envelope Distortion.
1
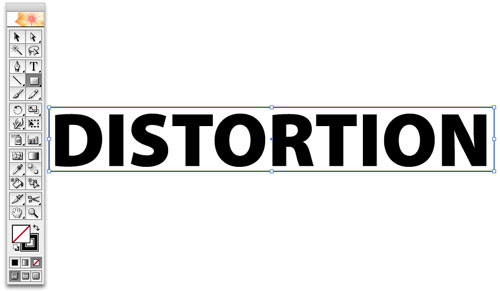
Set the text in your desired type style. (In this example, I used the font Myriad Pro Black). Then go under the Type Menu and select Create Outlines to convert the text to shapes.

2
Grab your Rectangle tool from the toolbar, make sure that your fill is set to empty and set your stroke color to black so you can see the shape. Draw a box around the text so that the text just barely fits within.
3
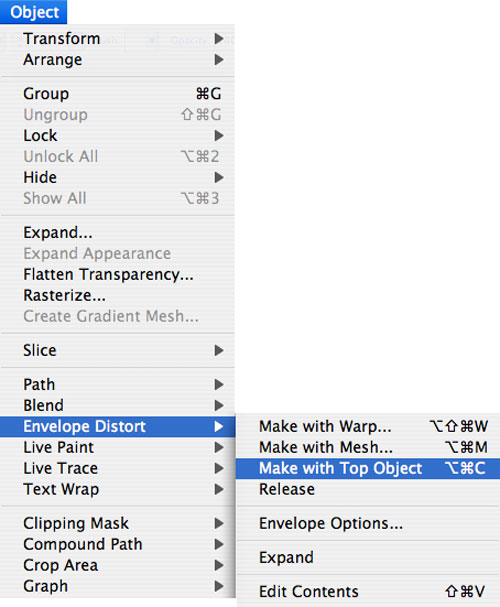
Go to Objects menu > Envelope Distort, then choose Make with Top Object. This will contain the text within the box so that you can distort the overall shape.
4
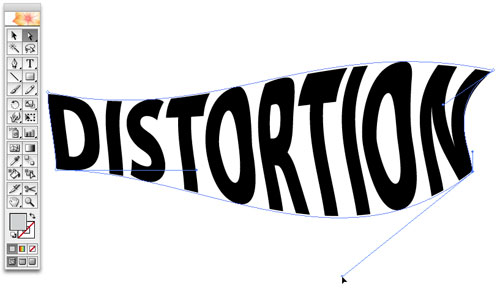
In the toolbar, select the Direct Select Tool (the hollowed out arrow at the top right of the toolbar). Then, just select any point in the shape and drag around the handles that extend out in order to distort the shape.
5
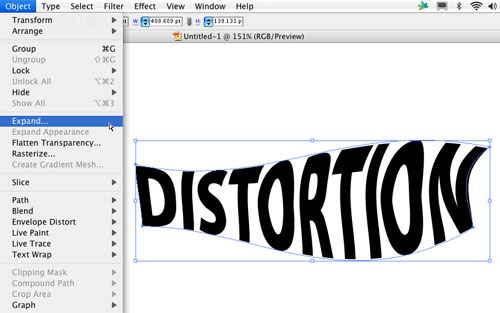
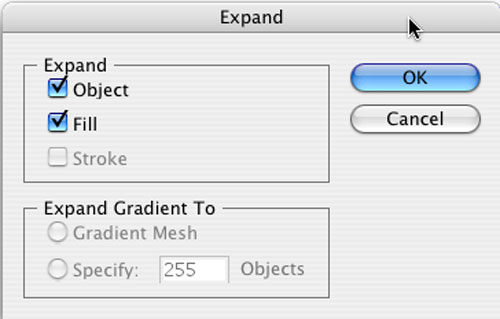
When you are finished distorting the shape, you will need to revert it back to outlines. To do this, select the object, go under the Object menu and go down to Expand. You will get a dialog asking you what properties you want to expand. By default, Object and Fill will be checked. You want to make sure that the Object is checked. You can leave Fill checked as it will not effect anything.
Note: Once you expand the object you will no longer be able to distort the shape unless you place it inside another envelope object. When you are ready to expand the object, make a copy of that object and then expand. This way, you have a spare if you need to go back and change the distortion.
6
Now, with that object converted to a regular shape, you can change its color and style in any way you like.
