We’re all used to working with style sheets (or least we should be). With each new version of InDesign, there seems to be a new way to style your content. We started with paragraph and character styles, then we got nested styles, followed by object styles, and finally table styles in InDesign CS3. As you can see, nested styles is not really new but it’s something that you should be taking advantage of, so let’s get to it.
1 CREATE A NEW DOCUMENT
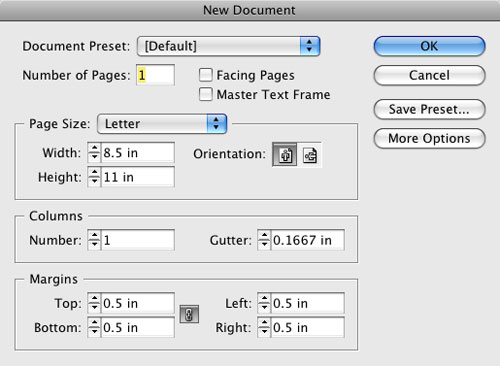
While you could use an existing document for this tutorial, it’s probably best to begin with a new document. This way you won’t have any extra styles in your Styles panels that are left over from other things you’ve formatted. Choose File>New>Document and click OK to accept the Default settings.
2 CREATE A TEXT FRAME
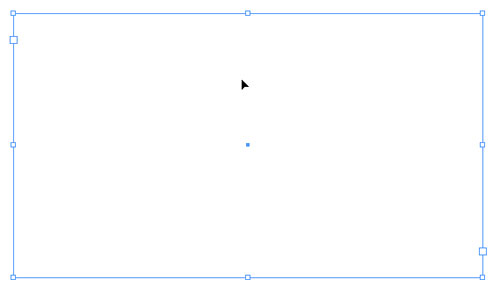
The best way to create a style sheet in InDesign is to first build an example of how you want your final style to look. Because this is going to be a nested style that formats text, we’ll need a text frame. Select the Type tool (T) and drag out a text frame on your page, then add the text you’ll use to create the styles.
3 STYLE YOUR TEXT
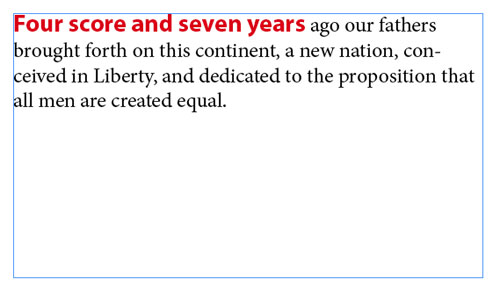
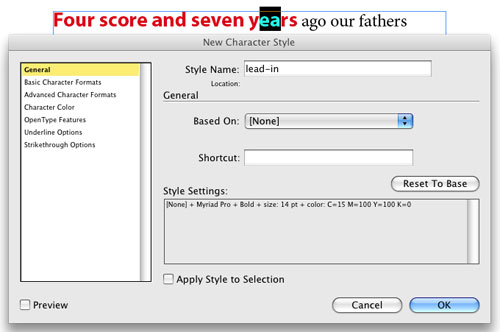
Nested styles can format different paragraphs of text that read differently, but the structure of the text has to be consistent. For example, if you want your nested style to format the first five words of a paragraph, you can’t have the style format four words sometimes and six words at other times; it has to always be the first five. In this example, we formatted the first five words of the paragraph to be a different font, style, and color than the rest of the text.
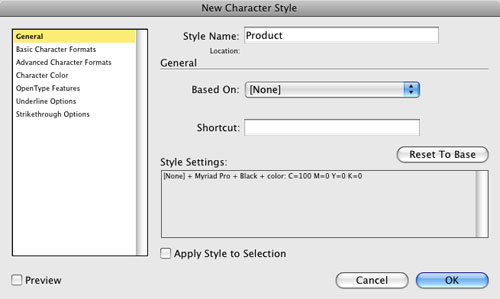
4 CREATE A CHARACTER STYLE
Now we need to create a character style based on the red text. Open the Character Styles panel (Window>Type & Tables>Character Styles). Highlight any of part of the red text, press-and-hold the Option (PC: Alt) key, and click the Create New Style icon at the bottom of the Character Styles panel. In the New Character Style dialog that appears, name your new style “lead-in” and click OK.
5 CREATE A PARAGRAPH STYLE
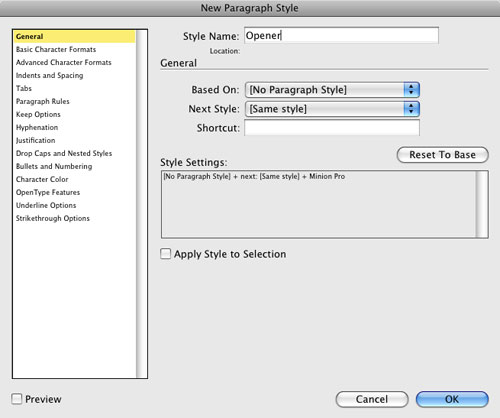
Open the Paragraph Styles panel. Place your cursor anywhere in the paragraph, except the red text. Hold down the Option (PC: Alt) key and click the Create New Style icon at the bottom of the Paragraph Styles panel. When the New Paragraph Style dialog appears, name the style “Opener.” Don’t click OK yet.
6 ADD A NESTED STYLE
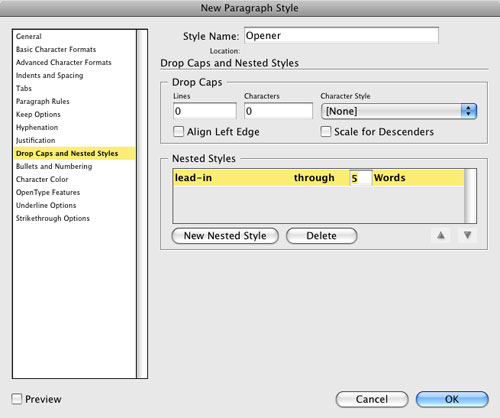
With the New Paragraph Style dialog still open, click on the Drop Caps and Nested Styles option on the left. Click the New Nested Style button, then choose “lead-in” from the Nested Styles section (click None and it turns into a pop-up menu). Click on the 1 next to “Words” and change it to a 5. Click OK. Your style is now ready to apply to any paragraph where you want the first five words to be formatted using your “lead-in” character style. To apply the styles, just click in any other paragraph and click “Opener” in the Paragraph Styles panel to apply it.
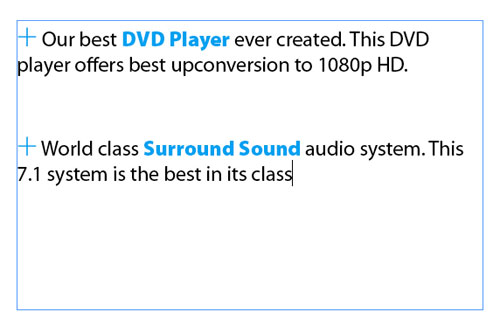
7 USING MULTIPLE NESTED STYLES
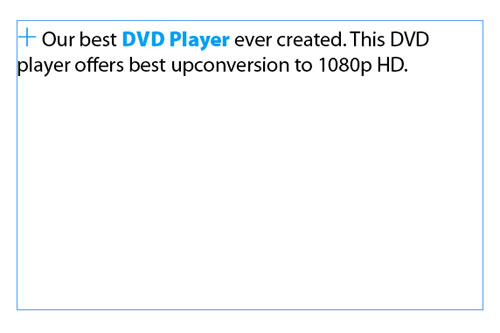
You can create a nested style that uses multiple character styles throughout the paragraph. In this example, there’s a plus sign at the beginning of the paragraph and then there’s a character style applied after the second word to the next two words. To create this style, choose the Type tool and drag out a new frame. Then create an example like ours with your styles, fonts, and colors.
8 CREATE FIRST CHARACTER STYLE
With the Type tool, highlight the plus sign in the example from Step 7. Open the Character Styles panel, hold down the Option (PC: Alt) key, and click the Create New Style icon. Name your style “Plus Sign” and click OK.

9 CREATE SECOND CHARACTER STYLE
To create your second character style, follow the directions from Step 8, but select the two words that follow the first two words (“DVD Player” in this example) and name this style “Product.” Click OK.
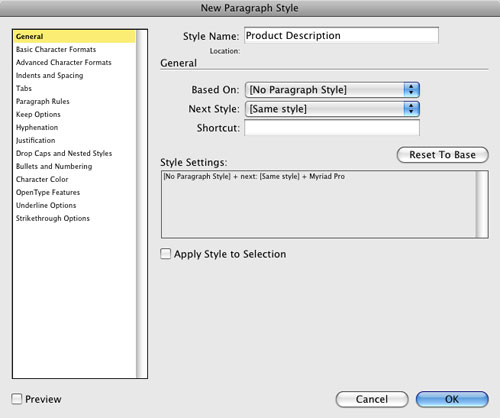
10 CREATE PARAGRAPH SYLE
Now it’s time to create the paragraph style. With the Type tool still selected, put your cursor anywhere else in the paragraph other than the text you formatted for your character styles. Open the Paragraph Styles panel, hold down the Option (PC: Alt) key, and click the Create New Style icon at the bottom of the panel. Name your new style “Product Description,” and then choose Drop Caps and Nested Styles from the list on the left.
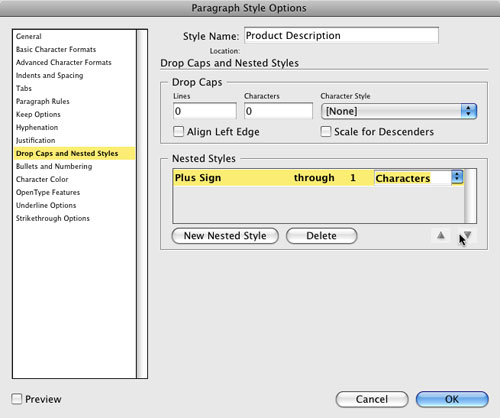
11 NEST IN FIRST CHARACTER STYLE
Click the New Nested Style button and choose the “Plus Sign” character style from the Nested Styles section. Set Plus Sign through 1 Characters to format your plus sign or other symbol at the beginning of each paragraph (click the word “Words” and it turns into a pop-up menu where you can choose Characters). Don’t click OK yet.
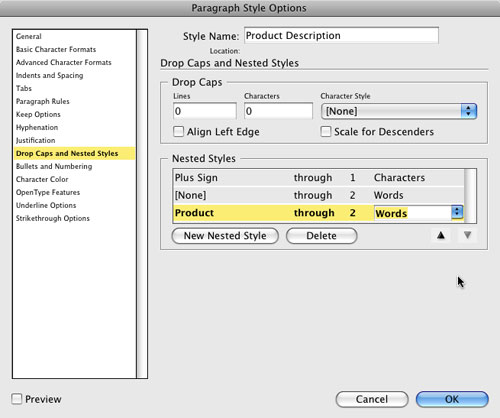
12 NEST IN SECOND CHARACTER STYLE
Before we add the next character style, we need to ignore the next two words. Click the New Nested Style button and leave it set to None through 2 Words. Now click the New Nested Style button one more time and set the Product character style through 2 Words. Click OK.
13 APPLY YOUR STYLE
At this point you’re ready to use your new style. You can either choose Product Description in the Paragraph Styles panel to apply it to an existing paragraph, or select it and then type a new paragraph and your styles will apply as you type. As a bonus tip, if you create styles in one document, you can load them into another document by choosing Load Paragraph Styles from the Paragraph Styles flyout menu. Then choose the document that contains the styles you want to import.