Fun Film Design Using Illustrator
With a little experimentation and imagination, you can use tools in not-so-obvious ways to create really interesting and seemingly complex effects. In this tutorial, we’ll use a number of basic shapes and a photo to create a simple filmstrip. Then we’ll map that art to a 3D shape that we’ll create and manipulate entirely in Adobe Illustrator.
STEP 1 Start with the Basic Shape
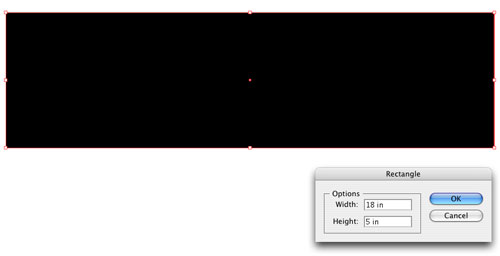
Select the Rectangle tool (M) from the Toolbox, then click once on the artboard. In the Rectangle dialog that appears, enter 18″ for Width, 5″ for Height, then click OK. In the Control panel, set the Fill color to black and the Stroke to None. We’re building the filmstrip sideways because of the way we’ll use it as mapped art on a 3D shape.
STEP 2 Create the Sprocket Hole
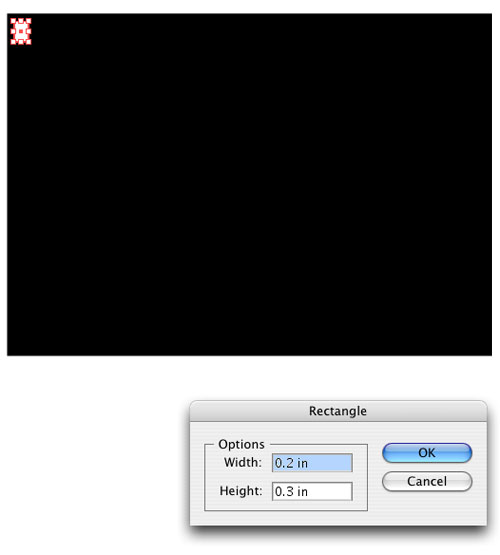
With the Rectangle tool still selected, click on the artboard again. This time enter 0.2″ for Width, 0.3″ for Height, and click OK. Set the Fill color to white and leave the Stroke set to None. Now choose the Selection tool (V) and position this box in the upper-left corner of the black rectangle.
STEP 3 Repeat the Sprocket Hole
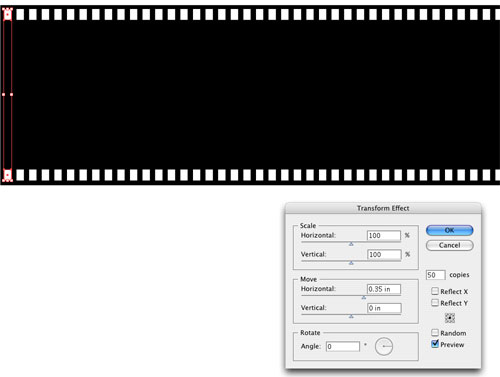
With the sprocket hole still selected, go under the Effect menu and choose Distort & Transform>Transform. In the Move section of the dialog, enter 0.35″ for the Horizontal setting. Then, enter 50 for the number of copies and click OK. This will repeat the sprocket holes all the way across the shape. Now hold down the Option key (PC: Alt key), then click-and-drag the first shape in the series down toward the bottom of the rectangle so the holes are on both sides of the film. (Note: Add the Shift key after you start dragging to keep the holes aligned.)
STEP 4 Create a Film Frame
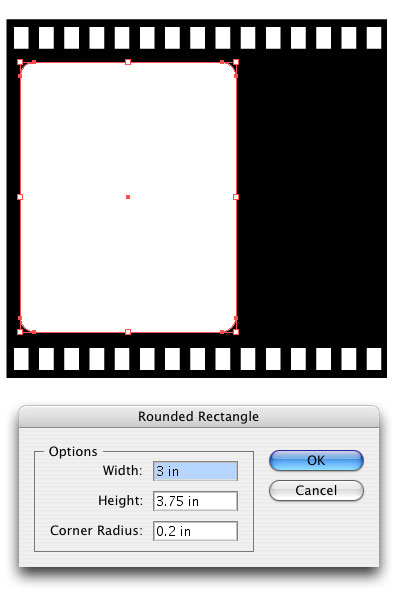
Choose the Rounded Rectangle tool (nested with the Rectangle tool) from the Toolbox. Then click once on the artboard and enter 3″ for Width, 3.75″ for Height, 0.2″ for Corner Radius, and click OK. Then set the Fill color to white and the Stroke to None. Choose the Selection tool and move the film frame onto the left side of the filmstrip.
STEP 5 Place the Photo
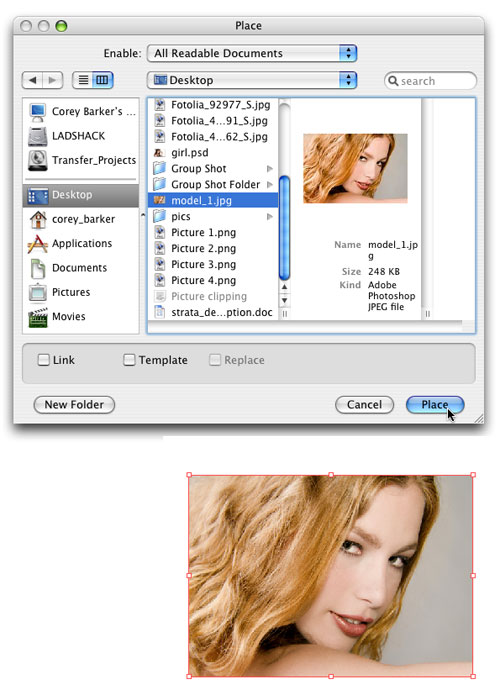
Now let’s place the photo that we’ll use in the film frame. You can use different images for each frame or you can use the same image. We’re using the same image so it looks like a movie clip. Go to File>Place, navigate to the photo you want to use, and click Place. (Note: Make sure the Link option is unchecked in the Place dialog. Also, if you’ve placed a landscape image, go to Object>Transform>Rotate, enter 90° for Angle, and click OK.)
STEP 6 Crop the Photo
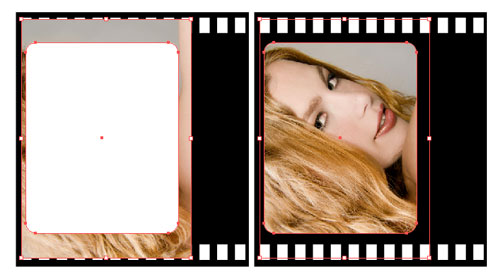
Drag the photo over the frame box we created in Step 4, then choose Object>Arrange>Send Backward. Now resize and center the photo so it’s just a little bit bigger than the film frame. Select both objects, go to the Object menu, and choose Clipping Mask>Make. This will crop the photo inside the frame.
STEP 7 Repeat the Frames
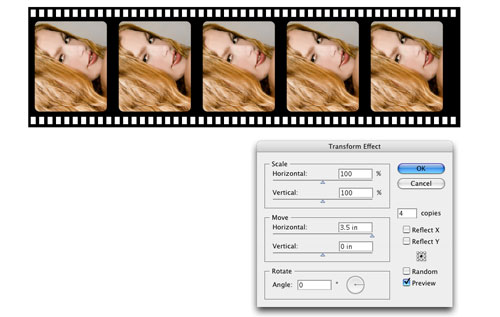
With the object still selected, choose Effect>Distort & Transform>Transform. In the Move section of the dialog, enter 3.5″ for Horizontal and then set the number of copies to 4. Turn on the Preview option to see the result before you commit, tweak the settings if necessary, and then click OK. (Note: If you’re using multiple photos, go to Object>Expand Appearance, then choose Object>Ungroup. Select the next frame on the filmstrip, open the Links panel [Window>Links], and click the Relink icon. Navigate to your next image in the Place dialog that appears, and click Place. Repeat this step for each image.)
STEP 8 Make It a Symbol
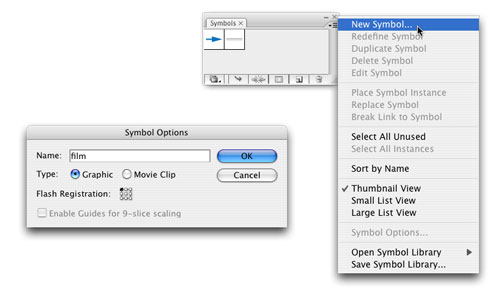
We need to convert this object into a symbol so we can map it to our 3D shape. Open the Symbols panel (Window>Symbols), choose the Selection tool, and click-and-drag over the entire filmstrip object to select it. Click the Symbols panel’s flyout menu and choose New Symbol. In the Symbol Options dialog that appears, choose Graphic, name the symbol, and click OK.
STEP 9 Draw the Line
We’re going to create our 3D shape from a stroke. Choose the Pen tool (P) from the Toolbox and draw a smooth, wavy path about the same length as the filmstrip (not too wavy though). Set the Stroke to any color and set the Fill to None.

STEP 10 Another Dimension
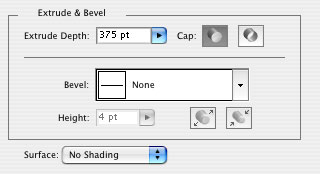
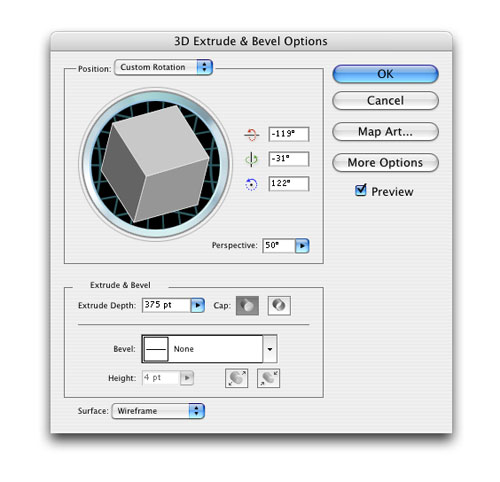
With the stroke selected, go under the Effect menu and choose 3D>Extrude & Bevel. Check on the Preview so you can see the result as you work in this dialog. Change the Surface setting at the bottom to Wireframe, enter a Perspective amount of 50°, and set the Extrude Depth to 375 pt. Now you can use the cube to manipulate the angle of the 3D shape or you can enter specific values for each x, y, and z rotation. Don’t click OK yet.
STEP 11 Map the Art
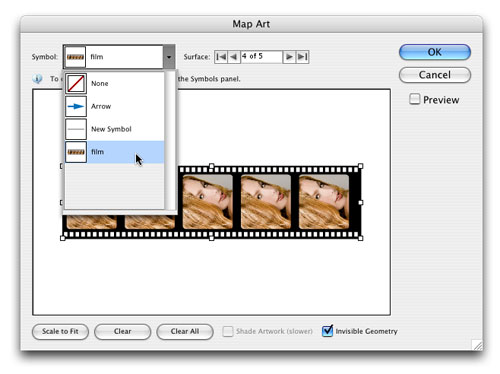
Click the Map Art button. In the Map Art dialog, toggle through the Surface to find the face of the filmstrip (the selected surface is indicated by red outlines on the artboard). Then click the Symbol menu and choose the film symbol we created in Step 8. When it appears in the window, click the Scale to Fit button and turn on Invisible Geometry. This will render only the mapped art, leaving the 3D shape invisible. Click OK to close the Map Art dialog, but don’t close the main 3D Extrude & Bevel dialog yet.
STEP 12 Finish It Off
Back in Step 10 we set the Surface to Wireframe. This was mainly for visibility and speed because this setting doesn’t have a render lag when manipulating the 3D object. But now that we’ve rendered our map art, we need to change this setting to No Shading. This will render our finished art as it was created but now it’s mapped to the 3D shape, giving the appearance of a semirealistic strip of film.
