
Design with Flair from Start to Finish in Illustrator CS4
Faking the Dot Pattern Vector Pack If You Don’t Have Illustrator CS4
The Dot Pattern Vector Pack is only available in Illustrator CS4. If you’re working with CS3, here’s a workaround to create your own dot pattern. (this will replace Steps 5 and 6 in the Design With Flair tutorial.)
1 CREATE NEW DOCUMENT IN PHOTOSHOP
Create a new document (File>New) in Photoshop that’s 8×8 inches at 100ppi.
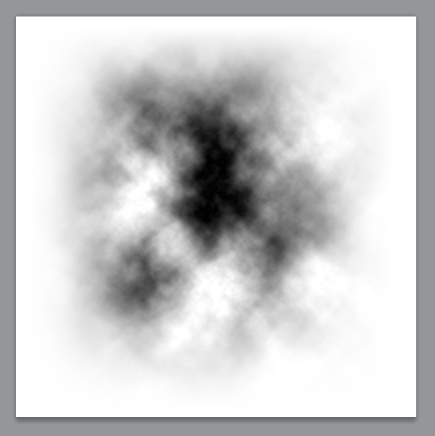
2 SET DEFAULT COLORS; RENDER CLOUDS
Press D to set your Foreground color to black and your Background color to white. Then, go to Render under the Filter menu and select Clouds.
3 DRAW GRADIENTS ON ALL FOUR SIDES
Press the letter G to switch to the Gradient tool. Press X to switch your Foreground color to white. Open the Gradient Picker in the Options Bar and select the Foreground to Transparent gradient. Drag with the Gradient tool from the outer edge of the document toward the center on all for sides so the edges fade out to white.
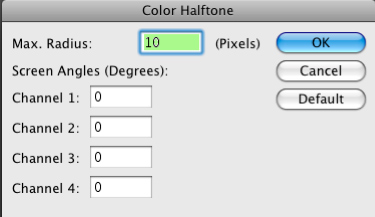
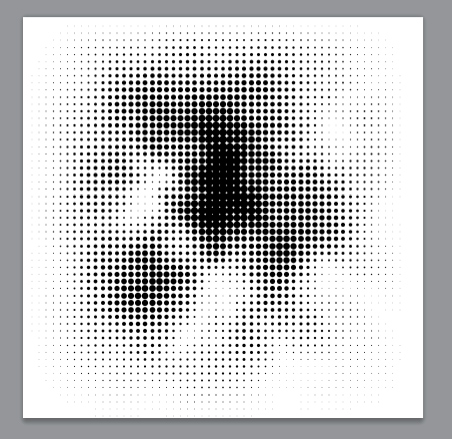
4 RUN COLOR HALFTONE FILTER
Go under the Filter menu again but this time go to Pixelate and choose Color Halftone.
Use the settings shown in the image here.
5 SAVE AND PLACE IN ILLUSTRATOR
Save this document. Place (File>Place) the image in Illustrator and click the Live Trace button in the Control panel. Click the Expand button to convert the Live Trace object into a standard object. Use the Direct Selection tool (A) to select a white area, then go to Select>Same>Fill Color. Press Delete (PC: Backspace) to delete all the white areas.
6 CHANGE COLOR; SEND TO BACK
Now, select the dot pattern, open the Swatches panel (Window>Swatches), and click on a light-gray box to apply that color to the graphic. Using the Selection tool (V), place this graphic over the traced graphic and scale it as needed. Then go under the Object menu and choose Arrange>Send to Back. (Note: If you can’t see the dots behind your object frame, make sure your Fill is set to None in the Control panel.)
