Use CSS to Style Your Lists in Dreamweaver CS3/4
There are many good reasons to format text with the unordered list tag, but that doesn’t mean you have to settle for the vanilla bulleted-list style you get from plain old HTML. Add a little CSS to your lists and you can create accessible, versatile designs that fit the look and feel of any website—and follow Web standards. Here are a few CSS tricks for formatting lists. (This tutorial works for both Adobe Dreamweaver CS3 and CS4.)
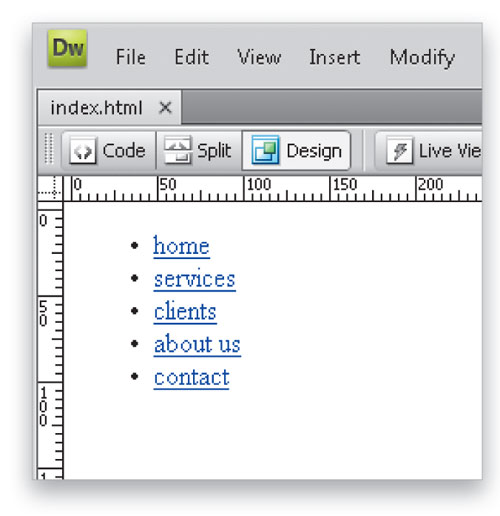
1 [START WITH A SIMPLE BULLETED LIST]
Enter the text you want to use in your list and make sure to separate each item with a paragraph
tag, not a break
tag. The Unordered List feature (Format>List>Unordered List) in Dreamweaver only works properly if it’s applied to elements separated by paragraph tags. If you try to format text with the unordered list and the bullets don’t appear before every item, it’s probably because they weren’t separated by paragraph tags. To fix the list, just delete any space between list items and press the Return or Enter key before each item in the list. Next, convert your list items to links (Modify>Make Link).
2 [CREATE NEW STYLE FOR LIST ITEMS]
To create a new style that will alter the look of each list item, you’ll want to create a style for the
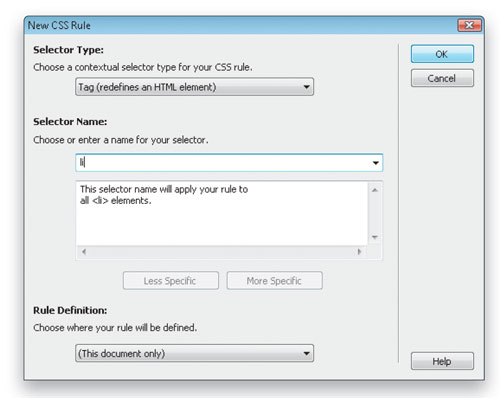
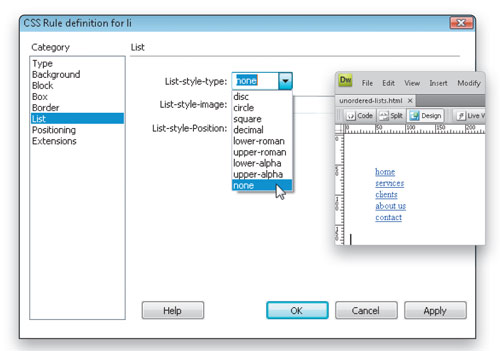
3 [CHANGE THE BULLET STYLE]
In the CSS Rule Definition dialog, choose the List Category on the left. Here you can change the style of the bullet by selecting any of the options in the List-Style-Type drop-down menu. If you prefer, you can replace the bullet with your own image by clicking on the Browse button next to the List-Style-Image field and selecting the image you want to use in place of the bullets. You can also remove the bullet completely by choosing None (as we did in this example). Click OK.
4 [STYLE LINKS IN AN UNORDERED LIST]
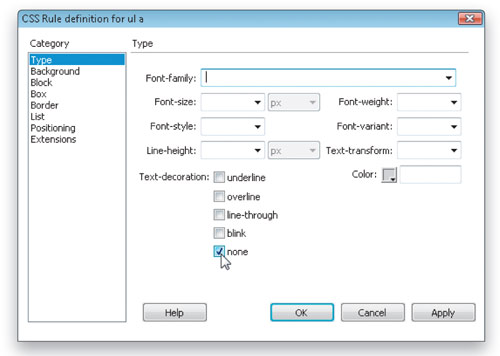
You can alter the way links display in an unordered list in much the same way you’d alter any other links on the page, and you can use compound styles (by choosing Compound for the Selector Type in the New CSS Rule dialog) to create link styles that only affect links within an unordered list. For instance, you can create a style named ul a, which will only affect the link tag when it appears within the unordered list tag. So you could remove the underline from all links that appear within unordered lists by choosing the Type category in the CSS Rule Definition dialog, and under Text-Decoration, click on the None checkbox.
5 [ADD SPACE BETWEEN BULLETED ITEMS]
The default HTML style for unordered lists places list items too close together for most designers, but it’s easy to add a little breathing room. Just create a new style for the li tag (as you did in Step 2), or edit your existing li style by double-clicking on the style name in the CSS Styles panel. In the CSS Rule Definition dialog, choose the Box Category and use the Margin and Padding settings to increase the space around the list items. In our example, we added 10 pixels of space to the Bottom of each list item.

6 [USE COLOR AND PADDING FOR BUTTONS]
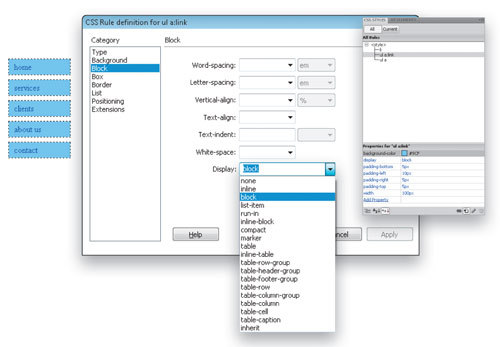
You can create colored boxes around your links by defining a CSS rule for the active link, or a:link tag, that combines a Background-Color (such as the light blue shown here) with a Width (ours is set to 100 px) and Padding (5 pixels Top and Bottom and 10 pixels on the Left) in the Box Category. And here’s the trick that makes it work: In the Block Category, you need to set the Display option to Block. In this case, we used a compound style ul a:link so that links will only display this way if they’re contained within an unordered list.
7 [DEFINE DIFFERENT LINK STYLES]
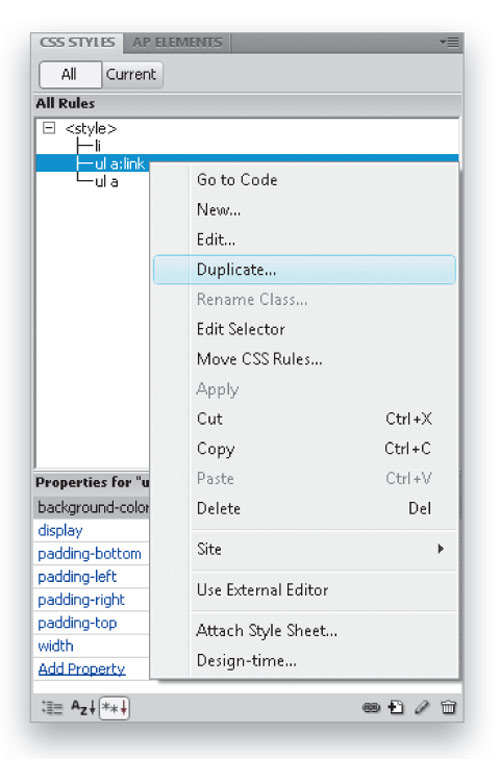
A great way to create a rollover effect is to create a second link style for the hover link state, a:hover. And here’s another trick: Duplicate the a:link style you created in Step 6 by Right-clicking (PC: Option-clicking) on the style name, then choose Duplicate, and name the new style ul a:hover. You want all of the elements of the style to be the same (same Padding, Width, etc.) except, in this case, for the background color (see next step). Starting with a copy of the a:link style means all you need to change are the formatting options you want for the hover style.
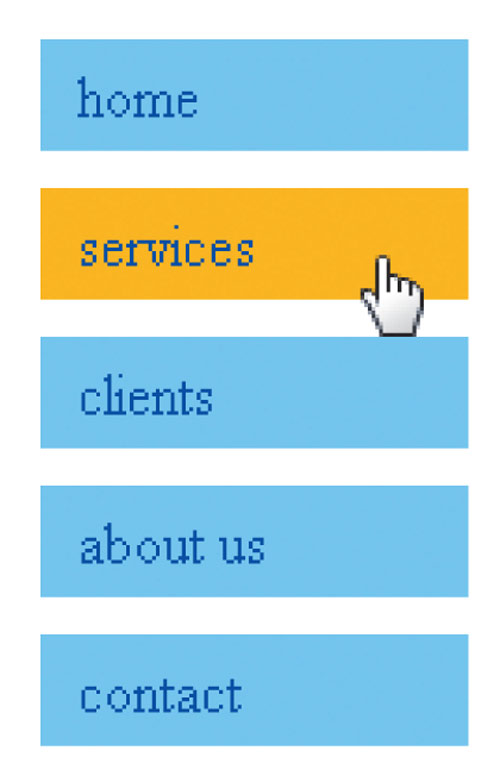
8 [DEFINE THE A:HOVER STYLE]
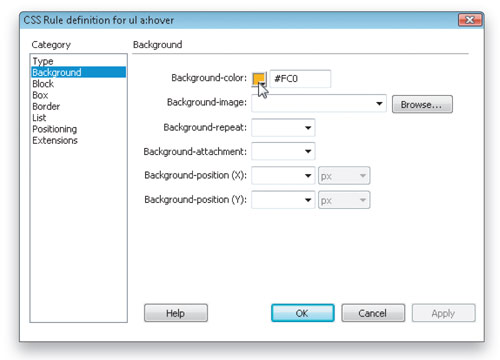
This time, we changed the Background-Color in the a:hover style to yellow so that when a visitor to the site rolls their cursor over a link, the only effect will be that the background color changes from light blue to yellow. For more complex rollover effects, use different background images in the Active link and Hover link styles. You can also change the font color, font face, and other formatting options to alter the text style.
9 [PREVIEW TO TEST ROLLOVER EFFECTS]
In order to test any styles you create that are triggered by a rollover, you’ll need to preview the page in a Web browser (File>Preview in Browser). As you can see here, when a cursor rolls over the light blue links, they turn yellow, because that’s the background color we defined in the a:hover style.
10 [REMOVE INDENTING BY STYLING UL TAG]
You can increase, decrease, or remove the amount of indenting by defining a style rule for the ul tag. Remember, the HTML for an unordered list includes the
- and close
tag, which surrounds the entire list, and the

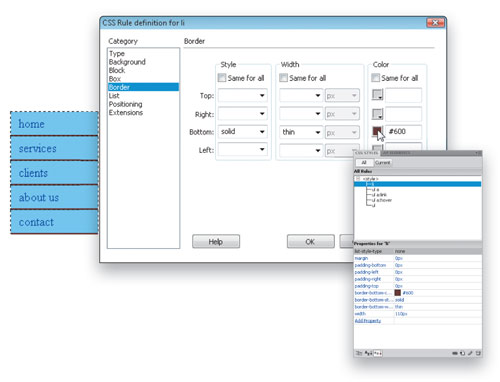
11 [USE BORDERS TO CREATE DIVIDING LINES]
To add a line between each list item, define or edit the li tag and set only the Bottom options in the Border Category. Similarly, you can use borders only on the Left, Right, or Top to create dividing lines. Make sure that Margins and Padding in the Box Category are set to 0 to remove any space between the list items, and set the Width to 110 px (as shown here).
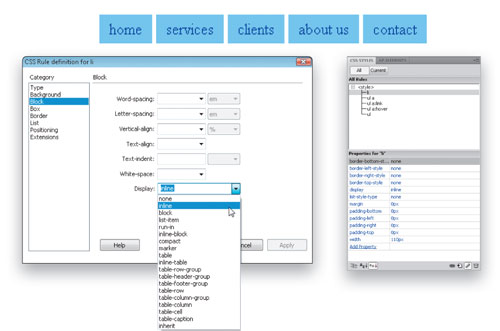
12 [TURN LIST FROM VERTICAL TO HORIZONTAL]
The trick to making an unordered list display horizontally across a page is to create or edit a style for the list item
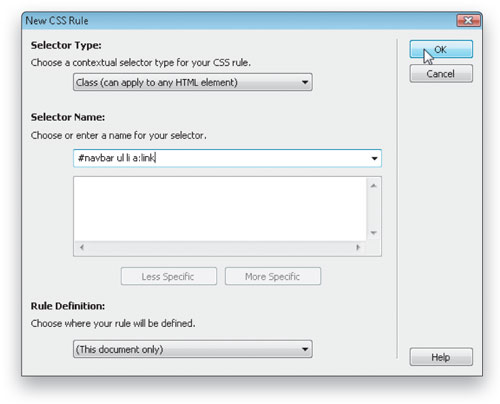
13 [USE COMPOUND STYLES]
If you want to use different formatting options for lists of links on the same page, consider surrounding each list with a div tag that includes an ID style, and then use that ID style as part of the compound list. For example, you could use a div with ID style #navbar around your main navigation links and then a div with an ID style #sidebar around another list you want formatted differently on the page. In this case, you’d create compound styles, such as #navbar ul and #sidebar ul, respectively.