Use a Reflector Effectively for Outdoor Wedding Portraits
[tps_header]
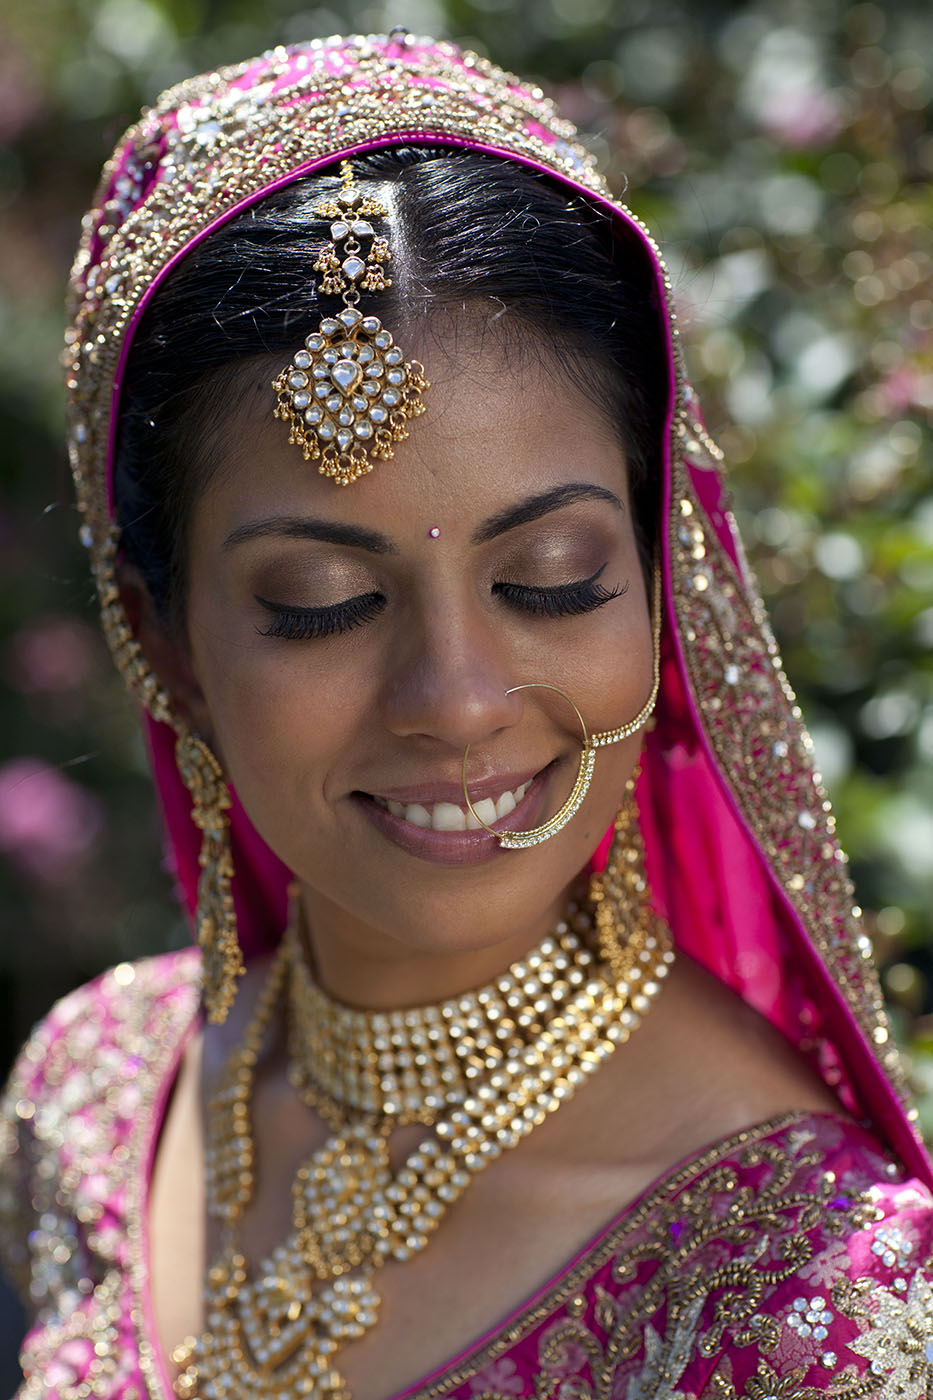
The reflector is one of the most neglected pieces of equipment in our gear bag when it comes to outdoor portraits. It’s also one of the most effective tools we have, and the easiest to use with a little practice. All too often, we’ll run to the security of open shade for our bridal portraits. Why not? It’s easy and fast, right? I don’t like easy and fast.
If I have bright sunlight to work with, the reflector is the first thing I go for. Despite the efforts of all the lighting manufacturers around the world, no one has yet been able to match the quality of light from the sun. Trust me, they’ve done their best but at the end of the day, the sun beats even the most expensive lighting system. The trick is finding the best ways to harness it. It’s all about finding that “sweet spot,” and properly finding the right exposure as your starting point.
[/tps_header]
Step One
This technique uses the sun to backlight your subject and you fill with a reflector. Easy, right? For the most part, yes, but learning how to grab the right exposure in bright sunlight can be tough, especially when you have 15 minutes to do bridal portraits, it’s 95°, and you ask your bride and groom to stand in a parking lot under the sun. Determining exposure is paramount to getting that shot right. First, place your subjects with the sun directly behind them. Grab a quick exposure by setting your camera to aperture priority mode (Av for Canon, A for Nikon). Depending on how bright it is, try to go with the lowest ISO and the widest f-stop you can (e.g., ISO 200, f/2.8). I like to use the evaluative/matrix meter mode all the time, so in situations like this, I’m usually a bit underexposed. That’s okay because you want to be underexposed. Here’s where the tricky part comes in, and this will take some practice.