
Studio Techniques: One Light Photography Tutorial
[tps_header]We all share the same problem, which is we don’t have unlimited amounts of money to buy a million strobes. Thankfully, there’s a lot you can do with just one strobe. When I shoot, I always try to create an image with one strobe and only add a second or third when I really need to.
Too many people underestimate the power of light from their strobes. We frequently see setups with many lights, which I always find puzzling because when I see the results, there are often problems in the image that you wouldn’t have had with fewer strobes. You have to realize that every time you add a strobe (or light source), you’re adding a potential troublemaker. Every light source will create shadows and if you’re not paying attention, this can cause many “wrong” shadows in an image, as well as catchlights in the eyes or backgrounds.
I have no problem with several catchlights in the eyes, as long as they look natural. In nature, there are a lot of reflective areas and when shooting outside and zooming in on the eyes, you can often see many catchlights; however, remember that those look totally different than two rectangular softboxes.
My motto for teaching people to work with light has always been, “When you think you need two strobes, do it with one. When you think you need three strobes, do it with one and only add a second when you really need to.” Now I hear you asking, “I also want to light my background, so how can I do that with just one strobe?”
[/tps_header]
Setup One
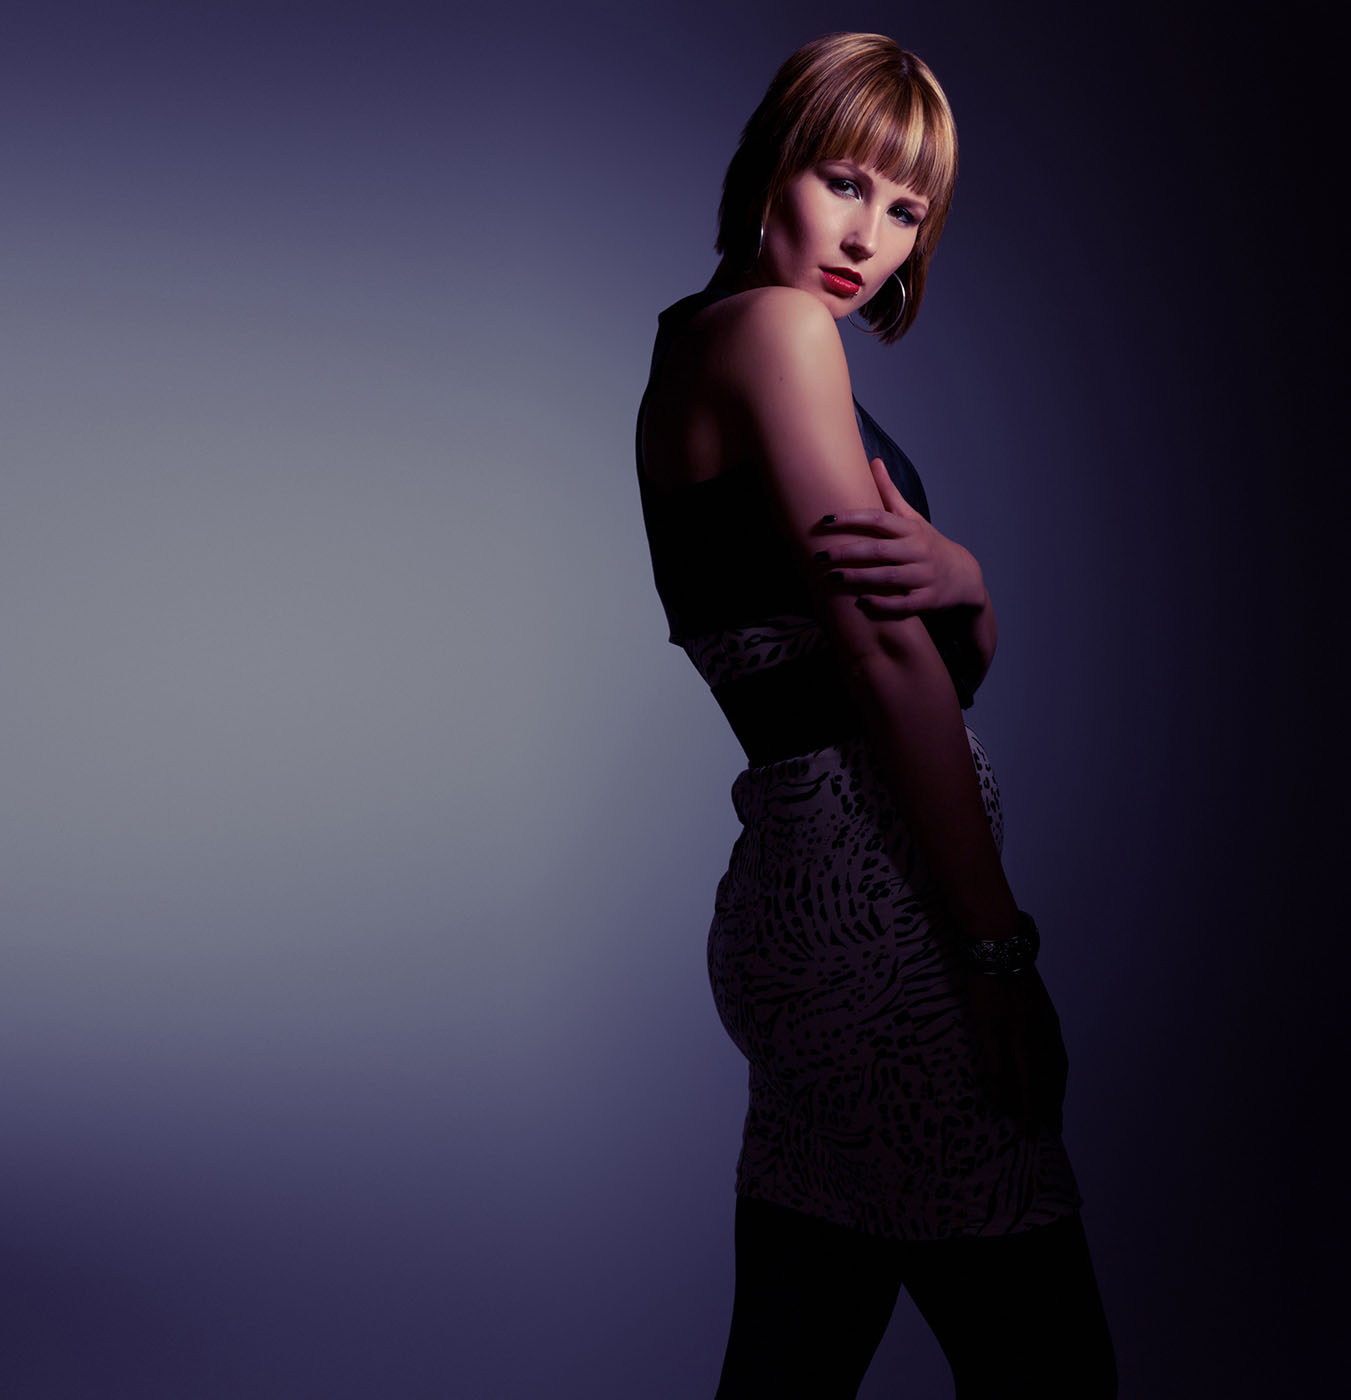 In this setup, I used an Elinchrom Maxi Lite with a honeycomb grid. By placing the model close to the background and aiming the Maxi Lite slightly toward the background, you can create a very powerful setup. It looks like the background is lit by a second strobe, when in reality, there’s just one strobe aimed at the model. By changing your position, you can change the gradient on the background. By moving slightly to the right and angling the shot, you can add more light areas around the model. By moving to the left and angling the shot, you create more dark areas. Playing with this movement, you have a very powerful addition to your arsenal of tips and tricks and can create many different looks within seconds.
