Portrait Lighting: Taming the Sunlight
[tps_header]Photographing outside on a sunny day can be a challenge when trying to tone down the direct sun on your subject. I like to shoot with the direction of the sun in order to get a nice blue sky and be able to use the sun as my main light. My favorite type of available light is when it’s sunny with a light cloud or haze in front of the sun. I call this type of light directional diffused, as it still produces soft light with direction to it. An overcast day also produces beautiful light; however, the lighting patterns or shadows on the face aren’t as distinctive—what I call fully diffused.
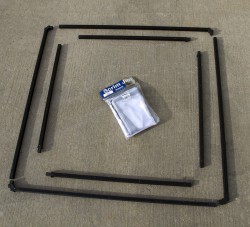 When photographing in direct sunlight, I prefer to use Scrim Jim diffusers in different densities and sizes to control the highlights and shadows of my subject. In a way, these diffusers simulate the cloud thickness in front of the sun. (Scrim Jim is a modular, lightweight aluminum frame to which you can add sections to build sizes from 42×42″ all the way up to 96×96″.)
[/tps_header]
Step One
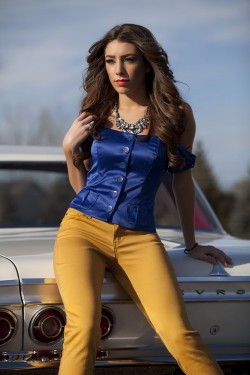
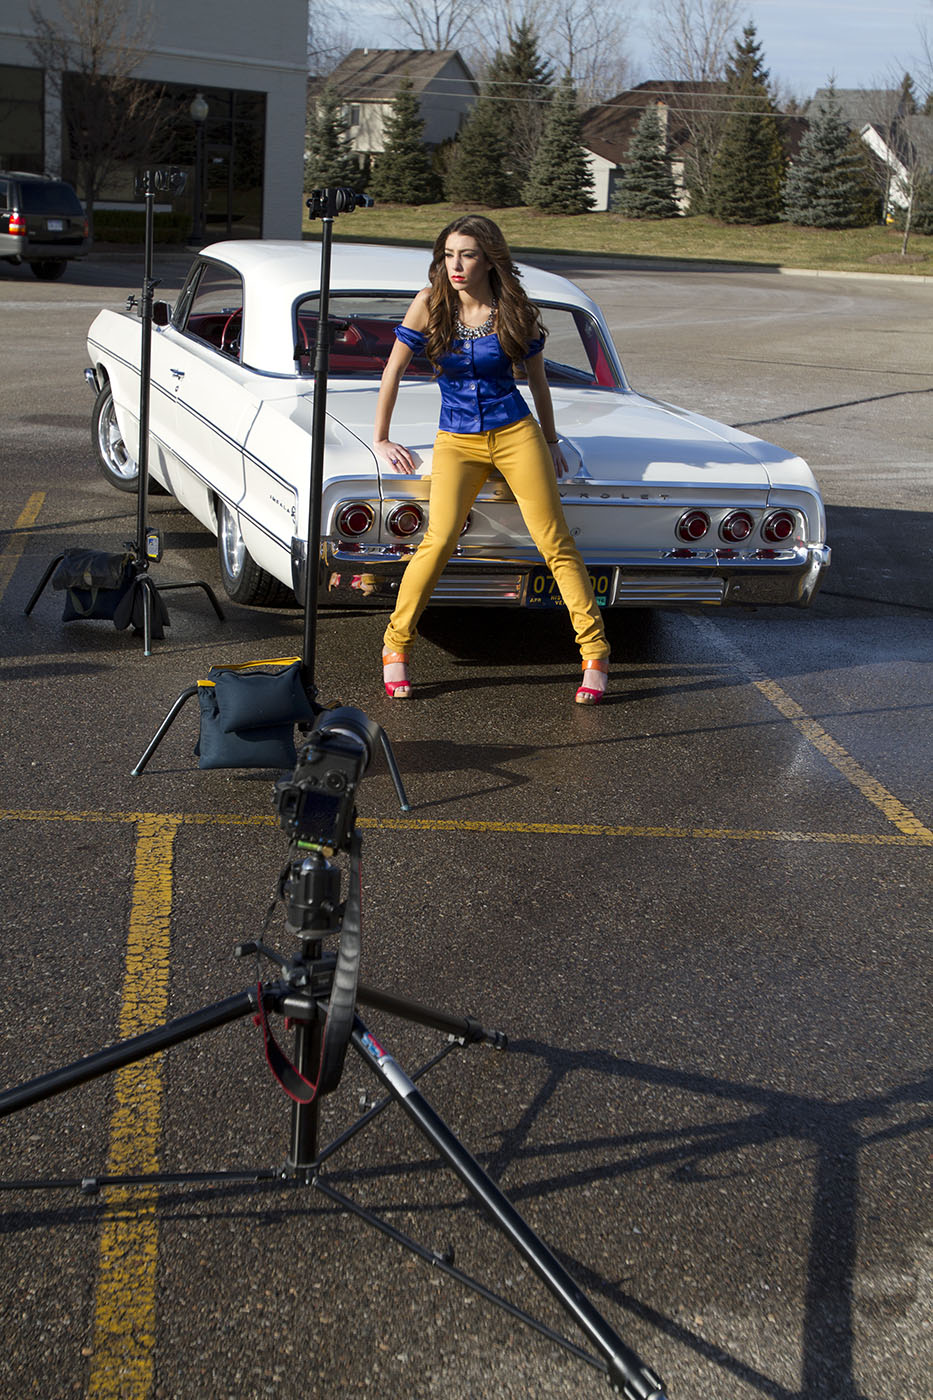 We began by adding water to the ground to help tone down the light, hide imperfections, and produce shine. Positioning the back of the car toward me to use as a prop, we then placed two C-stands with weight bags just outside our frame. (These will later hold the Scrim Jim frame.) Next, we brought in our subject and positioned her so the direct sun would make a loop shadow from her nose. Notice the direction of the sunlight creating beautiful shadow patterns on the face—but the raw sun is too harsh.