
On Location Photography Tutorial: Jailhouse Blues | KelbyOne
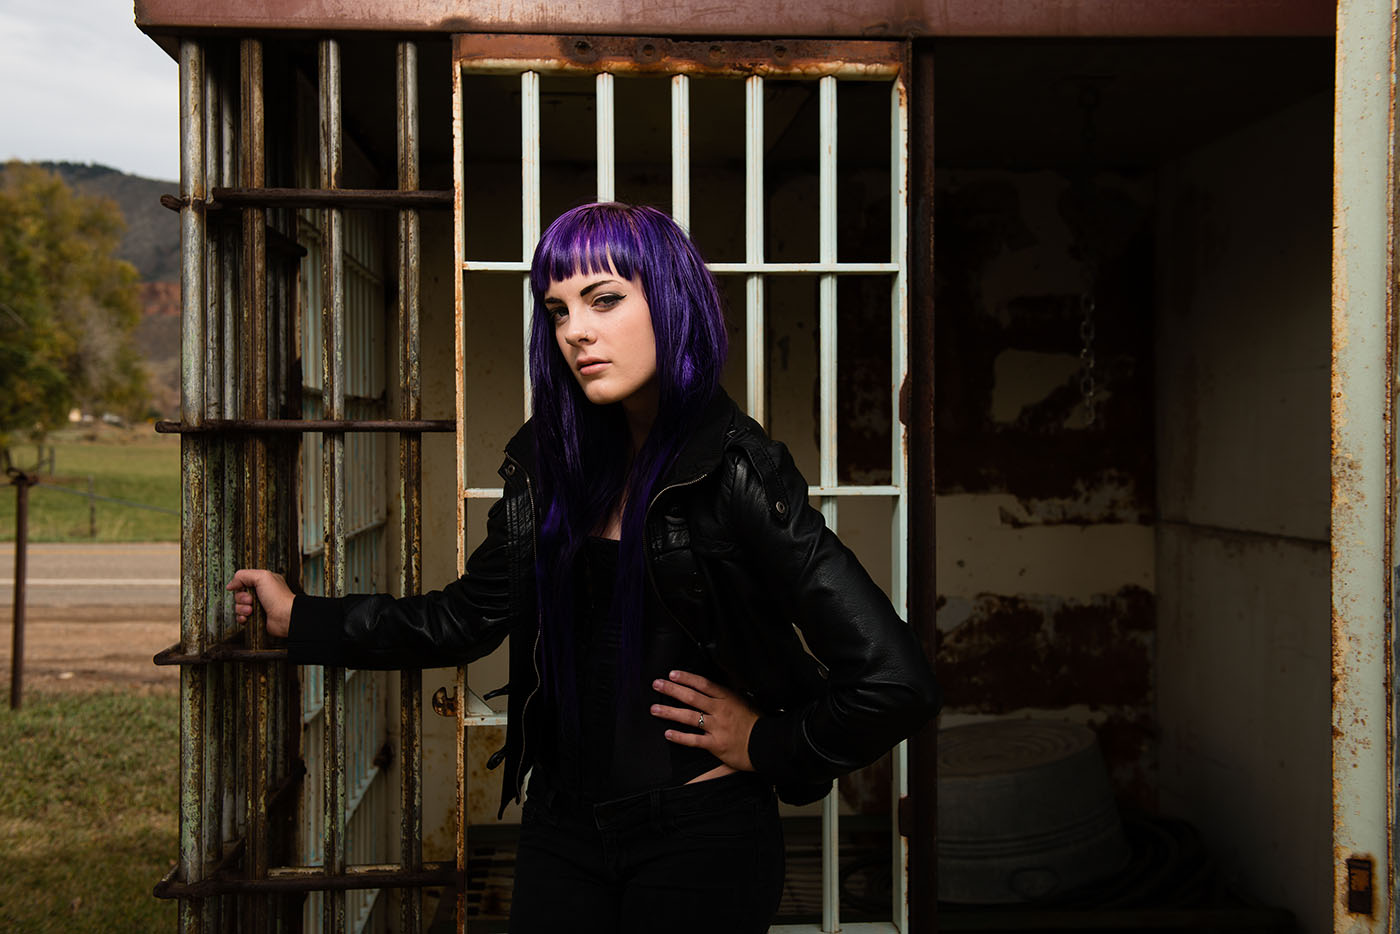
I’ve scoured all of northern Colorado looking for interesting locations, aimlessly driving down dusty back roads to nowhere. Rusty trucks, pristine meadows, and red barns aren’t hard to find, but we were lacking gritty, urban scenes until we found a deserted maximum-security prison cell. Sometimes you just get lucky!
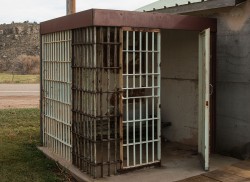
Imagine my surprise when I came around a corner in ranch country to find a solitary prison cell standing in a field. I did a double take! Was this real? The rancher working nearby confirmed that it was. He liked to collect things (big things), and he hauled this cell into his field because he thought it looked interesting. This was my dream come true! He gave me permission to shoot the cell, and also offered to let me plug my lights into the outlet nearby.
Step One
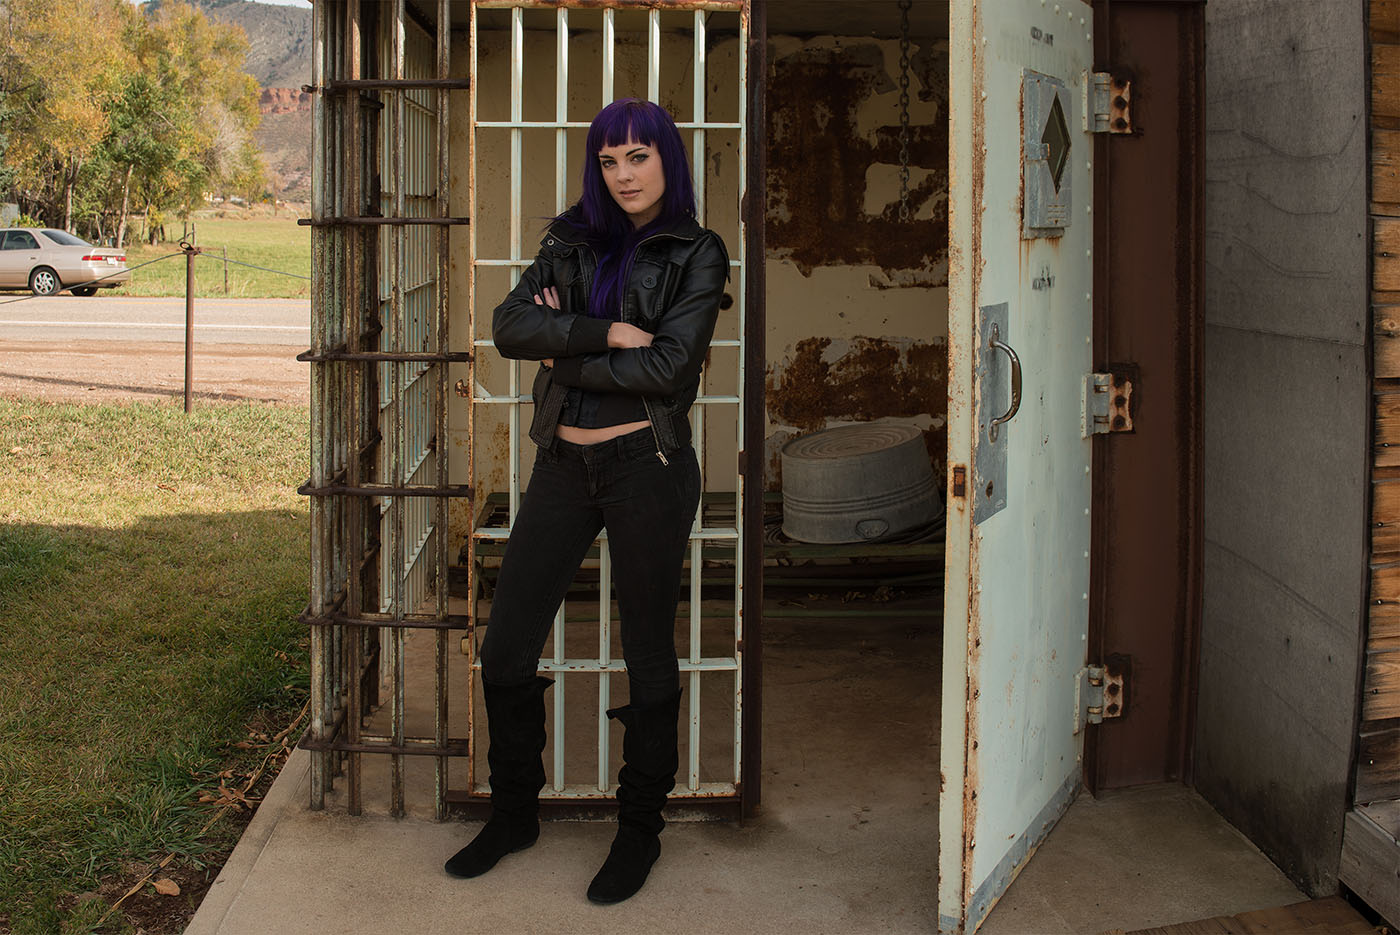
First step: Find a good location. Check. Next step: Find an appropriate model. I contacted Courtney, an “alternative” model with purple hair, body art, and piercings. Courtney could bring her bad-girl style to the equation, and she’d look terrific behind bars (figuratively, of course).
First step: Find a good location. Check!
Next step: Find an appropriate model. Check!
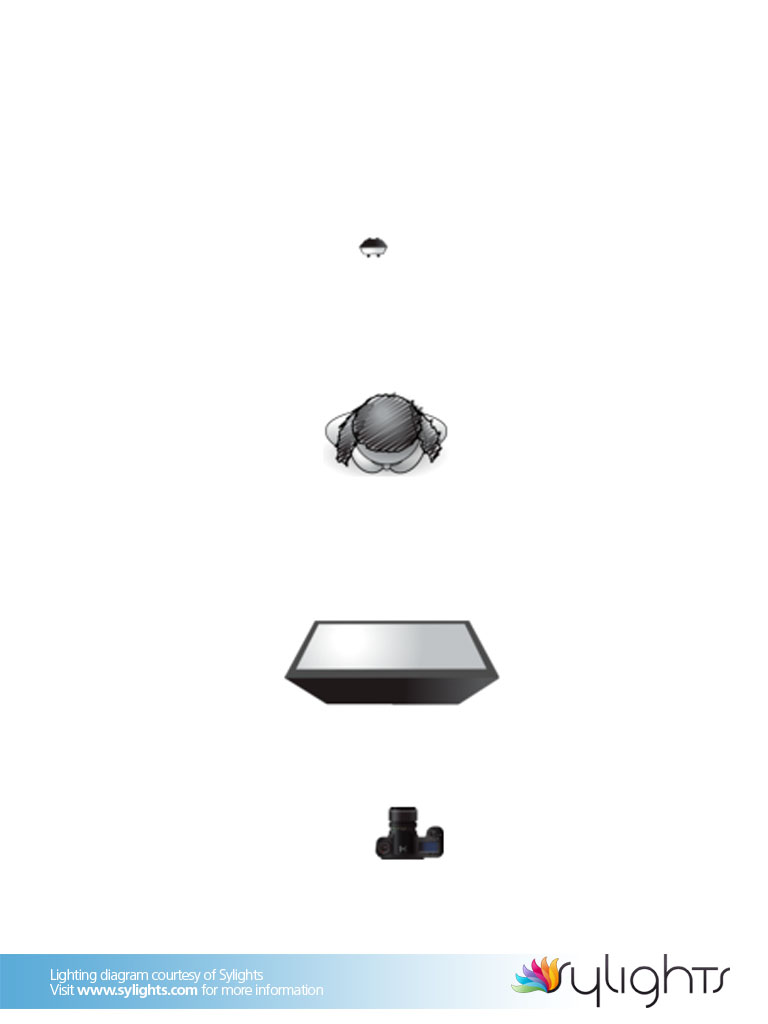
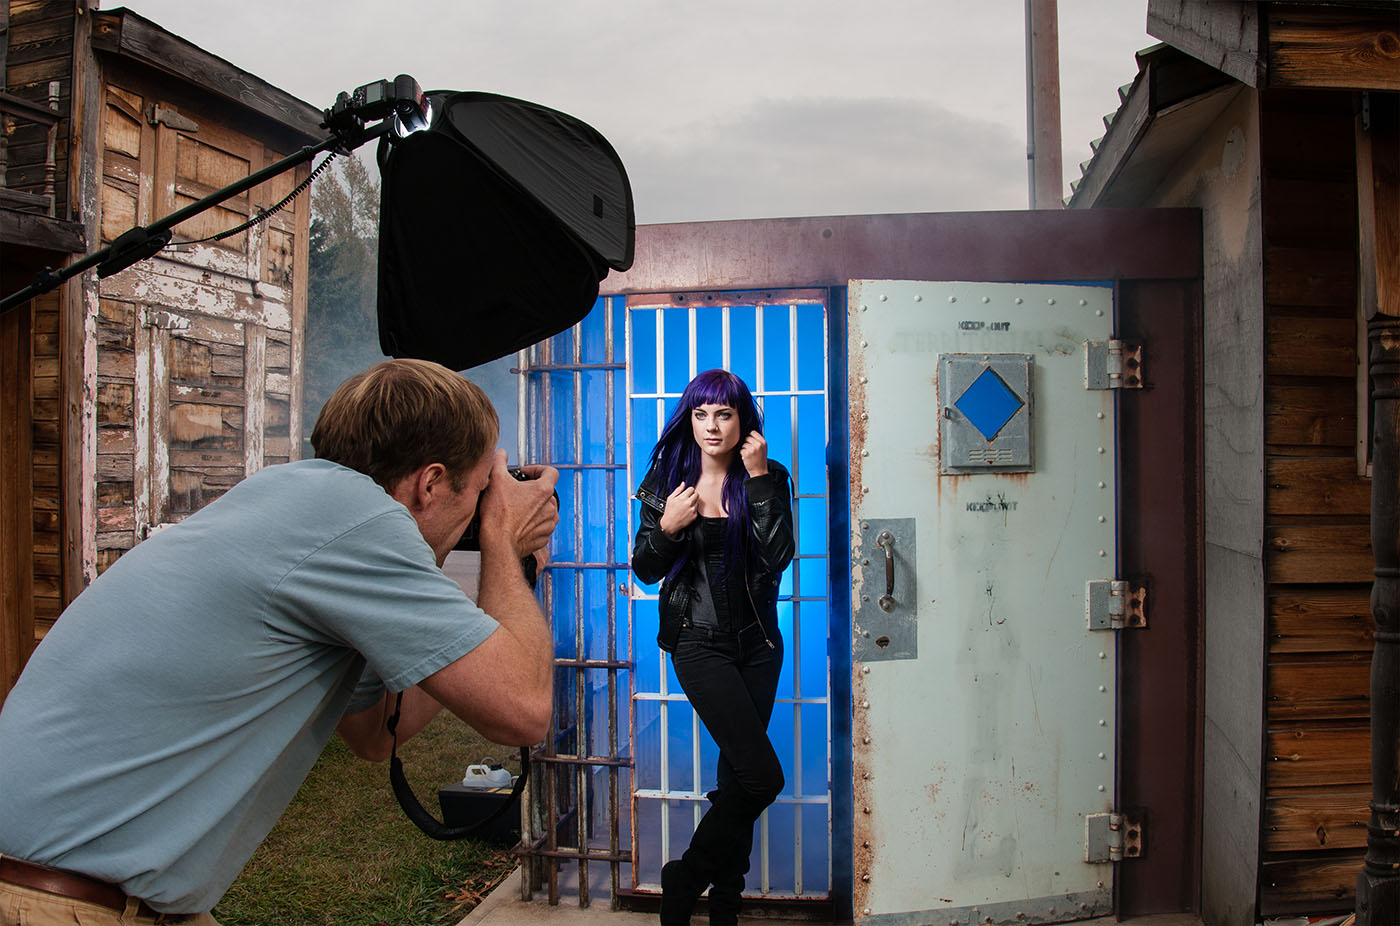
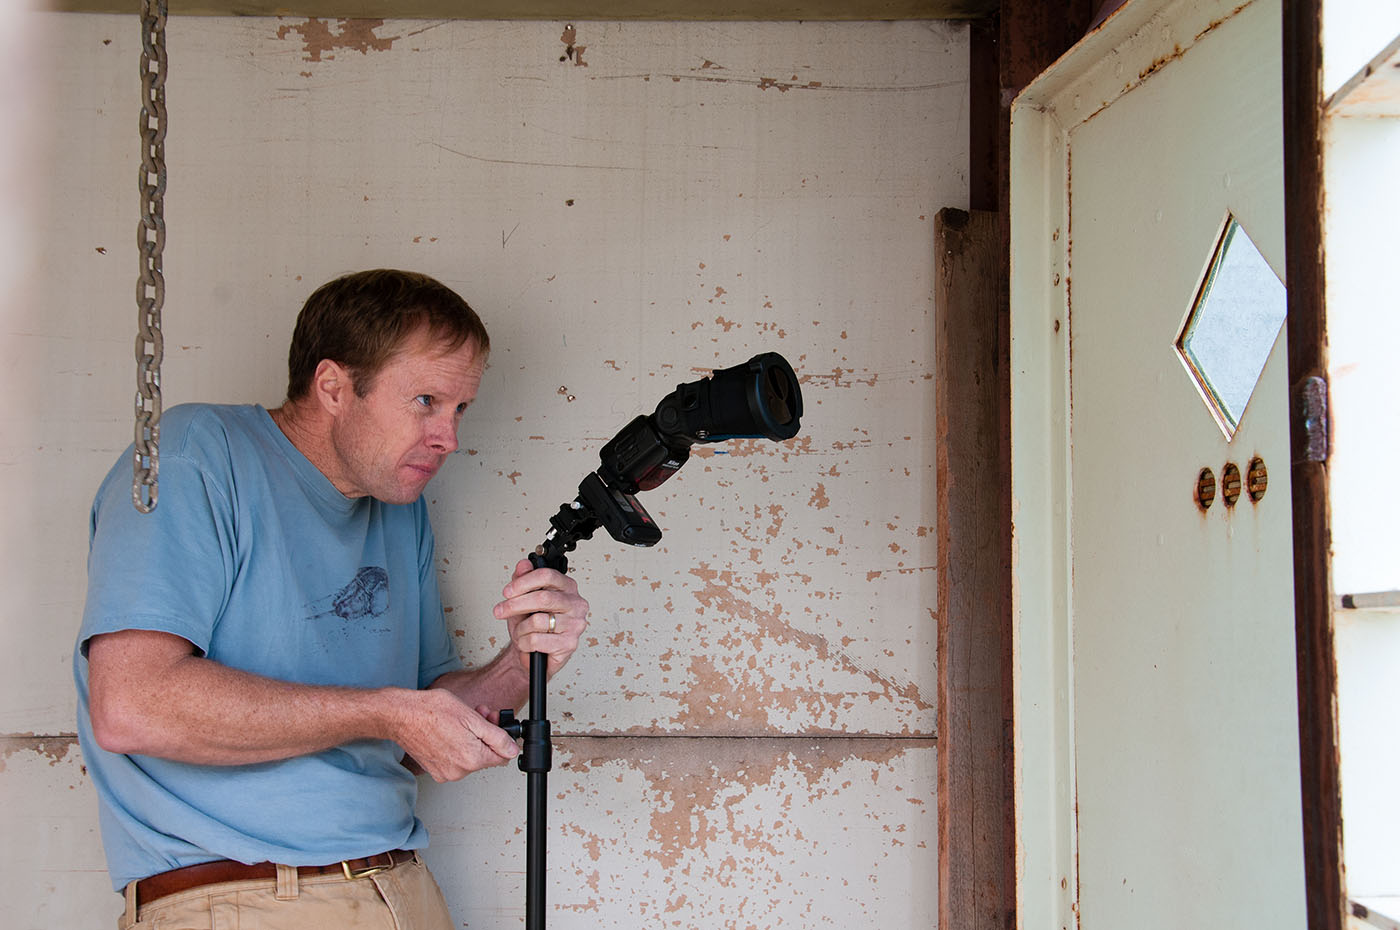
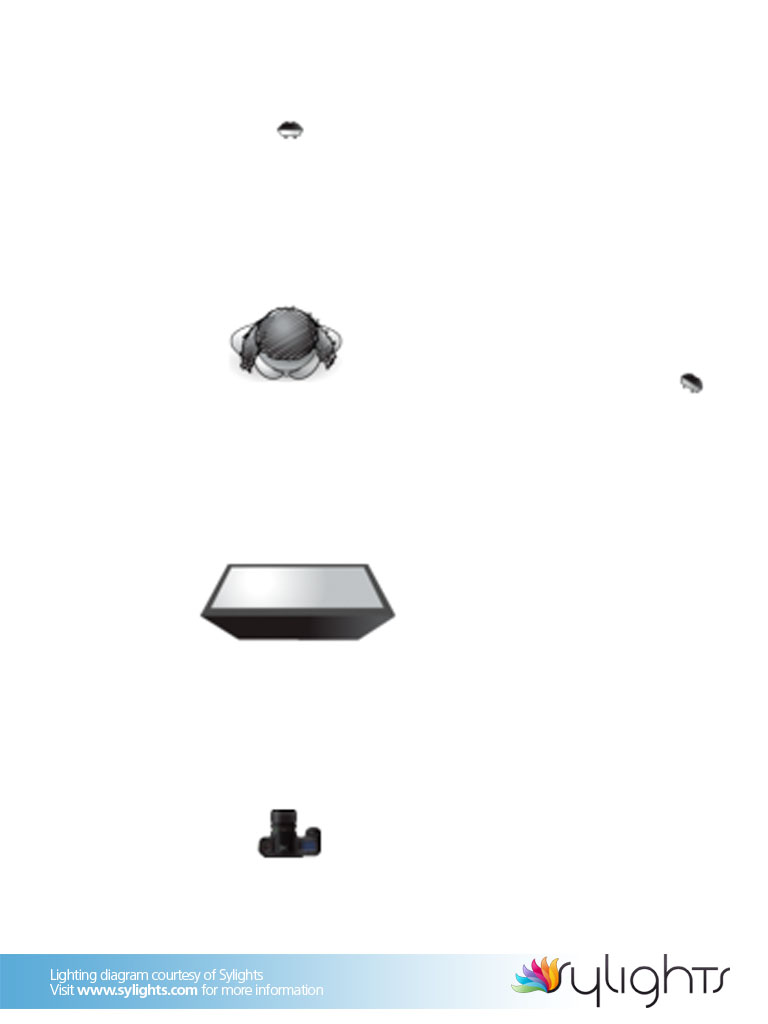
We arrived in overcast, muted skies—great for small-flash shooting. I didn’t need tons of power for this shot, just some selectively placed lights to bring the scene to life. I decided to shoot in Manual mode on my Nikon D800, and underexpose the daylight about 1.5 stops. The scene was small, and my Nikon SB-900 Speedlights would be the only illuminating source. I started my lighting setup with an SB-900 shooting through a 24″ Lastolite Ezybox. The Ezybox was attached to an overhead boom arm above and slightly in front of Courtney. Already things were looking really good.
Step Two
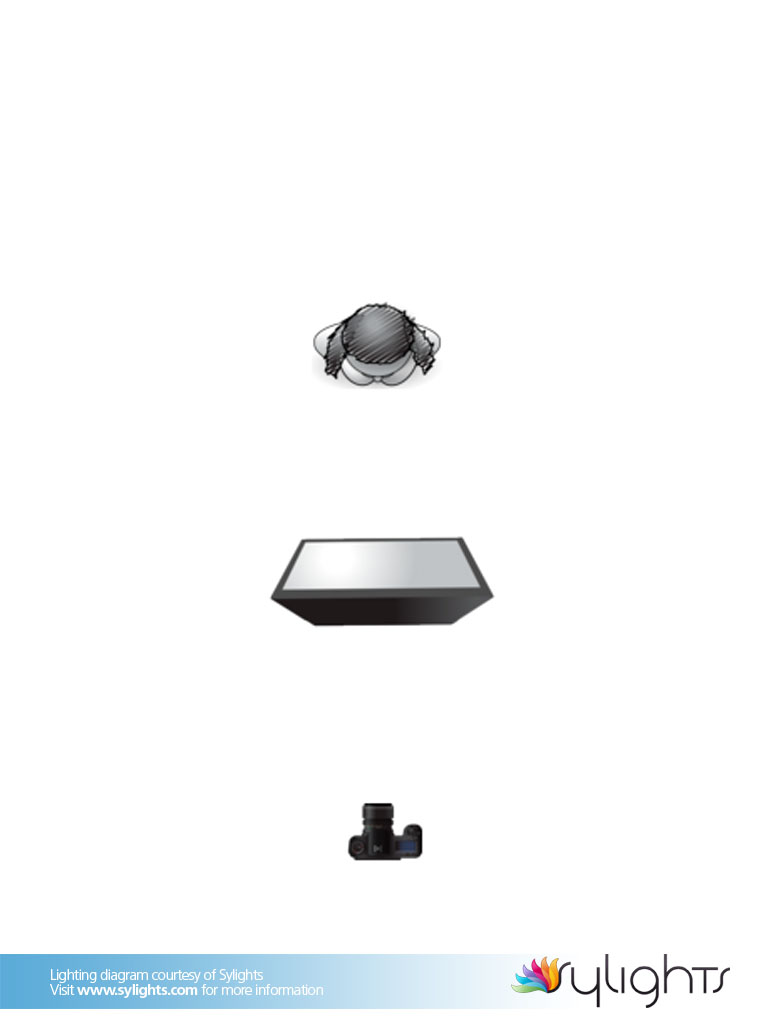
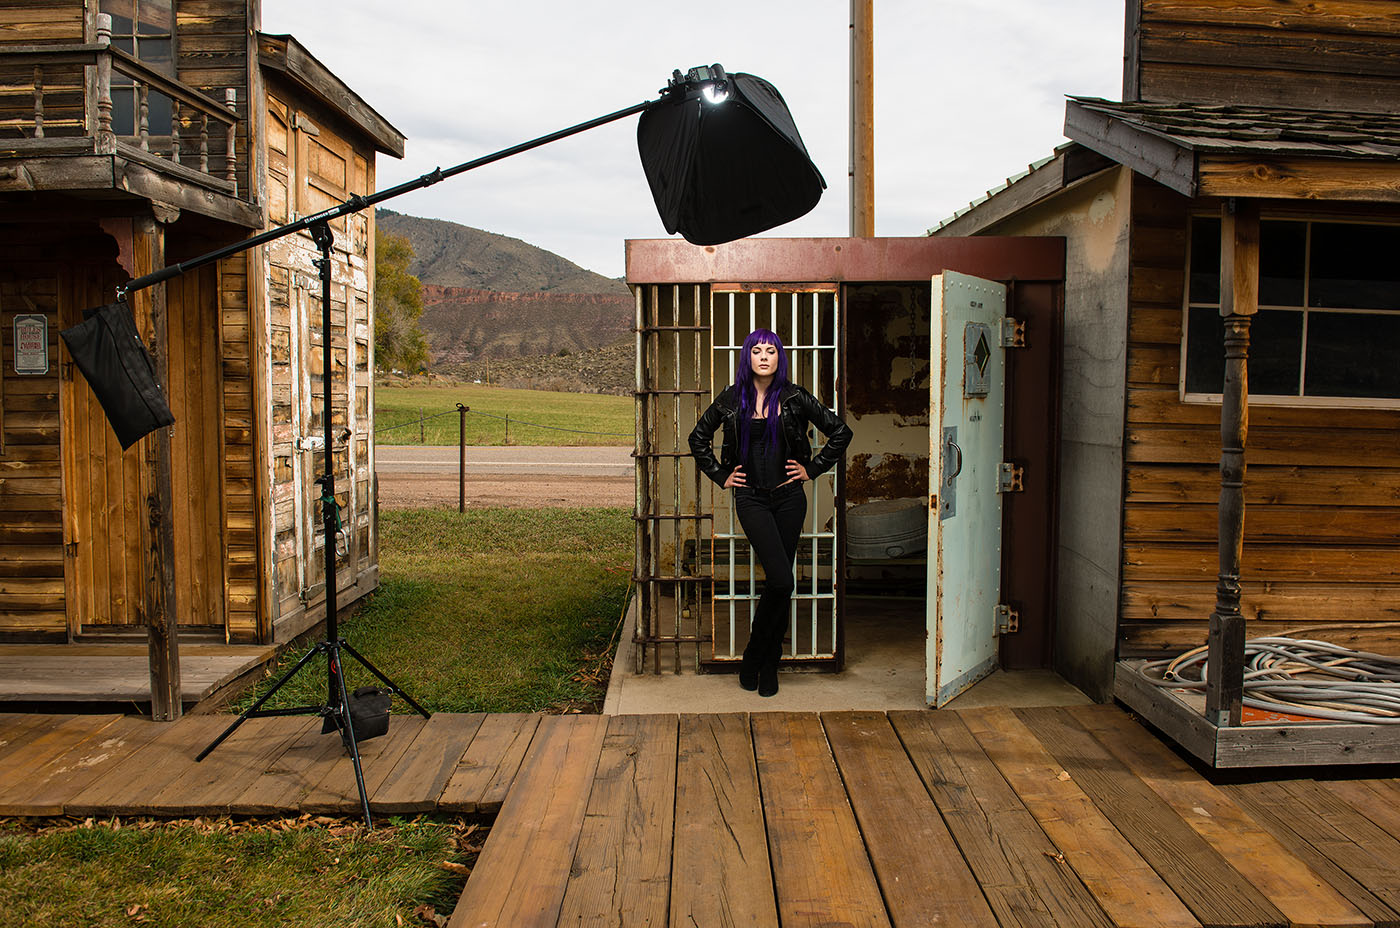
Since my SB-900 was really cranking out the power to shoot through a softbox, I decided to add a Nikon SD-9 Battery Pack to speed up recycle time and increase battery life. I also removed the front diffusion panel to give the Ezybox an edgy look. (I often take off one or both diffusion panels when using softboxes because this produces stronger shadows with the light, and approaches a beauty-dish look.)
Another item I can’t live without is the simple Avenger D600 boom arm. This extendible boom arm attaches to any light stand, and works great with small- to medium-sized strobes and softboxes. Courtney was looking good but upon reviewing the images, I saw that the prison cell interior was dark. Time to fix that problem.
Step Three
 I needed to light the interior, and then add some accent light to Courtney’s amazing purple hair and the prison bars. Out came a second SB-900 flash, which I placed in the jail cell behind Courtney, but I quickly found out that the muted sun was interfering with my SU-800 Commander’s communication with my flashes.
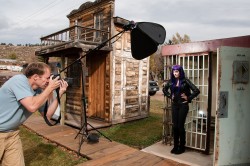
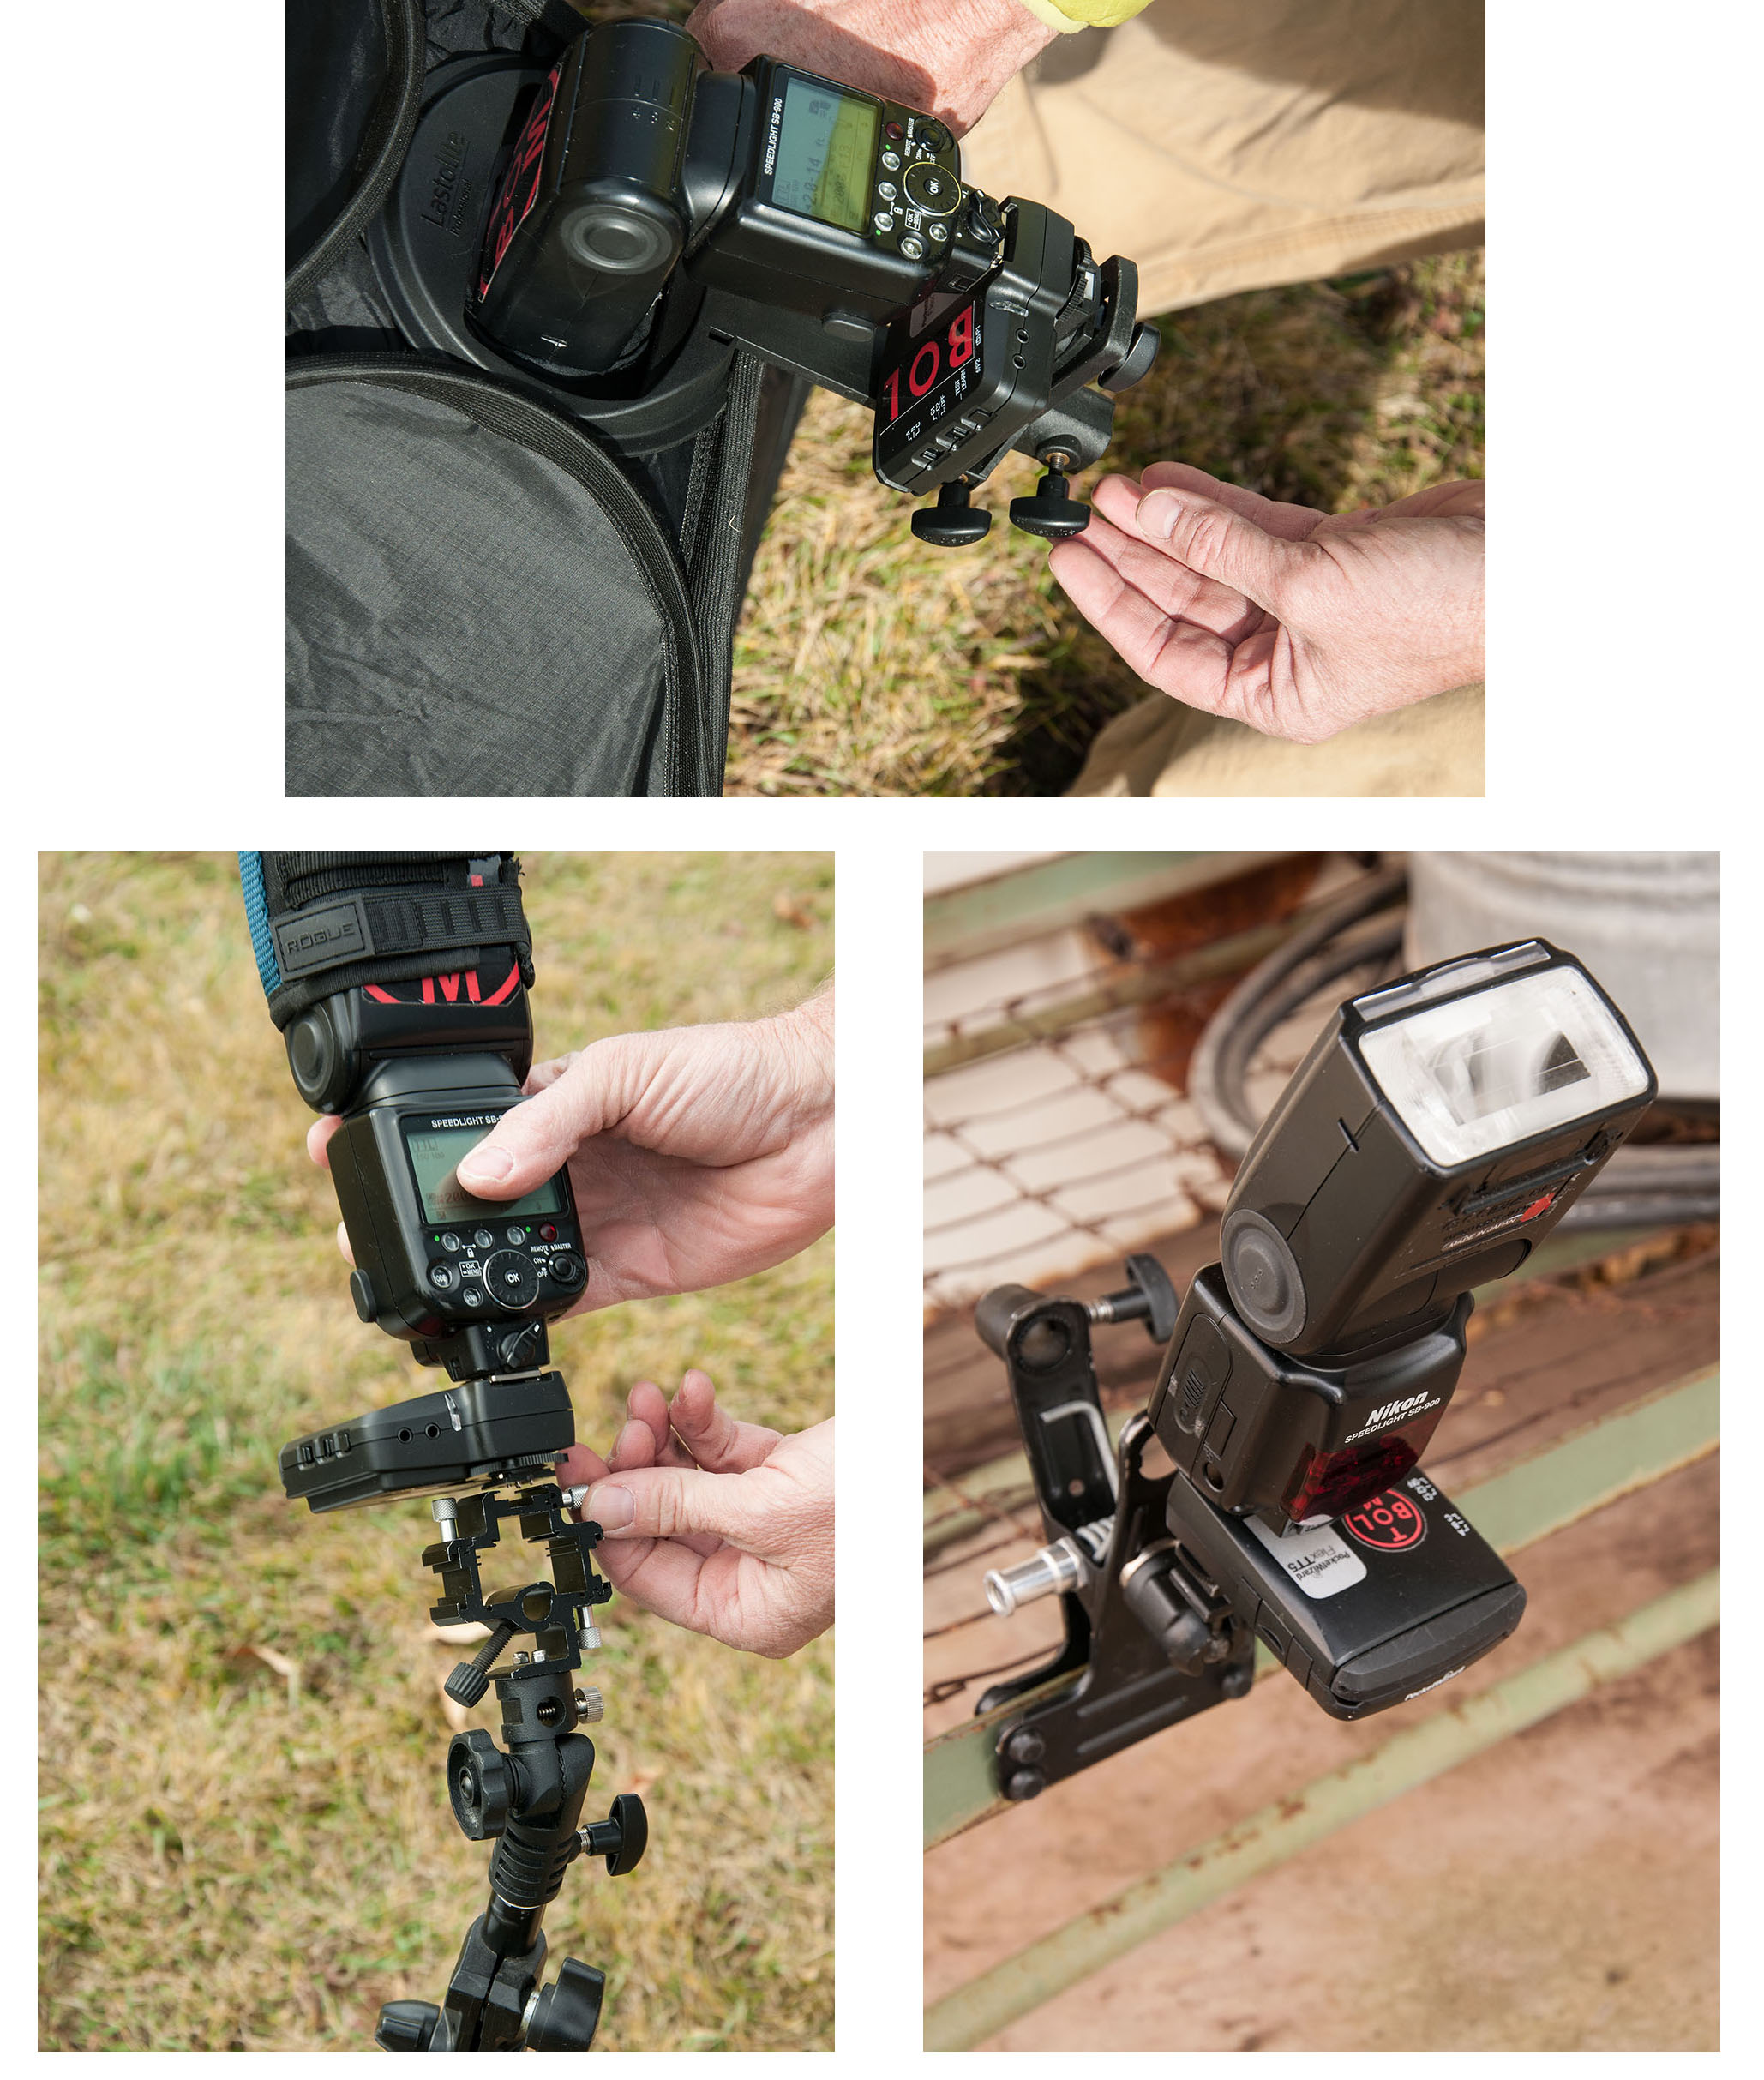
To solve this problem, I attached PocketWizard FlexTT5 transmitters to my flashes and the MiniTT1 to my camera, changing my SU-800 signal from optical to radio. Using this system, I can shoot in full sun, around doors, and even trigger flashes a quarter-mile away. I attached the flash to a cot in the cell using a Justin Clamp, and set the Group to B. With my main light set to A, I had two independently controlled lights at this point.
Step Four
 I decided we needed to add a little “prison-break” flavor to the shot; maybe a little smoke in the jail. As I had AC power about 40′ away, I plugged in my Rosco fog machine, and had my assistant add some smoke in the jail cell. This fogger is industrial strength (my favorite holiday is Halloween when I fog the entire neighborhood), so we had to add short bursts of fog, otherwise Courtney would be coughing throughout the shot.
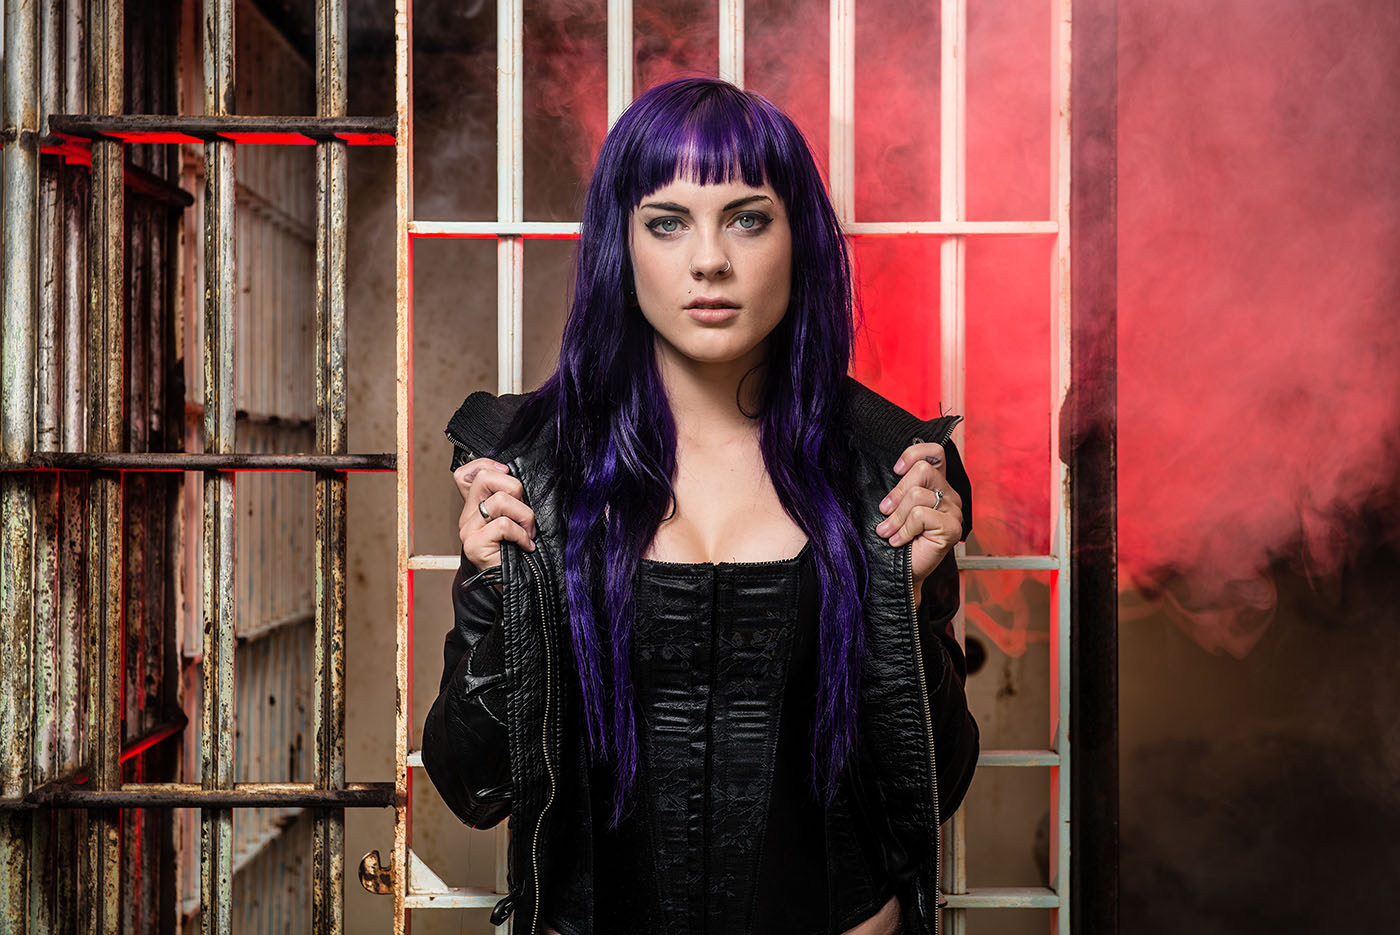
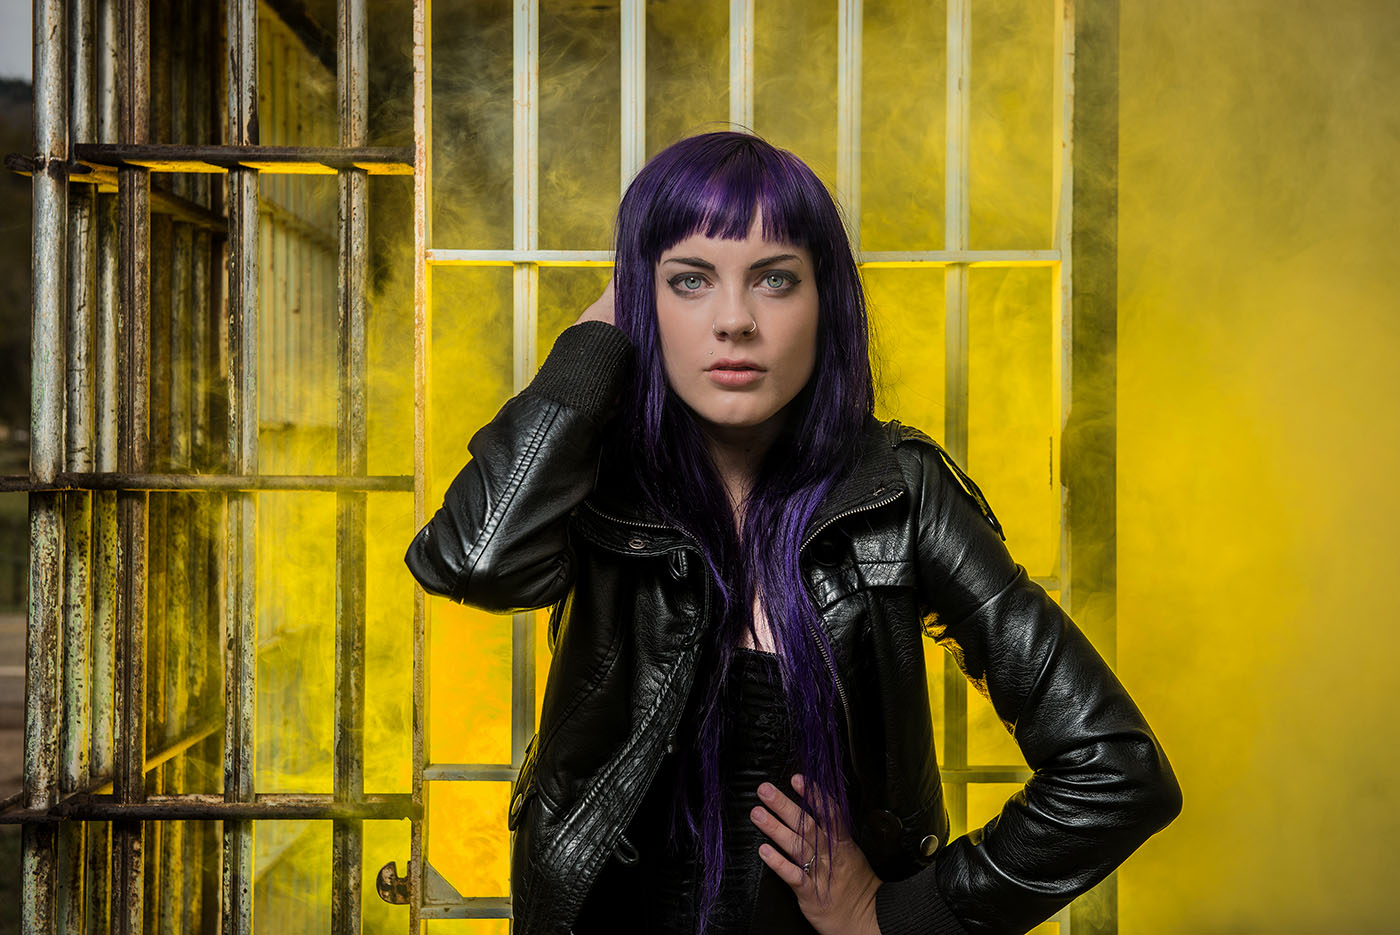
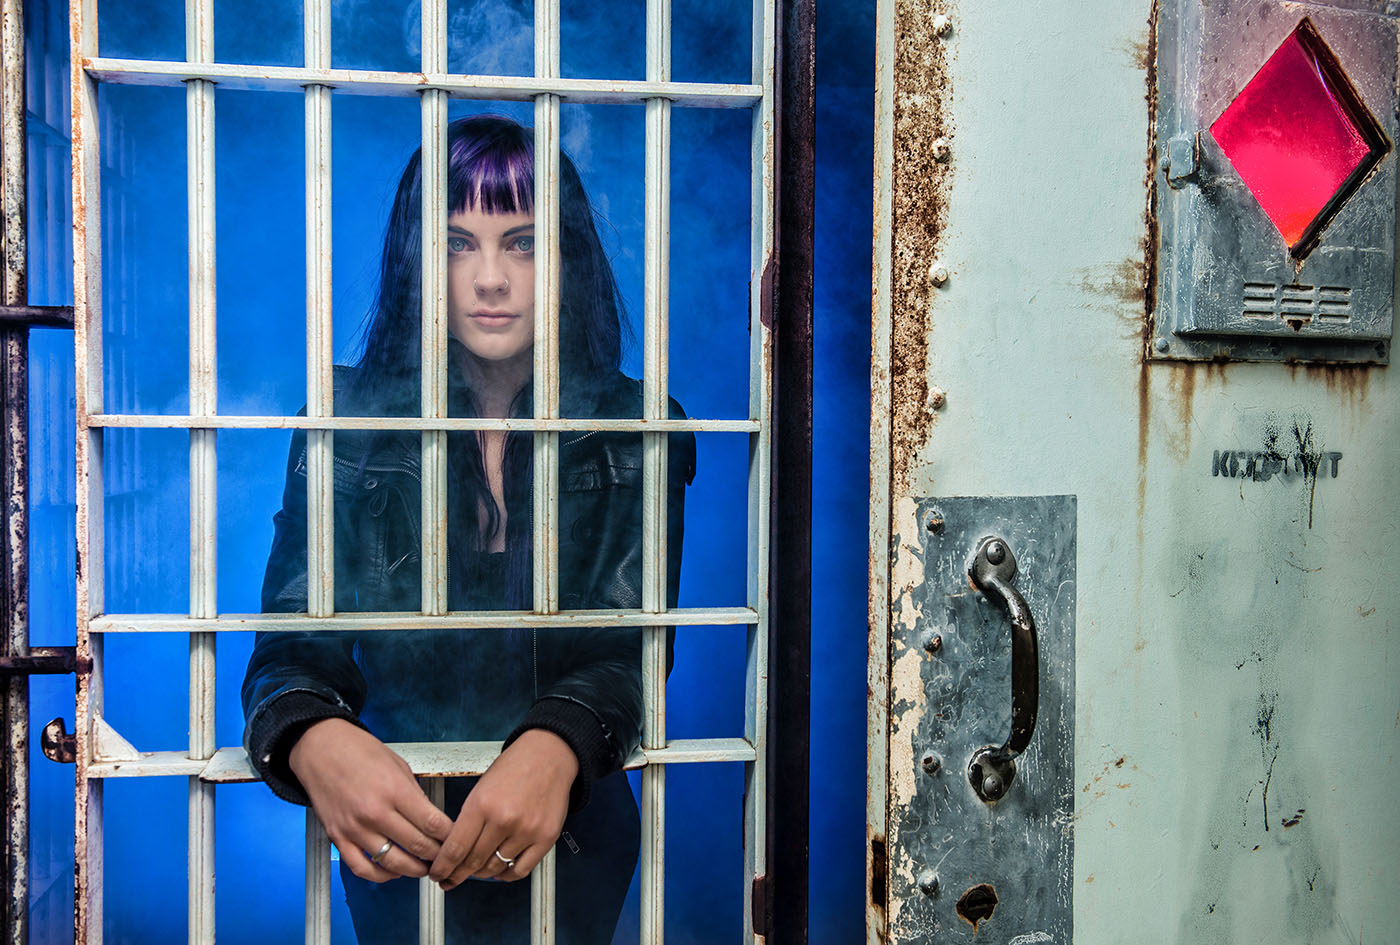
The SB-900 illuminated the smoke inside, dramatically changing the shot. It looked good, but we decided to experiment using a variety of colored gels on the flash inside the cell. Red and yellow looked a little gaudy, so we went with a blue gel for the smoke. Courtney was in her groove, smoke was billowing everywhere, and flashes were popping. Could it get any better than this?
Step Five
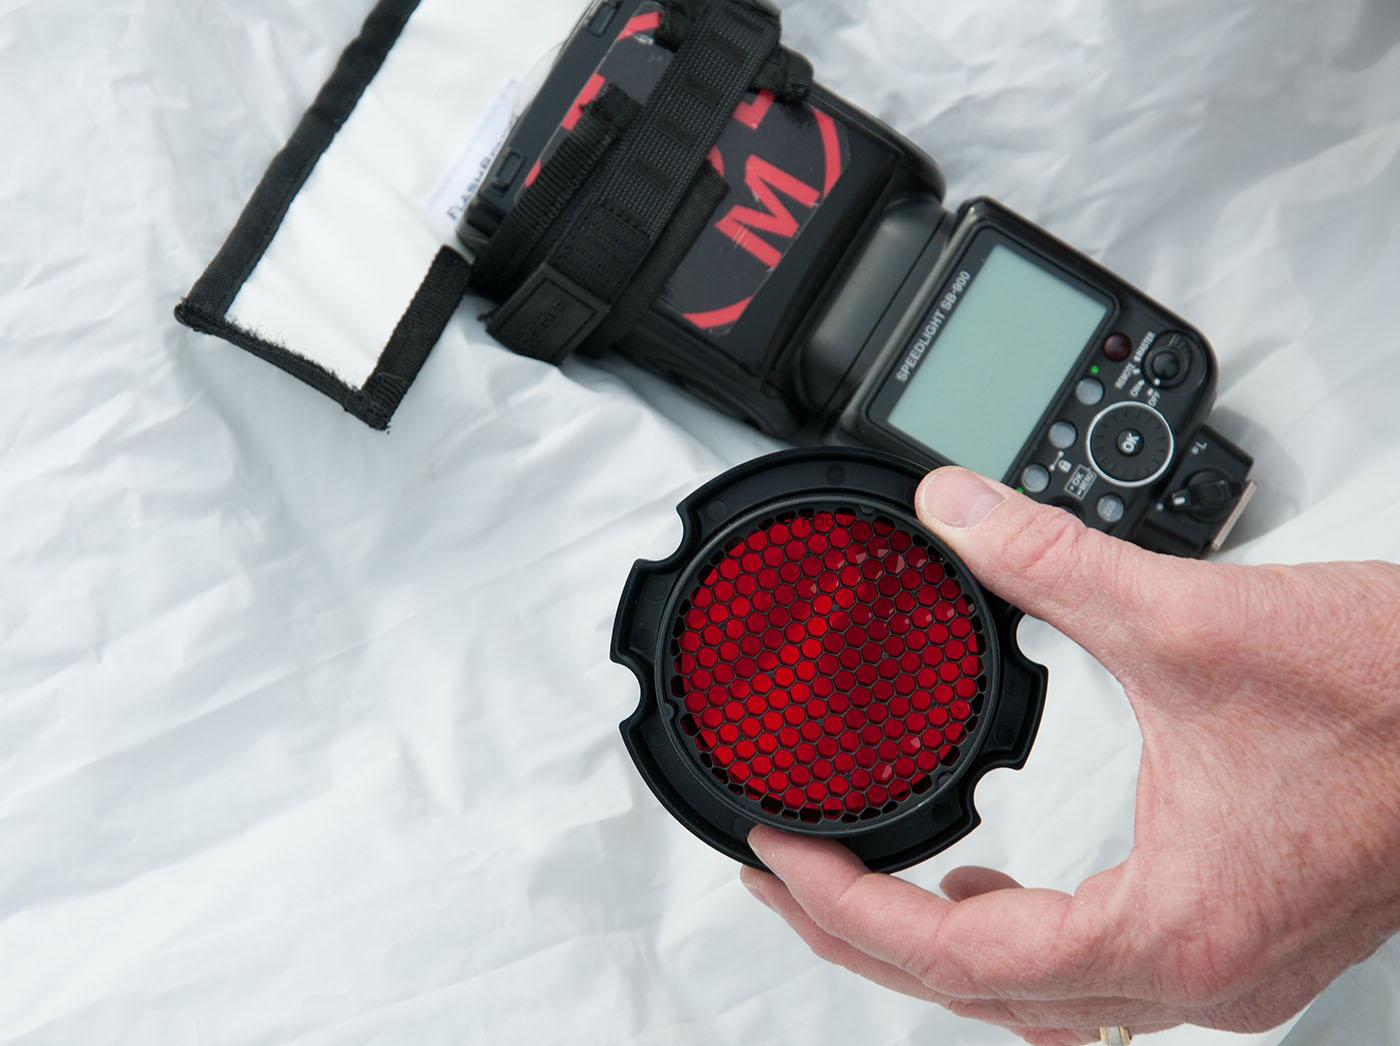
I noticed how the cell door had a small window that was going black, so I added a third SB-900 with a red gel to the shot to illuminate the window. I put a Rogue Grid and red gel onto the flash, and hid it behind the door. Then, I used another PocketWizard FlexTT5, set to Group C, to trigger this flash. Even though the flash was out of sight, the radio signal triggered the flash every time.
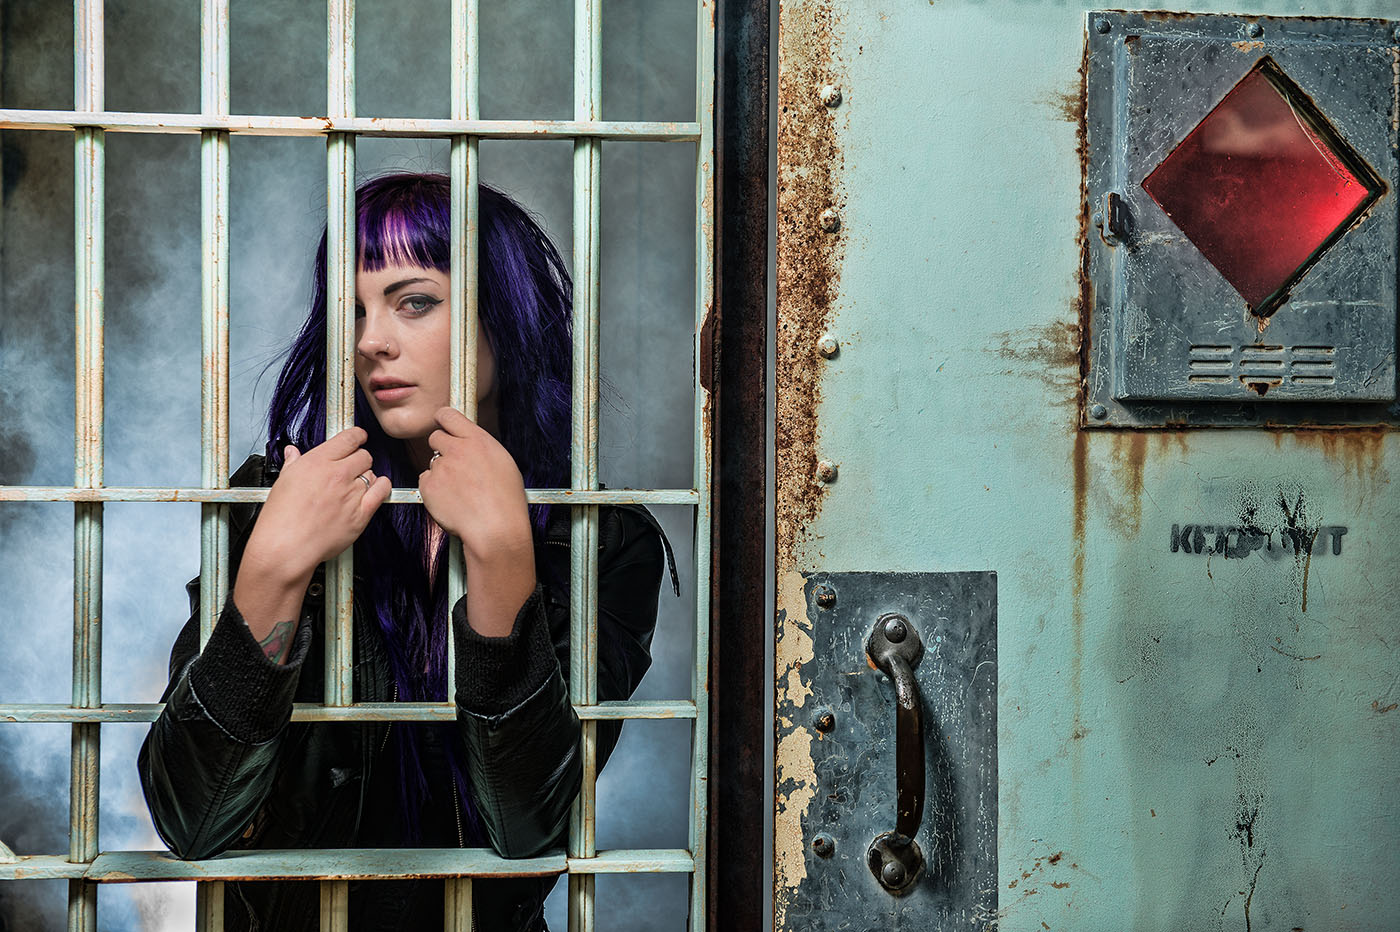
We kept adjusting our overhead Ezybox light during the shoot to minimize shadows in Courtney’s laser-green eyes, which pierced through the smoke. Tip: The eyes are critical on every shoot, so no matter what else is going on, check your subject’s eyes for sharpness and illumination.
Step Six
 At this point, our smoke machine was creating a trail of smoke across the entire field. I was sure we were going to attract attention, but this jail cell was in the middle of nowhere and we just kept shooting and shooting with no one else around.
I ended up doing some closeups of Courtney’s face and eyes, reducing the jail cell ambience, but focusing on her striking features. I always stay open to my intuition during a shoot, and stay flexible in what I capture.
I used Topaz Adjust 5 to add some grit and texture on a few of the final smoky images. Courtney’s “jailhouse blues” were in fine form, and we got the shot.
We hope you liked this on location photography tutorial from Tom Bol. Check out the rest of Tom’s tutorials and travels to find some great locations to walk you through. We have lots of tutorials to help you get a certain look from your images to add that final touch or perhaps to retouch your image. Try this one or maybe join KelbyOne to view this awesome Beauty Retouching course from Scott Kelby.
