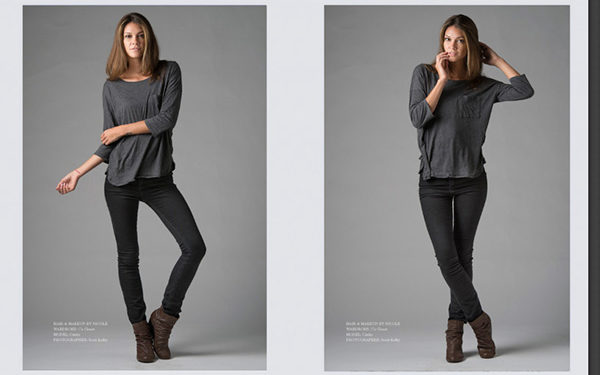
Excerpt from The Adobe Photoshop CC Book for Digital Photographers (2014 Release)
You see color toning and film-look effects just about everywhere you look these days in fashion photography, and you can recreate this look using Photoshop's built-in Color Lookup tables (they instantly remap the colors in your image to create some pretty cool color effects, inspired by the lookup tables used in movie making and video). There aren't a lot of controls to play around with—most of these are pretty much "one-trick ponies," where you choose a look and you either like the effect or not—but what's nice is it's available as an adjustment layer, so you can control the amount of toning (or just tone the background using the built-in layer mask).
Step One:
Open the photo you want to apply a Color Lookup effect to. Then, go to the Layers panel, click on the Create New Adjustment Layer icon at the bottom of the panel, and choose Color Lookup from the pop-up menu (as shown here), or you can click on the last icon in the second row of the Adjustments panel. This opens the Color Lookup options in the Properties panel (shown here). There are three different sets of effects, and you make your choice from any of the three pop-up menus (you can only apply one at a time, but you can add multiple adjustment layers if you really feel you need to stack two).

—CREDIT: SCOTT KELBY


Step Two:
Let's start with the top one: Click on the pop-up menu to the right of 3DLUT File, and you can see there's a long list of "toning looks." Everything from B&W to Traditional Film looks to split toning. Here, I chose Soft_Warming.look (I recommend you try them all out because, depending on the image, they can look very different). At this point: (1) if the effect seems too intense, you can lower the layer's Opacity; (2) you can change the layer's blend mode to control how this effect blends with the image on the layer below it; or (3) you can press Command-I (PC: Ctrl-I) to Invert the layer mask, which hides the effect behind a black layer mask, then take the Brush tool (B) and, with your Foreground color set to white, just paint the effect right where you want it to appear.


Step Three:
Now, let's go to the next set down in the Properties panel: Abstract. Click on the pop-up menu to its right to see all your choices. Here, I chose Cobalt-Carmine, which I think is another good choice for this image. Note: There are a few effects that have extra options. For example, from the 3DLUT File pop-up menu we used in Step Two, choose NightFromDay.CUBE and some new options appear at the bottom of the Properties panel. Since they're radio buttons, all you can do is choose one button on the left and one on the right, and as you click on them, they create variations of the look you chose. Also, there are a few handy buttons across the bottom of the Properties panel: The one I use the most is the Eye icon, which toggles the Color Lookup adjustment layer on/off (and saves you a trip up to the Layers panel). If you click on the first icon from the left, it makes the effect only affect the layer directly below it (and not all the layers below it, like normal). The next icon over (the eye with an arrow) is a before/after, which is pretty similar to turning the layer on/off with the Eye icon. The next icon (the curved arrow) just resets the entire panel to its defaults.


Step Four:
Let's try the last set, called "Device Link," and you can see its choices here (from the pop-up menu). I chose RedBlueYellow to get the look you see here. One last thing: If you choose the top choice in any of these pop-up menus, it opens an Open dialog, so you can load a profile. However, these aren't easy to find (I don't know anyone who has one outside of people working in movies), so just hit Cancel if that dialog appears (since most folks don't have these, it makes you wonder why it's not the last choice in each menu, right? Don't get me started).


Learn how to do more in Photoshop CC (2014 Release) here: http://kel.by/Zim7Wz.

