Enhancing Dreamweaver with New Extensions

Janine Warner shares some tips for extending Dreamweaver’s capabilities by installing new extensions into the program.
Even with all the cool features in Dreamweaver, there will almost certainly come a day when you want to do things that Dreamweaver can’t do with the features that shipped with the program.
Fortunately, the programmers who created Dreamweaver made it possible for other programmers to add features using the Extension Manager. The result? You can add new functionality by adding extensions from a variety of third-party sources.
You can find extensions that do everything from add Flash buttons to Fly-Out Menus to full-featured shopping cart systems. As you consider the many extensions available, remember, many of them are great, but they don’t all enjoy the same quality control as Dreamweaver. When you visit the Dreamweaver Exchange site, you’ll find reviews and rankings to help you sort through the best options. Do keep in mind that not all of the extensions out there are well supported. They’re not all free either. Some cost hundreds of dollars, but most are in the $20 to $50 range.
In this lesson, I’ll walk you through the steps to find, download, and install a free extension that adds Flash buttons to Dreamweaver. Although, how the extensions work once they are installed can differ dramatically, the basic process of adding them to Dreamweaver is nearly the same.
STEP 1 Visit the Dreamweaver Exchange Site
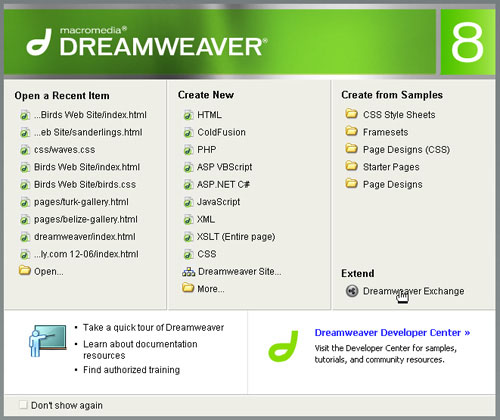
You can get to the Dreamweaver Exchange site by clicking on the link in the bottom right of the Dreamweaver launch screen, or you can get there by visiting www.adobe.com/exchange and following the link to the Dreamweaver section.
Note: If you launch Dreamweaver and find a link to download an update for Dreamweaver instead of the link to the Exchange site, by all means, download and install the update first.
STEP 2 Sort Through the Many Available Extensions
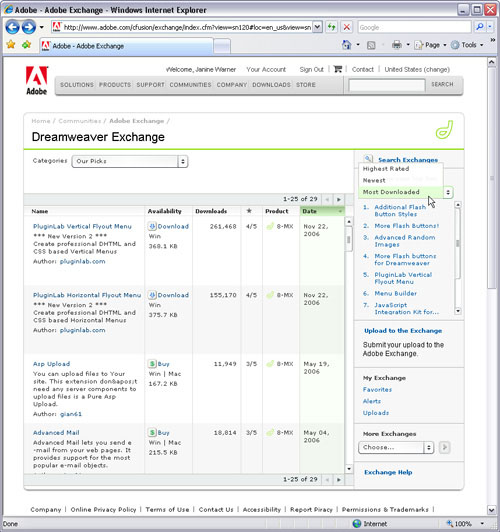
You’ll find a wide range of extensions on the Dreamweaver Exchange site and you can search through available extensions by category, key word, and various ranking options. I found the Flash buttons featured in this tutorial at the top of the “Most Downloaded” list in the right-hand column of the main page.
Also note that many of the extensions featured on the Exchange site include links back to their creator’s sites where you’ll often find even more extensions.
STEP 3 Select an Extension and Review Features
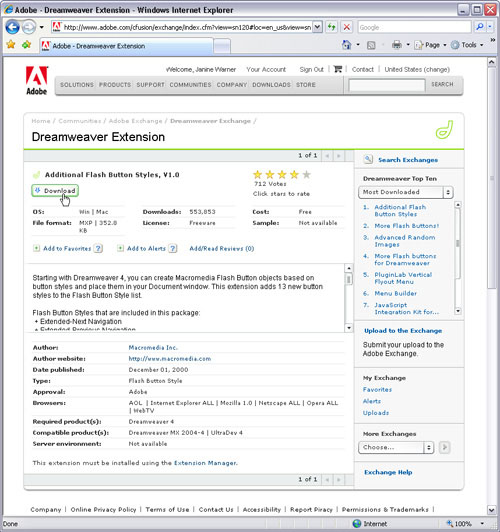
When you click on a link to an extension on the Exchange site, you’ll find more information about the extension, including system requirements, and what version of Dreamweaver the extension was designed for. In general, you can use extensions designed for earlier versions of Dreamweaver in more recent versions. In this example, I’m adding Flash buttons that were designed for Dreamweaver 4 in Dreamweaver 8 with no trouble. Beware however, extensions designed for later versions of Dreamweaver usually won’t work in earlier versions of the program.
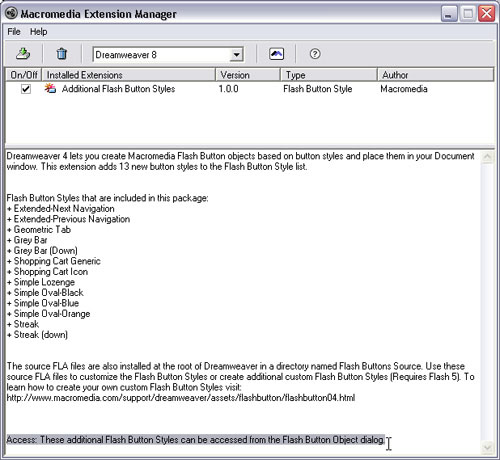
Before you leave the Extensions page, I highly recommend you take the time to read the special instructions in the middle of the page. In the case of this Flash button extension, these instructions explain that the extension includes 13 button designs and that the source files for the Flash buttons will also be installed at the root of the Dreamweaver folder in a directory named Flash Button Source (a handy tip if you ever want to edit the Flash buttons yourself).
Some extensions include more important instructions, such as where you’ll find the new feature in the Dreamweaver interface or warnings about the functionality of an extension that will only work when previewed on a live Web server (this is true for the random image extensions, for example.)
To download an extension, click on the Download button toward the top of the page and save the extension to your hard drive.
STEP 4 Install a New Extension
Most extensions require that you close Dreamweaver before installing, and most install with the click of a button. In the case of these Flash buttons, all I had to do was click on the downloaded file and Dreamweaver’s Extensions manager automatically launched to install the buttons.
When installation is complete, the Extension Manager displays any special instructions (these are usually the same as the instructions that were included in the middle of the page on the Exchange site.)
Pay special attention to the part of the instructions that tells you where you’ll find your newly installed extensions. Extensions may be added to menus, dialogs, and other parts of Dreamweaver depending on their functionality and how the programmer set them up.
In this case, the final line of the instructions (which I’ve highlighted in this screenshot), informs me that my new Flash buttons have been added to the Flash Button Object dialog.
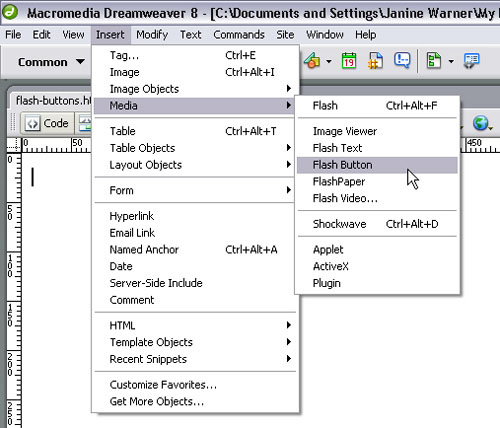
STEP 5 Launch Dreamweaver and Go Find Your New Features
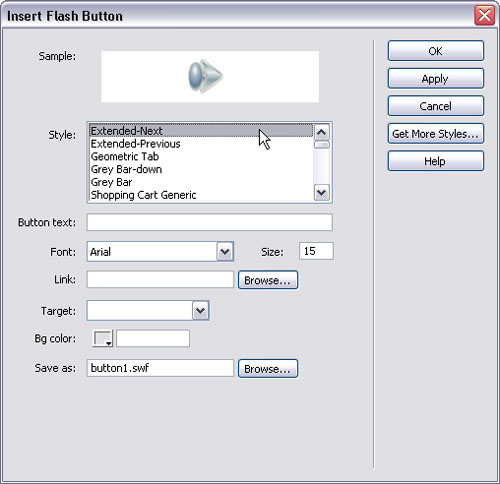
With my new Flash buttons installed, all I have to do is open an existing page or create a new page in Dreamweaver and then open the Flash button dialog to see my new Flash buttons. To open the Flash button dialog, choose Insert > Media > Flash button.
STEP 6 Put Your New Extensions to Work
As you can see here in the Flash button dialog, I now have several new Flash buttons (13 to be exact) that I can use in my Web pages thanks to my newly installed extension.